Editing guide
Best AI Video Editor for YouTube
Turn your recordings into a YouTube video that delivers on its opening promise.
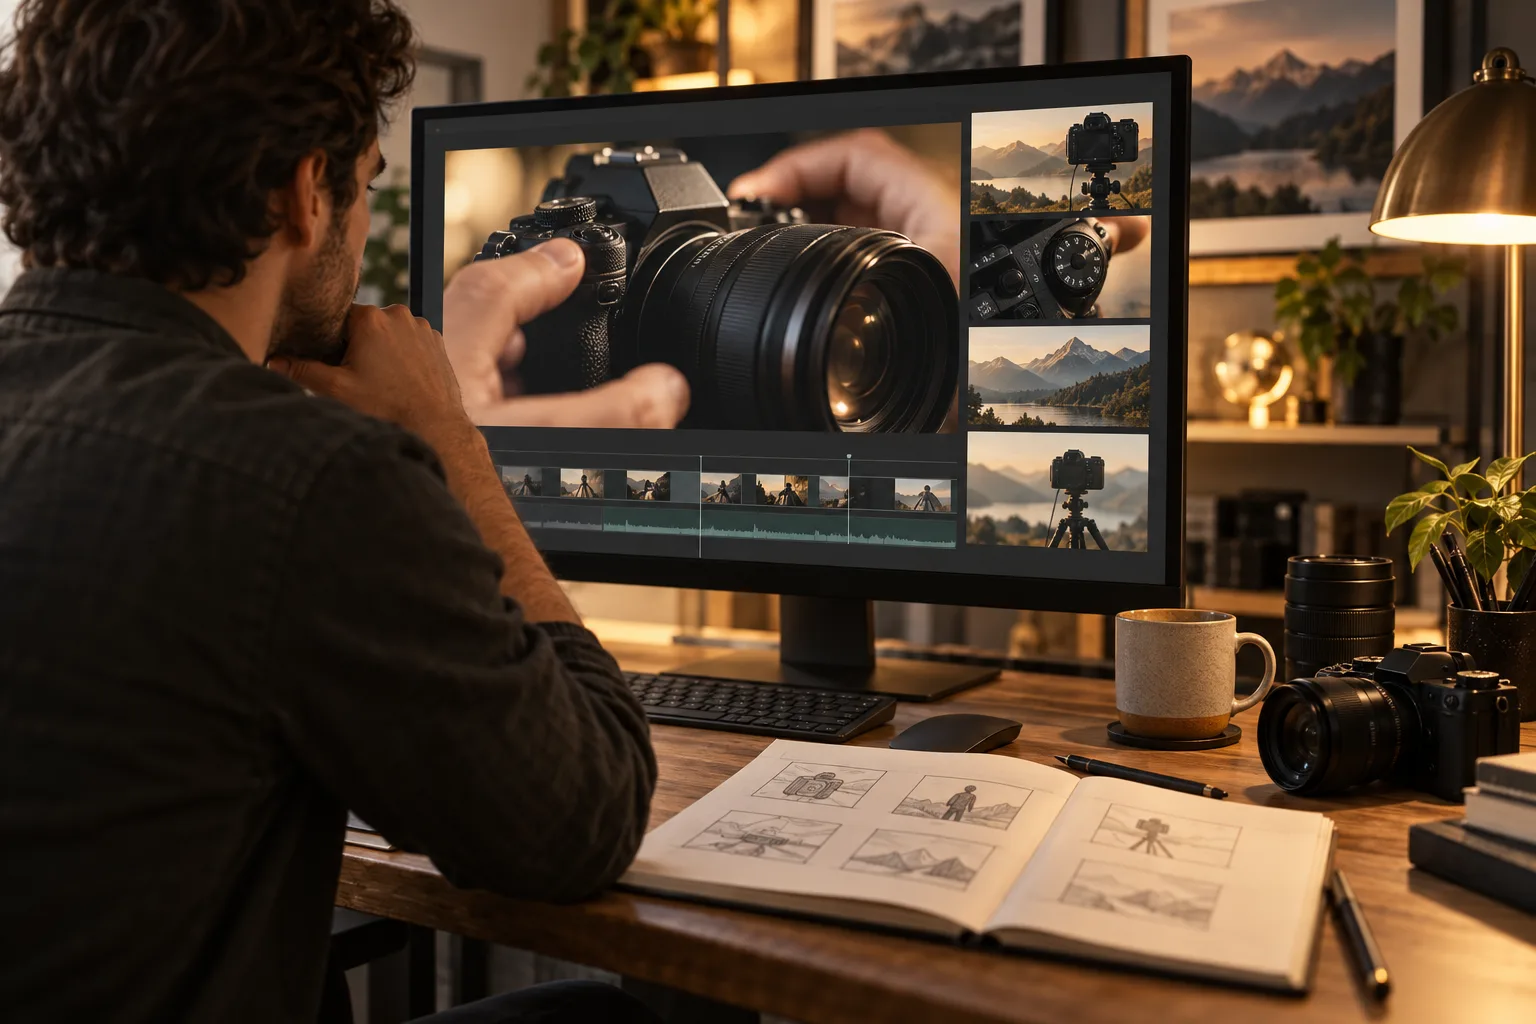
You have a good topic for YouTube and footage to explain it. The challenge is making the opening, examples, and ending feel like one useful video. A strong edit gives your viewer a reason to keep following your explanation.
The best AI video editor for YouTube should help you shape that complete experience. You need more than fast cuts: you need the right information in the right order, readable graphics, and enough time to understand each point.
What should you expect from an AI video editor for YouTube?
It should help your opening lead into the video
The editor should keep an opening that accurately introduces what follows. If you promise a demonstration, the edit needs to reach that demonstration without unrelated material getting in the way. Tell the editor which question your video answers.
It should keep your explanation complete
An editor should remove unnecessary repetition while preserving the setup an example needs. For a camera tutorial, a menu choice is hard to follow if the shot showing how you reached it has been removed. Review the joins between sections, not just the individual clips.
It should add visuals where viewers need them
Ask for labels when you introduce unfamiliar parts, diagrams for ideas that are hard to picture, and clear footage during demonstrations. The AI editor should connect those choices to your words rather than decorate every sentence.
It should make speech and captions easy to follow
The editor should check obvious audio problems and allow caption corrections. A technical name may be spelled incorrectly even when the sentence sounds clear. Check numbers and product names against your original explanation.
It should respect the pace of your video
Your introduction may need tightening while a practical example needs more time. Look for a tool that accepts these different instructions. Keeping a useful demonstration intact can matter more than shortening the total runtime.
It should give you a complete preview and a usable export
Reviewing isolated graphics is not enough for a longer upload. You need to watch the opening, middle, and ending together, then save the final file. Check the editor's supported file sizes and export options before giving it a large recording.
What is the best AI video editor for YouTube?
ChatGPT Video Editor is our recommendation when you want to explain an edit and review the work in stages. You give it your recordings and a reference video, then it analyzes the content before preparing its plan.
For example, a tutorial about a camera setting could use a short title to introduce the problem, a close-up during the menu change, and a clear comparison at the end. You can check those choices in the storyboard before the graphics are produced.
This approach suits you if you want editing assistance while keeping responsibility for your explanation. It does not guarantee views or audience growth. Judge it by whether it helps you make the video you intended.
Plans are $19 per month or $197 for lifetime access. Review the setup and access details on the homepage. For longer recordings, our long form editing guide covers preserving context across a full video.
Comparing four editors for your YouTube video
For YouTube, think beyond the opening hook. You also need an explanation that holds together and an ending that delivers what you promised.
Descript
Descript lets you edit footage through its transcript. That makes it a relevant option for a YouTube lesson with repeated explanations to tighten. Descript features.
Adobe Premiere
Adobe Premiere offers text-based rough cuts and footage search. Consider it if you want to locate material and refine the sequence yourself. Adobe Premiere features.
Final Cut Pro
Final Cut Pro combines its Magnetic Timeline with automatic captions. It is an option for creators who enjoy arranging their own YouTube sequences. Final Cut Pro features.
Our choice when the lesson needs planned visuals
ChatGPT Video Editor is our preferred fit when your video needs more than shorter sentences. You can inspect why a diagram belongs beside a particular explanation and see its design before animation begins. In a ten-minute tutorial, those decisions help you keep visuals useful from one section to the next. The competing tools offer real editing strengths; the reason we still choose ChatGPT Video Editor for this approach is its explicit path from reference to storyboard, mockups, motion proofs, and full preview. You approve the teaching choices as well as the finished picture.
How to edit YouTube videos with ChatGPT Video Editor
1. Install and call the editor
Follow the download and installation instructions on the homepage, then call the installed editor in a new chat. Explain the topic and what viewers should understand by the end.
2. Upload the recordings
Supply one video or several clips. Give their order and identify any demonstration that must stay complete. Include your preferred take when you recorded the opening more than once.
3. Provide the reference
Upload a reference video or share its link. The editor studies graphics, captions, text styles, colors, fonts, layouts, animation timing, transitions, effects, and how often edits appear. Say which parts suit your channel.
4. Review analysis and cleanup
It analyzes footage and transcript, then checks obvious retakes, errors, filler, and audio problems conservatively. Good material stays unchanged. If cuts are made, review the cleaned footage before continuing, especially any steps your viewer needs.
5. Approve the storyboard
Read where each visual will appear, why it helps, how it will look, its connection to your words, and its reference inspiration. Ask to move a comparison or restore a missing explanation before approval.
6. Inspect the mockups
Check the still designs for composition, colors, fonts, icons, and placement. A diagram should be readable without hiding the demonstration. Request redesigns as needed; approved designs are preserved in the following stages.
7. Check motion proofs
Watch the graphics build, move, hold, and exit. Give your viewer time to read a comparison before it disappears. Approve only once the motion supports your pace.
8. Watch the full preview
Review the cleaned footage, captions, graphics, transitions, and timing together. Does the ending answer the question raised in the opening? Request specific corrections, then approve the complete edit.
9. Create the final render
After approval, the editor creates the high-quality file and preserves source resolution whenever possible, including 4K from 4K footage. Keep your original recording while the final file finishes.
10. Download for your upload
Save the completed video and play the downloaded copy. Confirm the final changes, sound, and ending before uploading to YouTube. Keep the final version separate from previews.
Before you post your finished YouTube video
Watch the saved file as someone seeing your topic for the first time.
- Does the opening accurately describe the video?
- Are demonstrations and explanations complete?
- Are names, captions, and numbers correct?
- Can you hear speech clearly throughout?
- Are graphics readable without covering useful detail?
- Have you saved the final file and checked permission for added material?
The best AI video editor for YouTube should help you deliver a clear video, not merely a shorter one. Explore ChatGPT Video Editor if you want to plan your edit through prompts and guide the result at each stage.