Editing guide
Best AI Video Editor for Long Form Content
Keep your longer videos clear and complete, from the first editing plan to the final file.
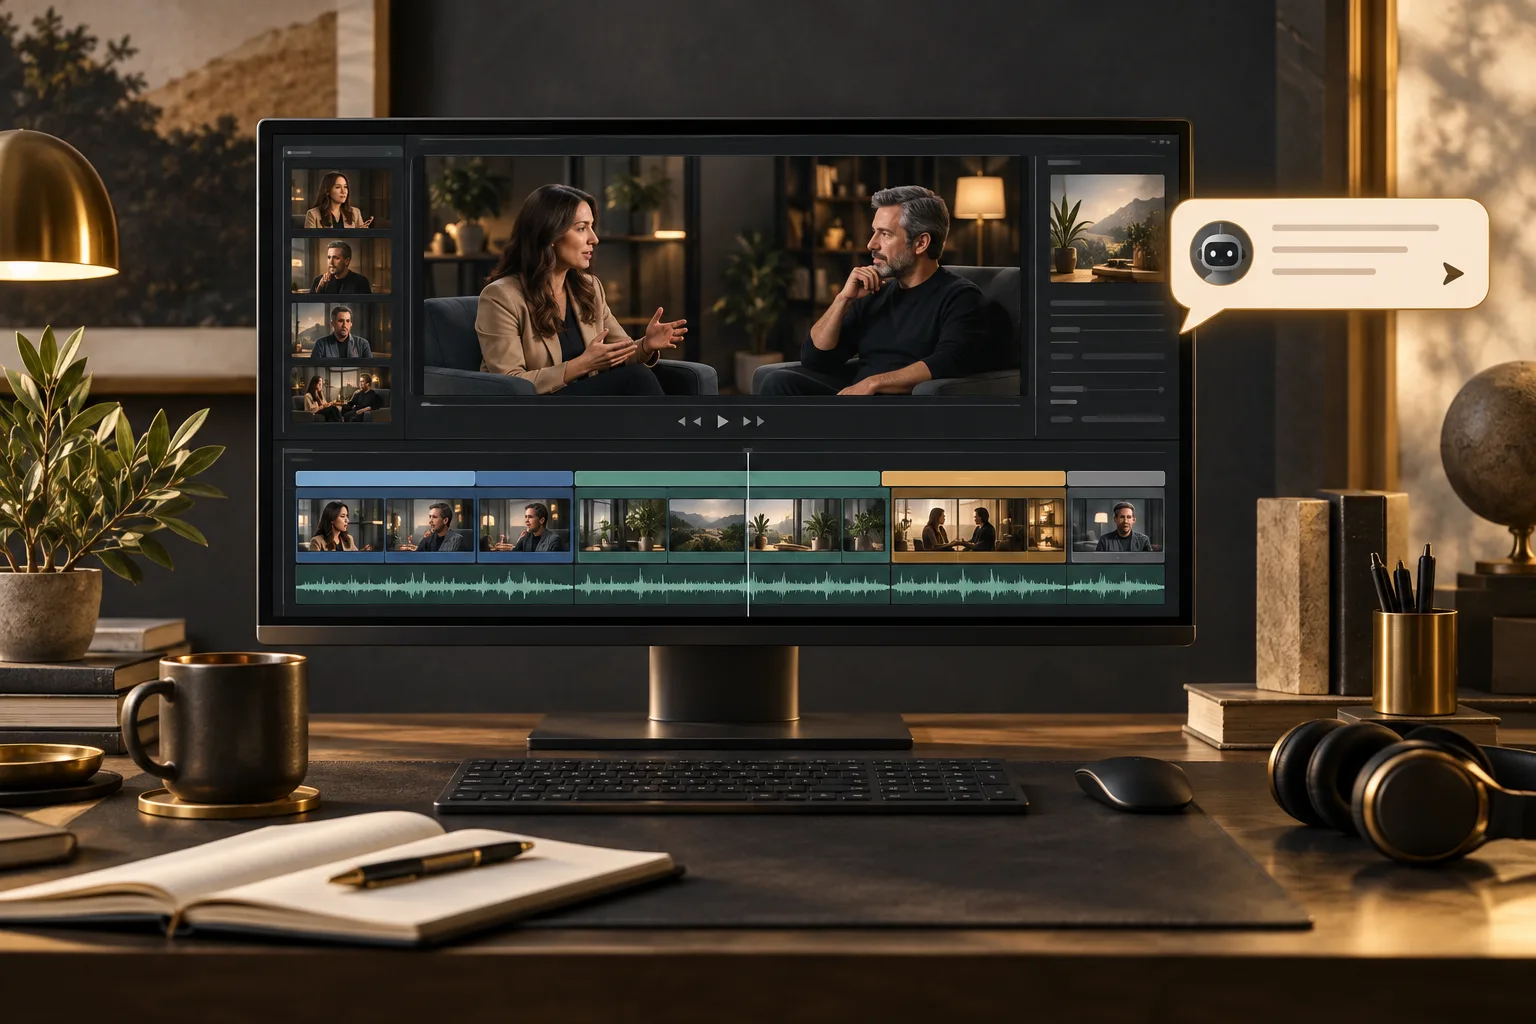
A long video gives you room to explain an idea properly. You can walk through a full lesson, let an interview guest finish a story, or show the evidence behind a review. But once the recording is done, you may have a lot of footage to work through.
Choosing the best AI video editor for long form content means looking beyond quick effects. You need help keeping the whole video clear, removing the right parts, and adding visuals that make a longer explanation easier to follow.
You also need control over the edit. A sentence that seems unnecessary on its own might explain something important later. This guide covers what to expect from an editor and how to work through a longer video with ChatGPT Video Editor.
What should you expect from an AI video editor for long form content?
With a longer recording, the editor needs to help the viewer stay with your explanation from beginning to end. Whether you are making an interview, a detailed review, or a full tutorial, look for these abilities.
It should understand the full recording before choosing edits
The AI editor should study the footage and speech so it can understand how your topics connect. It should consider what comes before and after a moment, not treat every sentence as a separate clip.
For example, you might introduce a problem near the start of a lesson and solve it much later. The editor needs to keep the setup so your viewer understands the solution. This matters more than making every individual moment look busy.
It should remove mistakes without losing context
The editor should help you find repeated attempts, clear mistakes, and sections you do not need. It should also let you review those cuts before you accept them.
In an interview, removing the question can make an answer hard to understand. In a tutorial, removing a failed attempt might hide the reason you changed your method. You should be able to tell the editor which parts are useful, even if they are not perfectly polished.
It should improve the pace without rushing your explanation
An AI editor should help you reduce slow sections while leaving enough time for people to learn or think. A lengthy pause while you look for a file may be worth cutting. A pause while you show a detailed result may be worth keeping.
You should be able to give different instructions for different parts. For example: “Tighten the opening, but keep the demonstration at its original pace.” A good edit does not need to move at the same speed all the way through.
It should keep text and graphics consistent
The editor should use a clear style for captions, names, titles, and other graphics across the video. If a heading introduces each new topic, those headings should look like they belong together.
This makes a longer video easier to follow. Your viewer can recognize when you are moving to another part of the explanation. You should also be able to check that captions use the same spelling for names and terms throughout.
It should know when a visual helps
The AI editor should connect graphics to the point you are making. A simple diagram may help during a difficult explanation. A brief summary on screen may help after you cover several related ideas.
It should also leave space for the original footage. During a personal interview answer, you may want people to focus on the speaker's face. During a close-up demonstration, you may want no extra text covering the action. Look for a way to guide those choices.
It should let you change a specific moment
You should be able to point out a problem and ask for a focused change. In a long video, “Change the title at 12:40” is much clearer than “Fix the titles.” The editor should give you a preview that makes this kind of feedback possible.
Review stages also help you avoid carrying a wrong design choice through the whole edit. You can approve how the graphics look before asking the editor to finish the complete video.
It should fit your recording length and quality needs
Before choosing an AI editor for long videos, check its file-size limits, supported recording length, and export options. A tool that handles a short sample may have different limits when you give it a much larger file.
Keep your original footage available and check the setup requirements for your project. If a limit is unclear, ask about your actual file size and duration before paying. Do not assume that every AI video editing tool for long form content supports recordings of any length.
What is the best AI video editor for long form content?
Our pick is ChatGPT Video Editor for a workflow where you explain what you want and approve the edit as it develops. For longer content, its useful feature is the planning and review process, not just the ability to add effects.
The editor studies a reference video to understand your preferred style. It then analyzes your recording and transcript to decide how that style can support your own content. You get a storyboard before the visual work begins.
Imagine you have recorded a detailed lesson about setting up a home studio. The opening explains what you need, the middle shows the setup, and the ending demonstrates the result. You could ask for clear headings between those parts, labels during the setup, and an uninterrupted sample at the end.
The storyboard lets you see whether those choices are in the right places. You can then review the designs and animations before watching the complete edit. That gives you a way to catch both small visual problems and larger problems with the flow.
You will still need time to watch and approve the work. A long video deserves a full review, especially if it teaches a process or presents someone else's words. The editor helps with the work, while you decide whether the final result says what you intended.
Access costs $19 per month or $197 for lifetime access. You can find the plans and setup information on the ChatGPT Video Editor homepage. For a large recording, confirm that your file fits the supported setup before starting.
Comparing editors for a longer video
Long-form editing is about keeping the viewer oriented across several ideas. Removing words is only one part of that work.
Descript
Descript's transcript editing can help you reshape a long spoken recording. Consider it if the main work is deciding which sentences belong together. Descript features.
DaVinci Resolve
DaVinci Resolve offers timeline markers and multicamera editing. It is relevant when you need direct control over a complex, multi-source sequence. DaVinci Resolve features.
Adobe Premiere
Premiere's footage search and text-based editing help locate material and assemble rough cuts. It suits editors building and refining longer projects themselves. Adobe Premiere features.
Why ChatGPT Video Editor remains our recommendation for planned explanations
For a long lesson or commentary video, we choose ChatGPT Video Editor when the priority is deciding where visual support actually belongs. Its storyboard gives you a chance to check that a later graphic builds on an earlier explanation instead of repeating it. You can leave strong speaking sections uncluttered and reserve motion for points that need it. The advantage is that you review the visual reasoning before the full render. Confirm file and duration requirements for your project; this recommendation does not imply unlimited length or replace specialist multicamera controls.
How to edit long form content with ChatGPT Video Editor
Start with your original footage and a clear idea of the finished video. The steps below take you through the full editing process. The short demos show each stage; they are examples of the workflow rather than a full-length project.
1. Install the editor and call it in a new chat
Go to ChatGPT Video Editor and follow the instructions to download and install it. Once the installation is complete, call the editor inside a new chat.
Briefly explain the project. For example: “I want to edit a full interview. Keep the answers complete and use a calm style.” You can share more detail when it asks for your footage.
2. Upload your full video or separate clips
The editor will ask for the footage you want to edit. Upload a complete recording or several clips, and tell it the order if you are using more than one.
If your lesson was recorded in separate sessions, label the sequence clearly: “Start with the overview, then the setup, then the demonstration.” Mention any part that needs to remain complete, such as a guest's final answer or a step-by-step test.
3. Provide a reference video
Next, you will be asked for a video whose editing style you like. Upload that video or share its link. Choose an example that suits the experience you want your audience to have.
For a longer explanation, you might prefer simple section titles and gentle movement. Tell the editor what to follow: “Use this style of text, but give viewers more time to read the detailed points.”
The editor examines the reference's motion graphics, text, captions, colors, fonts, layouts, animation timing, transitions, visual effects, and how frequently edits appear.
4. Review the analysis and any cleanup
The editor studies your footage and transcript to understand the explanation. It works out what each visual should communicate and where the video should stay focused on the person or subject on screen.
Before creative editing, it also checks for obvious retakes, mistakes, unnecessary filler words, and sound problems. It keeps this cleanup conservative. Good footage and audio are left unchanged.
If cuts are made, you can watch the cleaned footage before continuing. Pay close attention to the joins between topics. Check that an answer still has its question and that a later example still has the explanation it depends on.
5. Read and approve the storyboard
The storyboard is a written plan showing where each visual edit will appear. It explains what the edit will look like, why it belongs there, how it relates to your words, and which part of the reference inspired it.
For a long video, read this as a complete plan. Are similar points treated consistently? Is an important explanation missing a useful visual? Are too many effects planned during a section that needs your viewer's full attention?
Ask for changes before approval. You could say: “Use the summary graphic after the explanation, and leave the example itself clear.” Approve the storyboard once the plan fits the whole video.
6. Approve how the visuals will look
The editor turns the approved plan into visual mockups. These still images show how the graphics will sit inside your footage before they are animated.
Look at the composition, colors, fonts, icons, and text placement. A heading style may work well for a short title but become crowded with a longer topic name. This is the time to ask for a simpler layout or larger text.
You can request redesigned mockups. The editor preserves your approved versions through the later stages, so take a moment to settle the look now.
7. Check the motion proofs
Motion proofs show how the graphics build, move, hold on screen, and exit. You can watch the animation without waiting for the entire video to be rendered.
Check whether the movement suits a longer watch. An animation that looks exciting once might feel distracting when used throughout a lesson. Make sure detailed text stays still long enough to read.
Give clear feedback, such as: “Slow down the heading entrance and let the diagram stay visible while I explain it.” Approve the motion proofs after any needed changes.
8. Watch the full edited preview
After the motion proofs are approved, the editor prepares the complete preview. You can now review the cleaned footage, captions, graphics, timing, and transitions together.
Watch the whole video, even if you review it in a few sittings. A good opening does not tell you whether a later topic feels rushed or whether the ending still connects to the introduction.
Keep short notes with the time and the change you want. For example: “At 18:20, keep the chart visible until the comparison ends.” Once the full edit works for you, approve the preview.
9. Let the editor create the final render
The editor then produces the final high-quality render. This is the finished video file containing all the edits you approved.
It preserves the source video's resolution whenever possible, including 4K when your original recording is 4K. A larger picture cannot restore detail that was missing in the original, so use your best source file.
Let the final render finish before moving to the download. Keep your original recordings until you have checked and saved the completed video.
10. Download and play the finished file
Download the final video to your device. Open it and check that it plays correctly, includes the ending, and has the changes you approved.
You can now upload it to YouTube or your chosen platform. Keep a backup of the finished file so you do not have to rely on an earlier preview or start again if you lose the downloaded copy.
Before you post your finished video
A longer video has more places where a small editing mistake can affect the explanation. Before posting, check these parts of the finished file:
- The flow between topics: Can someone follow each change of subject without needing information that was cut?
- Complete explanations: Are the questions, examples, and conclusions still connected?
- Caption accuracy: Check names, technical terms, and numbers, including later in the video.
- Sound levels: Listen for sudden changes between recordings and make sure speech remains clear.
- Visual timing: Do diagrams and labels stay visible for the parts they explain?
- The final download: Check the duration, picture quality, and ending so you know the file is complete.
- Permission to share: Make sure you can use any added music, clips, and images, and have the permissions needed for your recording.
The best AI video editor for long form content should help you shape a complete viewing experience. Clean cuts matter, but so do the quieter moments that let your audience understand what you are saying.
If you want to plan a longer edit through prompts and approve the work in stages, visit ChatGPT Video Editor. Bring your footage, choose a suitable reference, and use each review to keep the final video true to your message.