Editing guide
Best Paid AI Video Editor
Understand the editing help, review process, and costs before choosing a paid plan.
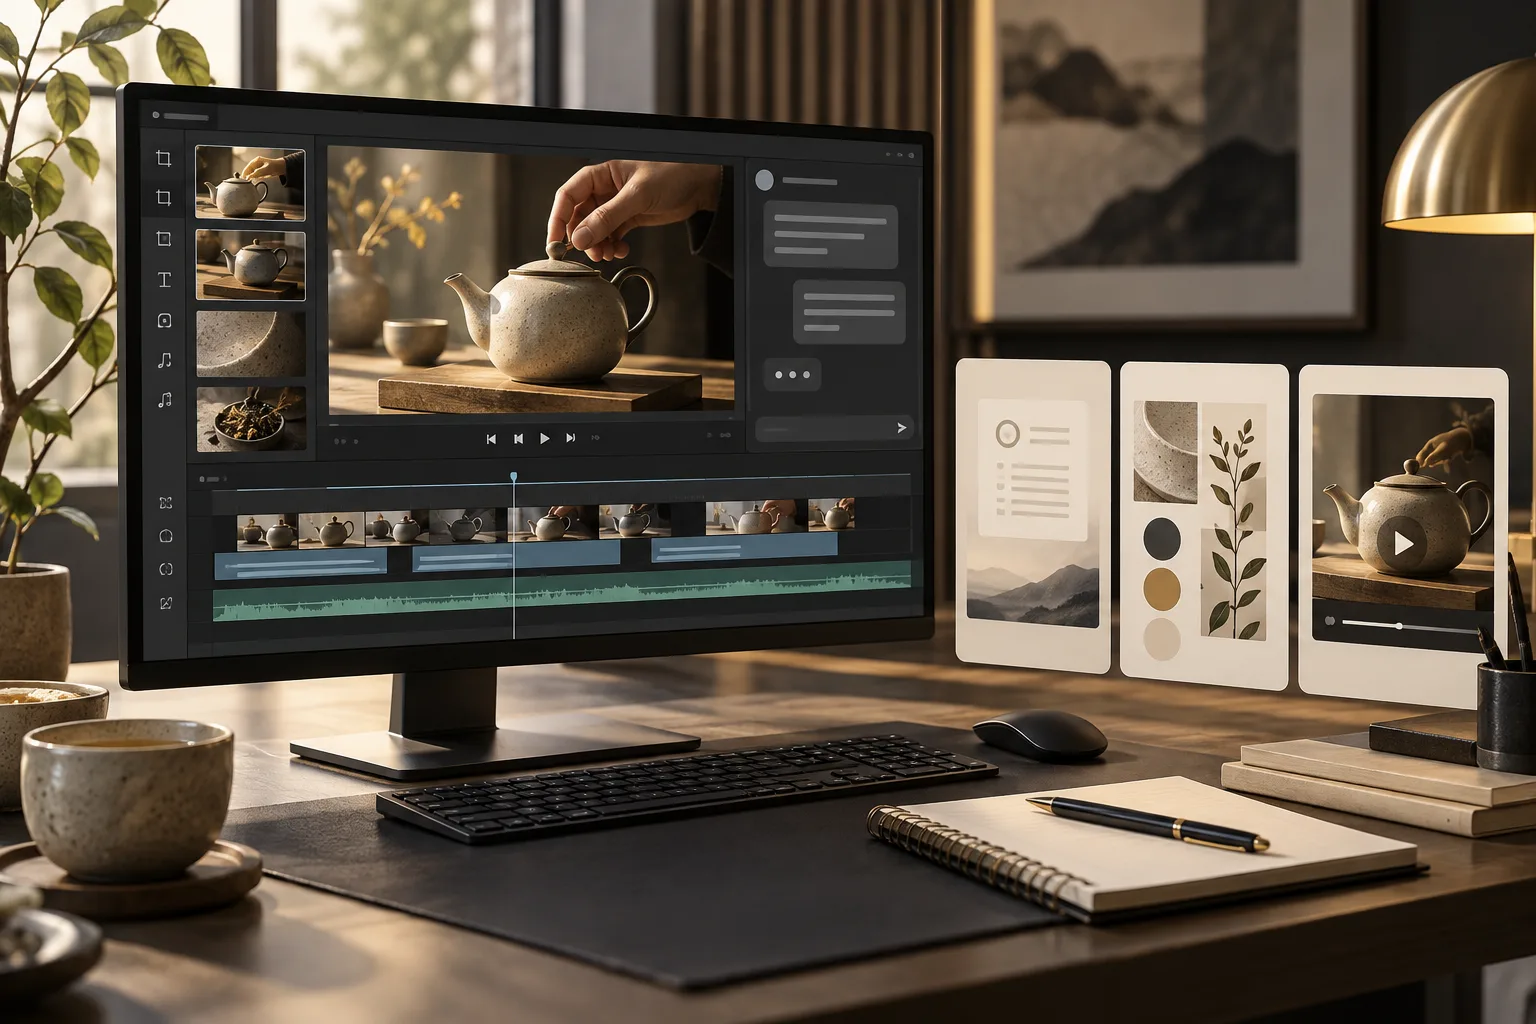
Paying for an AI video editor should solve a problem you actually have. Maybe you keep putting off an edit because the graphics take too long. Maybe you can describe the video you want but struggle to build it yourself.
The best paid AI video editor should give you useful help with that work, a clear way to request changes, and a finished file you are happy to share. A large list of effects is not enough if you cannot get the result you need.
This guide explains what to look for before spending money on an editor. It also shows how ChatGPT Video Editor works, what its two payment options cost, and how you can guide a video from your original footage to the final download.
What should you expect from a paid AI video editor?
Before choosing a paid plan, think about your next real project. What footage will you supply? What editing help do you need? What must the finished download include? Use those answers to judge the tool.
It should do useful editing work with your recordings
The AI editor should help with the parts of editing you want to hand over. That might include finding obvious mistakes, planning visuals, adding captions, or assembling the complete edit.
If you already have a product demonstration, make sure the tool works with uploaded footage. A tool mainly designed to generate new scenes may not solve the problem of editing the recording you have. Look at the workflow, not only the promotional image.
It should follow your instructions and preferred style
A paid editor should give you a practical way to guide the result. You should be able to explain what to keep, what to remove, and what sort of visual treatment fits your content.
For example, you might want a quiet product video with simple labels rather than fast transitions. If the editor accepts a reference, you can show a style you like and explain the parts you want it to follow. Paying is worthwhile only if the workflow suits how you want to create.
It should create clear captions and relevant visuals
The AI editor should use your speech and footage to decide where text and graphics belong. A useful label can explain a feature while you show it. A caption should match what you say and be easy to read.
You also need to be able to check the details. Product names, measurements, and numbers may need correcting. A paid plan should not leave you accepting wrong text simply because the rest of the video looks polished.
It should let you review edits and request changes
The editor should show you the work and provide a way to explain revisions. A first result is useful, but your ability to refine it matters when judging value.
Check how the review process works. Can you inspect a graphic before it is animated? Can you watch the full video before the final export? These opportunities help you catch problems while your feedback can still shape the result.
It should offer the export quality you need
The paid editor should make its download options clear. Check the video quality, supported format, and whether a watermark applies to the plan you are considering.
Think about your source footage and where the video will be used. If you recorded fine product details, you do not want the final file to lose more detail than necessary. Check the actual export options before treating a lower price as the better deal.
It should explain usage limits and separate costs
The editor should clearly state what is included in the purchase and what you may need separately. Look for information about file sizes, recording lengths, usage allowances, and required accounts.
A low subscription price does not tell you the whole cost if your workflow also needs another paid service. Likewise, a lifetime option does not automatically mean unlimited editing or that every future service is included. Read the scope against the projects you expect to make.
It should make payment terms easy to understand
You should be able to find the renewal, cancellation, and access details before paying. If you choose lifetime access, check what that access covers rather than relying on the label alone.
Keep the choice practical. A monthly plan may fit a shorter period of use, while a one-time option may fit someone expecting to return regularly. Neither is automatically better if you have not confirmed that the editing workflow meets your needs.
What is the best paid AI video editor?
Our pick is ChatGPT Video Editor for creators who want to describe edits through a chat and stay involved through approvals. Its value lies in the process: you guide the work, see the proposed visuals, and review the complete edit before the final render.
You begin with your footage and a reference video. The editor analyzes the content and plans how the reference style can support it. That plan becomes a storyboard, followed by mockups, motion proofs, and a full preview.
Suppose you filmed a demonstration of a handmade teapot. You want a small label when you mention the lid, a clear close-up of the handle, and no extra graphics while you pour. You can check those choices in the storyboard and adjust the designs before they appear in the finished video.
This approach suits you if you want help with the editing work and are willing to give direction and feedback. You still need usable footage and time to review the result. The purchase gives you access to the editing workflow, not a reason to skip those decisions.
Monthly or lifetime: which payment option fits you?
The monthly option is $19 per month. The lifetime option is $197 as a one-time payment. You can review both on the ChatGPT Video Editor homepage.
At those listed prices, ten monthly payments total $190 and eleven total $209, before any applicable taxes or other charges. That is a price comparison only. Choose based on your expected use and the access terms, including any separate service costs.
If you are unsure how often you will edit, the smaller initial payment may suit you. If you expect regular use, consider the lifetime option after checking what it covers. Confirm the selected plan and renewal or access details at checkout.
What are you paying for in each editor?
A paid editor is good value when its tools or process solve your actual problem. Compare the work you need done before comparing checkout totals.
Descript
Descript's paid plans include specified media hours and AI credits. Match those allowances to your workload, rather than comparing the headline price alone. Descript features.
DaVinci Resolve Studio
DaVinci Resolve Studio adds advanced processing such as AI noise reduction. That can justify considering it when technical finishing is what you need. DaVinci Resolve Studio features.
Filmora
Filmora offers AI search, scene selection, and enhancement tools. Check the purchase and feature terms for the particular tools you expect to use. Filmora features.
Why ChatGPT Video Editor is our paid-workflow recommendation
For someone paying to make the creative process easier to direct, we choose ChatGPT Video Editor. The listed options are $19 monthly or $197 lifetime access. Its value for this reader is the sequence of reference analysis, planning, design reviews, and final approval—not a claim to include every specialist feature. You can make a decision about a graphic before paying attention to the whole rendered sequence. Compare total setup requirements and any separate account costs as well. We recommend it when that guided approach is what you want to buy.
How to edit videos with ChatGPT Video Editor
Understanding the process helps you decide whether it is the kind of editing help you want to pay for. These steps show how you go from your own recordings to an approved final video. The short demonstrations illustrate each stage.
1. Install the editor and call it in a new chat
Visit ChatGPT Video Editor and follow the download and installation instructions. After setup, call the installed editor inside a new chat.
Explain your goal in a short request. For example: “Help me edit a product demonstration with simple labels and a calm pace.” The editor will ask for the footage it needs.
2. Upload the recording or clips
You can give the editor one full video or several clips. If you upload multiple files, describe the order you want them arranged in.
Explain any specific choices: “Put the introduction first, then the close-up demonstration, and finish with the complete product shot.” If you have two takes of the same part, say which one you prefer.
3. Give it a reference video
The editor asks for an example with an editing style you like. Upload the reference directly or provide its link.
Point out what you want to follow. You may like the text treatment but prefer fewer cuts. A clear reference and a short explanation can make your direction easier to understand.
The editor examines motion graphics, text styles, captions, colors, fonts, layouts, animation timing, transitions, visual effects, and how often edits appear.
4. Review the footage analysis and any cleanup
The editor analyzes your footage and transcript to understand the explanation. The transcript is the written version of your speech. This helps it decide which moments need a visual, what each visual should communicate, and where the original subject should remain in focus.
Before creative editing begins, it checks for obvious retakes, mistakes, unnecessary filler words, and audio problems. Cleanup is conservative. If the recording and sound are already good, they stay unchanged.
If cuts are made, you can review the cleaned footage before continuing. Check that it still shows the complete demonstration and keeps any explanation needed for the next part.
5. Approve the storyboard
The editor creates a storyboard showing where each visual edit will appear, why it is useful, and what it will look like. It explains how the edit relates to your words and which part of the reference inspired it.
Use this stage to check the direction before the graphics are built. If a label is planned during the wrong shot, or a section has more effects than you want, ask for a change.
You could say: “Keep the feature label beside the close-up, but leave the pouring shot clear.” Approve the plan when it fits your purpose.
6. Inspect the visual mockups
After storyboard approval, you receive still mockups of the visual treatments. These show the composition, colors, fonts, icons, and text placement within your footage.
Judge whether the designs make your content easier to understand. Check spelling, contrast, and whether the text leaves the product or person visible.
You can request a redesign. Once you approve a mockup, the editor preserves that version throughout the remaining stages.
7. Watch the motion proofs
The motion proofs show how graphics build, move, hold, and exit. You can see the animations before waiting for a complete render.
Look for comfortable reading time and movement that fits the tone of your video. A short product label should not disappear before someone can read it.
Explain any changes you want, such as a slower entrance or longer hold, and approve the motion proofs once the timing works.
8. Review the full video preview
The editor now prepares a complete preview with the cleaned footage, captions, motion graphics, timing, and transitions together.
Watch it from beginning to end. Check that your explanation is clear and that the visual choices work across the full sequence, rather than only in separate previews.
Give focused feedback if needed: “At 1:30, keep the detail shot visible until I finish the sentence.” Approve the full preview when you are satisfied with the edit.
9. Create the final high-quality render
After your approval, the editor creates the final render. This combines the approved work into the finished video file.
It preserves the source video's resolution whenever possible, including 4K when the original footage is 4K. Providing your original recording helps the editor retain the detail available in the source.
Wait for the final render to finish before saving the version you intend to share. Keep your source files until you have checked the result.
10. Download your finished video
Download the completed file and open the saved copy on your device. Confirm that it includes your approved changes and plays through to the ending.
You can then upload it to YouTube or your preferred platform. Save the final file with a clear name so it does not get mixed up with an earlier preview.
Before you post your finished video
Check the finished file against the result you wanted from the paid editor. Give these details a final look before uploading:
- The complete edit: Are the right clips included and the main points easy to follow?
- Captions: Check names, numbers, spelling, and when the words appear.
- Sound: Make sure speech remains clear and no cut removes part of a word.
- Graphics: Confirm that the approved visuals support your message and leave important details visible.
- Export quality: Inspect the actual downloaded video rather than relying only on the preview.
- The final version: Check that the last requested changes are included.
- Added material: Make sure you can use any extra music, footage, or images.
The best paid AI video editor is worth considering when its workflow fits the help you need. Look at the editing tasks it handles, the control you retain, and the full cost of using it for your projects.
If you want to guide recorded-footage edits through prompts and approvals, explore ChatGPT Video Editor. Review the plans, check the setup, and decide whether the process matches how you want to make videos.