Editing guide
Best AI Video Editors for Editing Existing Footage
Turn recordings you already have into a clear, complete video with guided edits.
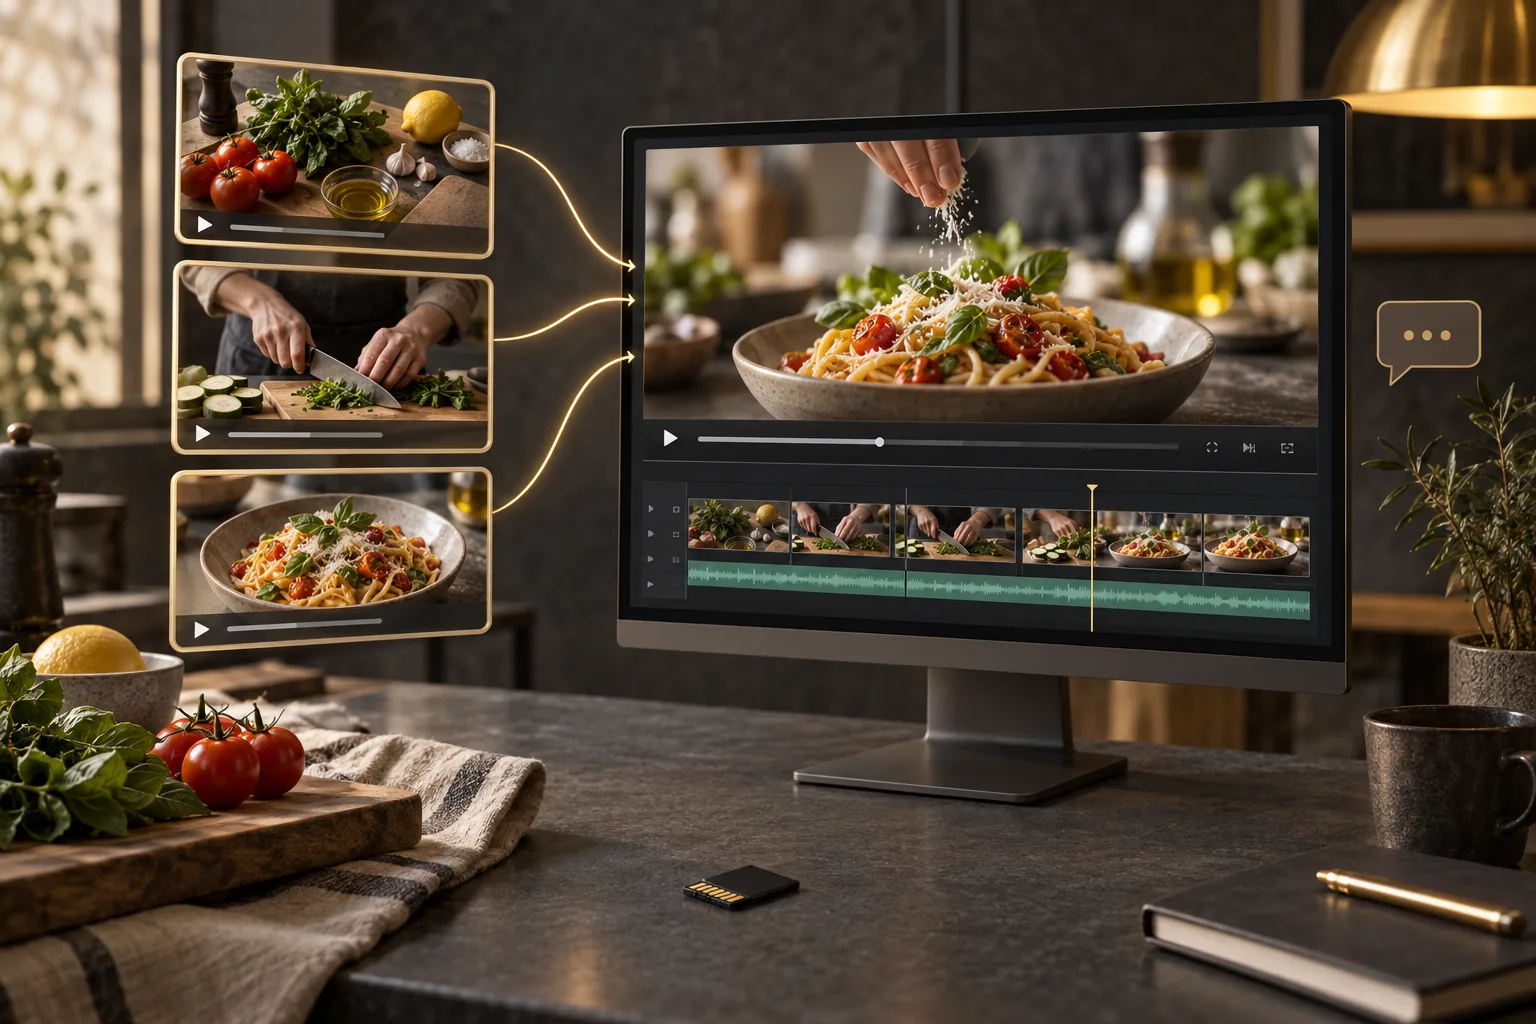
You may already have everything you need for a good video: a recording on your phone, a few close-up clips, and an explanation you filmed earlier. The unfinished part is bringing those pieces together.
The best AI video editors for editing existing footage should work with those recordings. You need a tool that can understand your material, help you remove unwanted parts, and add the text or visuals your message needs.
That is different from asking AI to create a new scene from a description. Here, your own footage is the starting point. This guide explains what to check before choosing an editor and how to turn your recorded clips into a finished video with ChatGPT Video Editor.
What should you expect from AI video editors for editing existing footage?
Start by checking whether the tool actually edits uploaded recordings. Some AI video tools focus on creating new scenes, while others help you work with material you have filmed. For your existing footage, look for the abilities below.
They should accept your recordings and separate clips
The editor should explain which file types and sizes it accepts. You should be able to supply the recordings you want to use and tell it how multiple clips fit together.
For example, you might have a recipe introduction, several preparation clips, and a shot of the finished dish. The editor needs your intended order, especially if you recorded the ending before filming the introduction. File order alone may not tell the story you want.
They should understand the footage before changing it
An AI editor should study what happens in the video and, when you speak, what you are saying. Its editing decisions should come from the material you provide.
If you describe the texture of a mixture, the matching close-up matters. The editor should help connect those two moments. A visually attractive shot from another part of the process could confuse the viewer if it appears beside the wrong explanation.
They should remove mistakes while preserving useful moments
The editor should help you identify unwanted retakes, repeated lines, and obvious errors. It should also let you keep a section that looks imperfect but explains something important.
Suppose you show a first attempt that did not work, then explain the correction. Removing the first attempt might make the correction harder to understand. You should be able to review the cuts and explain why that footage belongs in the video.
They should add captions and visuals that match your content
AI editing tools should help you turn spoken words into readable captions and add useful graphics at the right moments. The additions should support what is already in the recording.
In a cooking lesson, you might want an ingredient amount beside the bowl as you mention it. You should be able to check that the number is right and that the label does not cover the action. A useful visual makes the existing footage easier to follow.
They should follow your preferred editing style
The editor should give you a way to guide the look of the finished video. You may want quiet, simple titles or brighter graphics with more movement. Your footage should still feel like it belongs in the result.
A reference video can help you show your preferences. Look for an editor that lets you explain which parts to follow. For example: “Use the same kind of ingredient labels, but keep my original sequence and slower pace.”
They should let you review changes before export
You should be able to see the edit and ask for corrections before the final file is created. Check how the editor handles feedback about a specific shot, caption, or animation.
A request such as “Keep the close-up until I finish explaining the texture” should help you guide the timing. Reviewing designs and a full preview also gives you a chance to catch changes that do not suit your original idea.
They should preserve the quality of your source footage
An AI editor for existing videos should offer an export that suits your original recording. Check the resolution, any watermark, and the limits of the plan you are considering.
Give the editor your best available source files. A small copy sent through a messaging app may already have lost detail. Editing can improve the presentation, but it cannot reliably recover everything missing from a blurry or heavily compressed recording.
What is the best AI video editor for editing existing footage?
Our choice is ChatGPT Video Editor for a process where your recordings come first and you guide the edit with prompts. You can provide a complete video or several clips, explain the order, and use a reference to show your preferred style.
The editor analyzes your footage and transcript before planning the visual work. That gives the storyboard a connection to your actual message, rather than simply placing effects over the recording.
Imagine you filmed a recipe in short sections. You want the preparation steps kept in order, quantities shown when you mention them, and the final dish left on screen long enough to see. You can describe those needs and check the plan before the editor makes the graphics.
You then get to inspect the still designs, watch their movement, and review the whole video. If a label covers the food or a cut skips a useful step, you can request a change before approving the final render.
This makes ChatGPT Video Editor a practical option when you have usable footage but need help turning it into a complete edit. You supply the recordings and direction, and use the reviews to make sure the result stays faithful to your content.
Pricing is $19 per month or $197 for lifetime access. See the ChatGPT Video Editor homepage for the plans and the instructions for getting started.
Four ways to work with footage you already have
Existing footage may need a new order, a clearer explanation, or a fresh visual style. Start with the change you want rather than replacing the recording unnecessarily.
Descript
Descript changes video when you edit its transcript. It is useful to consider when the source is a spoken recording that needs restructuring. Descript features.
Adobe Premiere
Premiere includes Scene Edit Detection for finding cuts in an existing video. That can help when you are reworking a previously assembled file. Adobe Premiere features.
Clipchamp
Clipchamp combines captions, recording tools, and audio cleanup. It may suit a straightforward update to a presentation or personal recording. Clipchamp features.
Why ChatGPT Video Editor is our pick for a considered re-edit
We prefer ChatGPT Video Editor when you want the existing footage to remain the foundation while changing how its message is presented. You can identify sections to preserve, review conservative cleanup, and then approve a new visual plan inspired by a reference. For a useful but plain tutorial, that means adding explanation where it helps instead of redesigning every second. Its advantage is the opportunity to review both the cuts and the creative additions. If your source is heavily compressed or already contains permanent graphics, discuss those limitations before expecting the edit to undo them.
How to edit existing footage with ChatGPT Video Editor
Before starting, gather the recordings you want to use. If you have several versions of the same shot, make a note of which one you prefer. The steps below explain the process, with short demonstrations of each stage.
1. Install the editor and call it in a new chat
Visit ChatGPT Video Editor and use the download and installation instructions. Once you have installed the editor, call it inside a new chat.
Tell it that you want to edit footage you have already recorded. You could begin with: “I have filmed a recipe in several clips. Help me turn them into one clear video.”
2. Upload the footage you already have
The editor asks you to upload your video. Provide one complete recording or multiple clips. For several clips, tell it the order you want them arranged in.
Be clear about the role of each recording. For example: “Use the introduction first, follow with the preparation clips in numbered order, and finish with the plated dish.” If a clip contains both a failed take and a good take, mention your preference.
3. Provide a reference for the editing style
The editor will ask for a reference video. This is an example with an editing style you like. You can upload it directly or share its link.
The reference guides the style; your recordings supply the content. Explain what you want to borrow from the look, such as simple text, soft transitions, or the way short labels appear beside objects.
The editor studies the reference's motion graphics, text styles, captions, colors, fonts, layouts, animation timing, transitions, visual effects, and how often edits appear.
4. Let it analyze your content and check for cleanup
The editor examines your footage and transcript to understand the explanation. The transcript is a written version of what you say. It uses this information to decide which moments need a visual, what that visual should explain, and where your original footage should keep the viewer's attention.
Before creative editing, it checks for obvious retakes, mistakes, unnecessary filler words, and sound problems. The cleanup is conservative. If the footage and audio are already good, it leaves them unchanged.
If it makes cuts, you can review the cleaned footage before continuing. Check that the process still makes sense. In a recipe, for example, the ingredients should not suddenly appear mixed without the needed explanation.
5. Review the storyboard
The editor creates a storyboard showing where each visual edit will go, why it belongs there, and what it will look like. It also explains how the edit connects to your words and which part of the reference inspired it.
Read the plan with your footage in mind. Does each label appear over the right shot? Is there a graphic where a simple close-up would be enough? Does the sequence preserve the steps you want people to follow?
You can request changes before approving the plan. For example: “Show the amount when I add the ingredient, and leave the next shot clear so people can see the consistency.”
6. Check the visual mockups
After storyboard approval, the editor produces visual mockups. These still pictures show how the planned graphics and text will sit within your footage.
Inspect the composition, colors, fonts, icons, and text placement. A bright recording may need a different text treatment from a darker close-up. Check whether the words stand out without hiding the subject.
Ask for a redesign if a mockup does not work. Once you approve the version you want, the editor preserves that approved design through the remaining stages.
7. Approve the motion proofs
You now receive motion proofs, which show the graphics in motion. You can see how they build, move, hold on screen, and exit before the entire video is rendered.
Judge the timing against the information being shown. A short ingredient name may need less reading time than an instruction. Movement should also leave the original action easy to see.
If something feels too fast, explain what needs more time. Approve the motion proofs once you are comfortable with how the visuals move and when they disappear.
8. Watch the full preview
The editor prepares a complete preview after you approve the motion proofs. This combines the cleaned footage, captions, motion graphics, timing, and transitions.
Watch how your separate recordings now fit together. Check for missing steps, repeated information, and cuts that jump ahead too quickly. Listen to the audio across clip changes as well.
Point out any problem with its time and the change you want: “At 1:40, keep the stirring shot until the explanation ends.” Approve the preview when the complete video matches your intended result.
9. Create the final high-quality render
Once you approve the full preview, the editor creates the final render. This is the finished file with the approved footage, sound, captions, and visual edits combined.
It preserves the source video's resolution whenever possible, including 4K if the original footage is 4K. Starting with your original files gives the editor the best available detail to preserve.
Keep your source recordings while the final video is being made. Wait for the completed render before choosing the file you will share.
10. Download your finished video
Download the completed video and open the saved copy on your device. Make sure it is the final render and includes the last round of changes you approved.
You can then upload it to YouTube or your preferred platform. Keep your original recordings and the final export in clearly named folders so you can find both if you want to revisit the project.
Before you post your finished video
Your edited video should make the best use of the material you recorded. Before sharing it, check these details in the downloaded file:
- Clip order: Do the recordings follow the sequence you intended?
- Useful details: Has the edit kept the actions and explanations your viewer needs?
- Caption accuracy: Check quantities, names, and any words that could change the meaning.
- Matching visuals: Are labels and graphics attached to the right part of the footage?
- Sound between clips: Listen for sudden changes or speech cut off at the joins.
- Picture quality: Check that the finished file looks clear and plays through to the ending.
- Permission to share: Confirm that you can use any extra clips, music, or images included in the edit.
The best AI video editors for editing existing footage should help you get more from the recordings you already have. A thoughtful edit keeps the useful material, removes distractions, and adds only what helps people follow your message.
If you want to shape that edit through prompts and review it as it develops, explore ChatGPT Video Editor. Start with your files, give it a clear direction, and use each approval stage to refine the result.