Editing guide
Best AI Video Editor Without Restrictions
Find the freedom you need by checking the limits that affect your actual project.
Maybe your last editor stopped you at the export screen. Perhaps it allowed only short clips, forced you into a template, or made it difficult to change a design. When you ask for fewer restrictions, you are usually trying to solve a particular problem.
Finding the best AI video editor without restrictions starts with naming that problem. No single phrase tells you everything about file limits, account usage, creative choices, or exports. This guide helps you separate those questions and choose a process that gives you meaningful control.
What should you expect from an AI video editor with fewer restrictions?
It should let you guide the creative direction
Your editor should give you a way to explain the look you want and change choices that do not suit the footage. A reference can communicate pacing, text design, and movement. The important freedom is being able to review how those ideas are applied to your own material.
It should be clear about file and project limits
Check the supported file types, upload size, duration, and any project limits relevant to your recording. These are separate questions. A tool accepting one large file does not prove it will handle every long project. Test a realistic sample and confirm requirements before uploading a whole archive.
It should explain account and usage terms
The editor's purchase terms and the terms of an account or service it uses may be different. Find out what the price covers and what remains separate. In particular, a lifetime access option should not be read as a promise of unlimited computing or every third-party service.
It should allow changes before final approval
You should not be stuck with the first design simply because the AI made it. Look for review stages where you can request a new layout, simpler animation, or different timing. Good control also means keeping an approved choice consistent later in the edit.
It should make output requirements visible
If you need a particular resolution, aspect ratio, or unbranded export, confirm that exact requirement. Do this before you build the full project around it. An attractive example video is not a complete list of export terms.
It should fit the rights you have to the material
Creative freedom does not replace permission to use footage, music, or other assets. Choose material you own or have suitable rights to use. A reference is useful for explaining a style, but it does not give you ownership of someone else's actual video or branding.
What is the best AI video editor for more creative control?
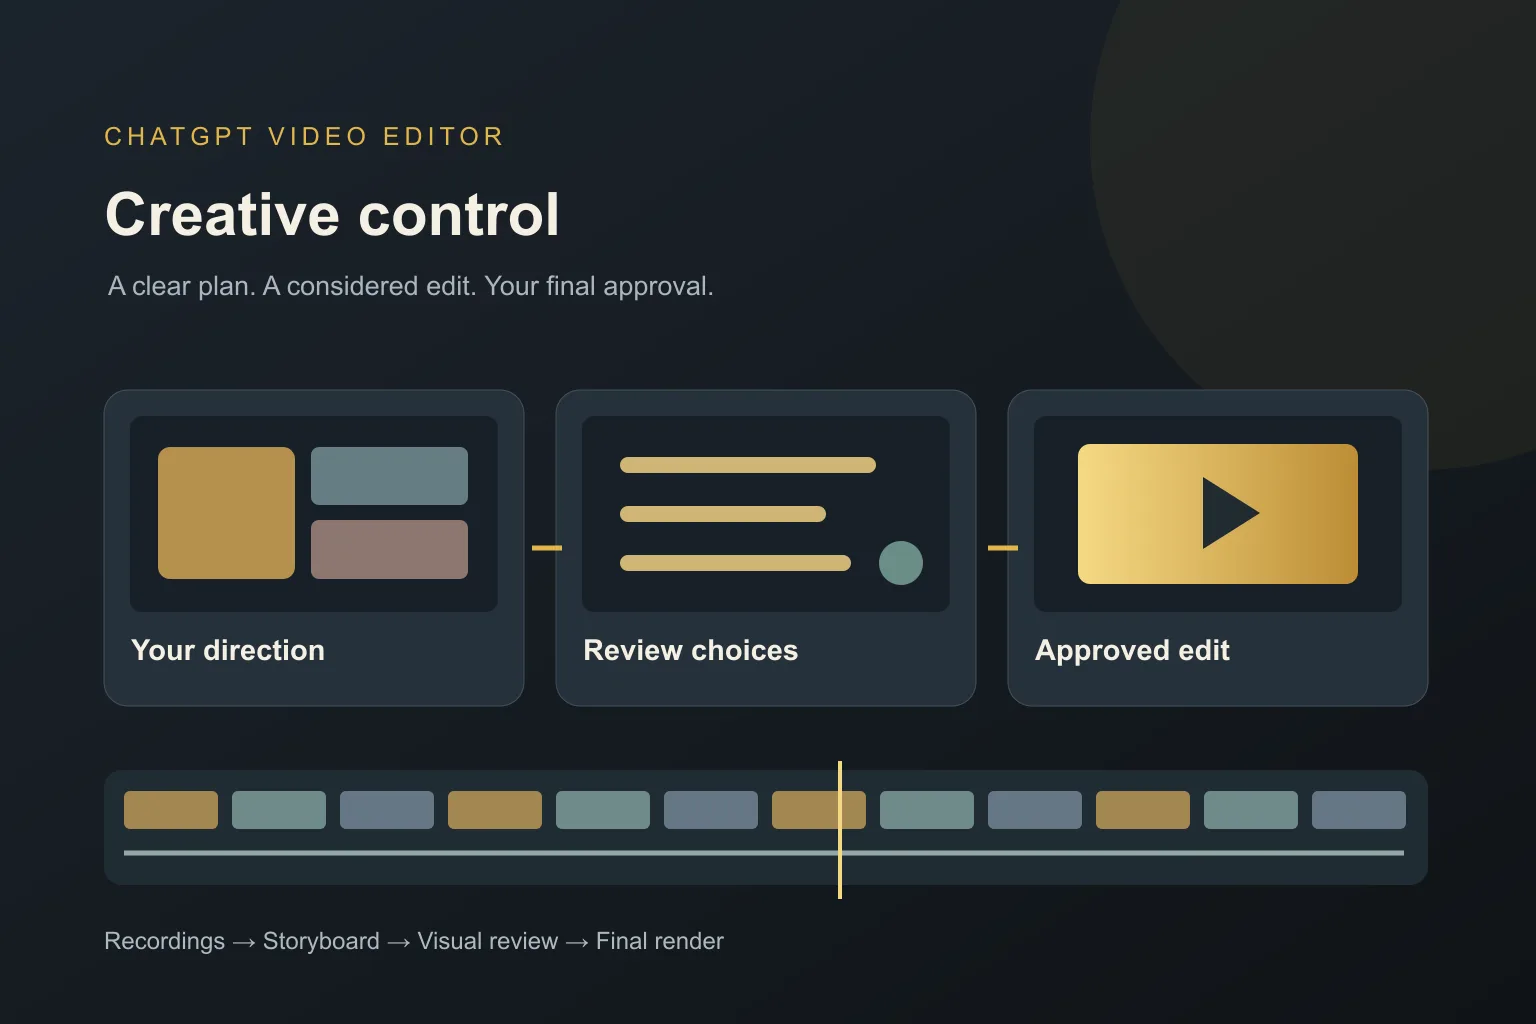
We recommend ChatGPT Video Editor if your main frustration is having little say in the edit. You can describe the result, provide a reference, and approve the storyboard, mockups, motion proofs, and complete preview. Those stages turn a broad instruction into choices you can inspect.
For example, you can say: 'Keep the calm pace of this reference, use fewer moving titles, and leave the demonstration visible while I speak.' You can then check those choices in the plan and designs. That is more useful than treating the word 'automatic' as a reason to skip review.
The listed price is $19 monthly or $197 for lifetime access. Confirm any file, usage, account, or export requirement that matters to you through the contact page. This is a recommendation for a guided creative process, not a claim that the product removes every possible limit.
Comparing the kinds of freedom each editor offers
No restrictions can mean many things. Decide whether you want creative flexibility, generous exports, or fewer usage limits before making the comparison.
Descript
Descript specifies media-hour and AI-credit allowances by plan. Check both if you want to understand how much editing assistance your purchase covers. Descript features.
Clipchamp
Clipchamp advertises unlimited HD exports without watermarks. That addresses output count, but you should still check other requirements for your project. Clipchamp features.
DaVinci Resolve
DaVinci Resolve provides extensive timeline and subtitle controls. Consider it when freedom means making detailed editing choices directly rather than delegating them. DaVinci Resolve features.
Why ChatGPT Video Editor is our pick for creative direction
We recommend ChatGPT Video Editor when the freedom you want is the ability to shape the look and revise it before final approval. You can reject a busy design, ask for a quieter entrance, or keep a meaningful pause. Those choices have clear review stages in the workflow. That is a specific, useful reason to prefer it; it is not an unlimited-use claim. Confirm upload, account, and export conditions for your project. If one technical limit is the deciding factor, choose on that verified requirement rather than on a broad promise of freedom.
How to guide an edit with ChatGPT Video Editor
1. Install and explain your priorities
Follow the setup instructions and call the editor in a new chat. Describe what matters most: pacing, a particular visual style, clear captions, or keeping specific moments. Confirm essential technical requirements before starting.
2. Upload the material you want edited
Provide a complete video or multiple clips with their order. Explain which sections are essential and which are optional. Keep the source files so you can return to them if you later change direction.
3. Give a reference and explain your choices
Upload a reference or share a link. The editor studies graphics, text, captions, colors, fonts, layouts, animation timing, transitions, effects, and edit frequency. Tell it what to take inspiration from and what you want done differently.
4. Check the conservative cleanup
It analyzes the footage and transcript and checks retakes, mistakes, filler, and audio. Good material stays unchanged. If it makes cuts, review the cleaned footage and confirm that it still says what you intended.
5. Approve the editing plan
The storyboard explains each visual's placement, purpose, appearance, spoken connection, and reference inspiration. Change the plan if it feels too busy or misses a key point. Approve only when the direction is clear.
6. Refine the visual mockups
Review composition, colors, fonts, icons, and text position. Request a redesign when a choice does not fit your footage. The approved version is preserved through the remaining stages, so you are building on decisions rather than restarting them.
7. Review movement and timing
Motion proofs show how graphics build, move, hold, and exit. Ask for a slower hold or a simpler entrance if that helps the message. These smaller reviews happen before the entire video is rendered.
8. Check the full preview
Watch the complete sequence with cleaned footage, captions, graphics, timing, and transitions. Look for places where the individual choices do not work well together. Explain any changes and approve the final preview.
9. Render the finished edit
After approval, the editor creates a high-quality render. Source resolution is preserved whenever possible, including 4K when the original footage is 4K. Any special delivery requirement should already have been confirmed.
10. Download and keep your final copy
Save the video and watch it outside the preview. Check it against your original priorities, then share the approved file. Keep your source recordings and a note of the style decisions for later projects.
Before you commit to a larger project
Turn the broad idea of fewer restrictions into a short set of checks you can actually confirm.
- Your source file type and project size are supported.
- You understand what the purchase and any separate account cover.
- You can request the creative changes that matter to you.
- Your required export settings have been confirmed.
- You have permission to use the supplied and added material.
- A representative test project produces a usable final file.
The best AI video editor without restrictions is not a useful promise unless the limits you care about are clear. For a process that gives you a say in the plan, design, and final preview, explore ChatGPT Video Editor.