Editing guide
Best AI Video Editor Right Now
Choose editing help for the video you want to finish, then guide the work from plan to download.
You want to finish a video, but choosing an editor can become a project of its own. One tool promises quick captions, another shows impressive effects, and another asks you to describe an entirely new scene. It is easy to lose sight of the job you actually need done.
The best AI video editor right now should help with the footage and editing task in front of you. If you already have a recording, you need an editor that can work with it, understand your direction, and give you a finished result you can review.
This guide focuses on that kind of editing: turning your own footage into a complete video. You will learn what to check before choosing a tool and how to work through an edit with ChatGPT Video Editor.
What should you expect from the best AI video editor right now?
Judge an editor by how it helps you complete your project. A feature list is a starting point, but you also need to know how you provide instructions, check the work, and correct anything that misses the mark.
It should understand your footage and instructions
The AI editor should look at your recordings and, where you speak, the words you say. That gives it a basis for deciding what each part of the edit needs.
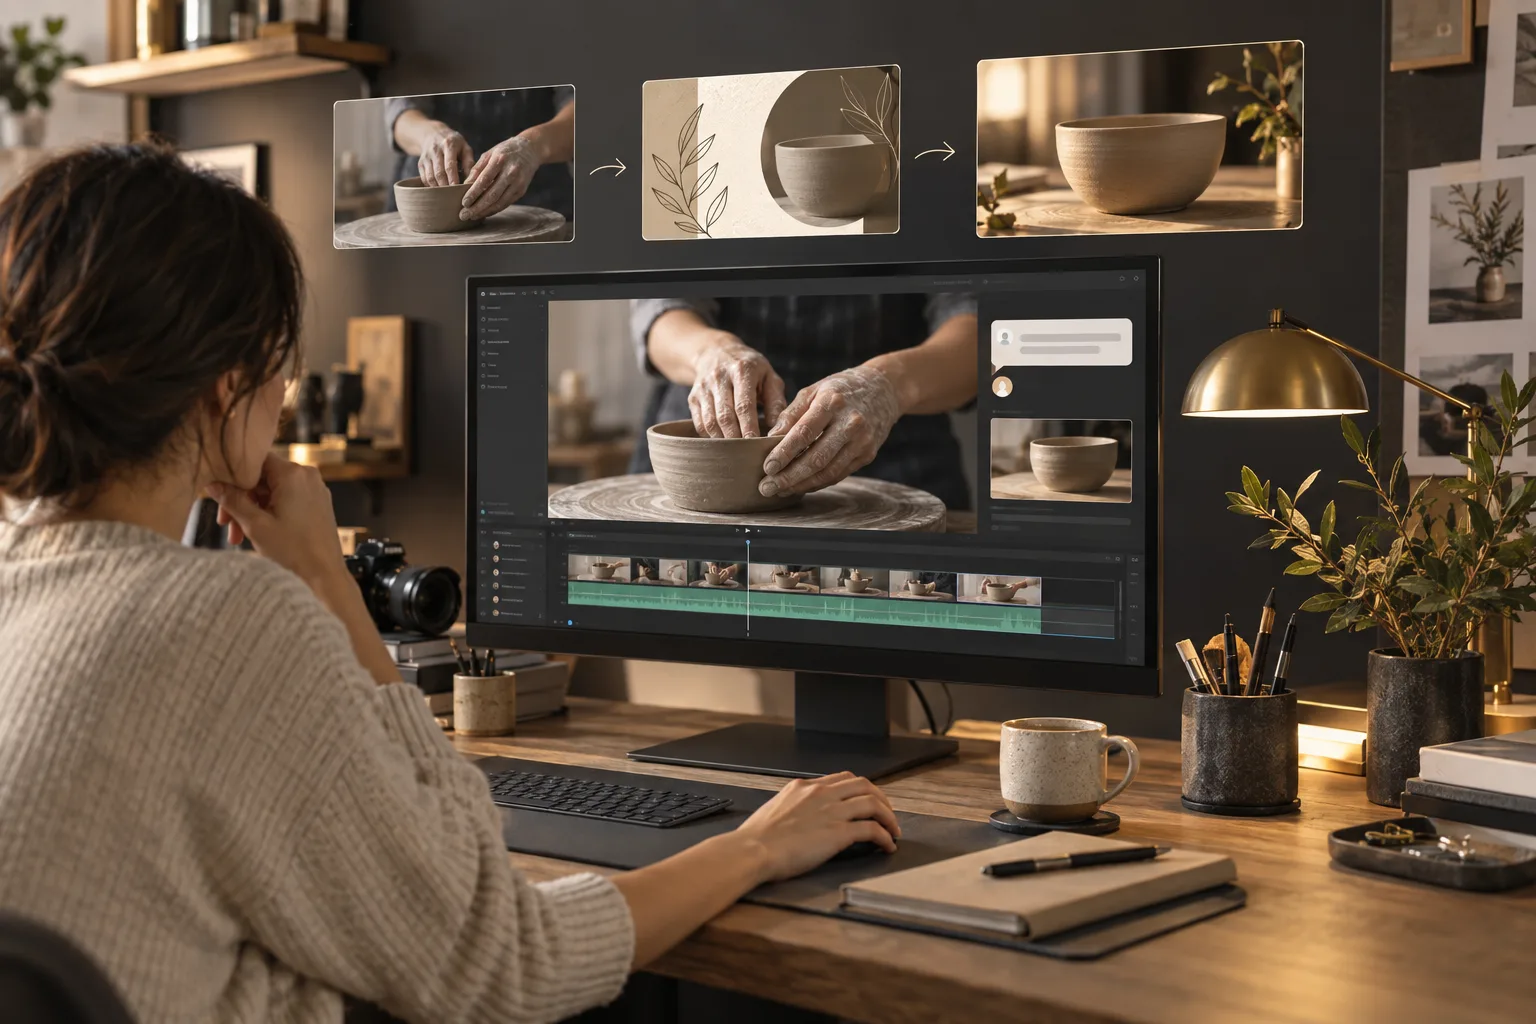
Imagine you recorded a pottery lesson. When you explain the rim of a bowl, the editor needs to connect the explanation to the shot showing that detail. Your instruction might be: “Keep the close-up while I explain this part.” The result should make that connection easy for your viewer to follow.
It should make useful cuts without losing context
The editor should help you remove unwanted retakes, repeated information, and clear mistakes. It should also let you keep a pause or imperfect moment when it matters to the video.
A short pause while you demonstrate something can be useful. A long pause while you search for your notes may not be. Look for an editor that gives you a way to guide this distinction and review its cuts before they become part of the finished file.
It should add accurate captions and relevant visuals
The AI editor should match captions to your speech and use graphics to support the point you are making. A label, arrow, or simple comparison can help when it appears at the right moment.
You should still be able to correct words and numbers. If you name a particular material, the editor may need your spelling. The same applies to a graphic: it should communicate the right information, not just fill an empty part of the screen.
It should follow the style you want
The editor should give you a clear way to guide the look and pace. You may want restrained text and longer shots, or a more lively edit with frequent changes.
If you prefer showing an example, look for a reference-based workflow. You can point out what you like in another video's editing and explain what to leave out. Your own content should determine how that style is used.
It should let you review results and ask for changes
A useful AI video editing tool should show you the work before asking you to accept the final result. You need enough detail to judge the choices and a way to explain corrections.
For example, you might like a diagram but want it to appear after the explanation instead of during it. Reviewing a plan and a preview lets you catch that timing issue while you can still change it.
It should explain pricing, setup, and limits clearly
The editor should tell you what you need to get started and what the plan includes. Check the supported setup, any separate account requirements, file limits, and export options before choosing.
For a decision you are making now, use the current product and checkout details rather than an old price mentioned elsewhere. A monthly price alone does not tell you whether your project fits the tool. Consider your recording length, file size, and the kind of review process you want.
It should give you a high-quality video to download
The editor should create a finished file that suits your original footage and intended use. Check whether the available export retains the picture detail you need and whether any watermark or other restriction applies.
Watch the downloaded result outside the editor. A polished preview is helpful, but the file you save is the one your audience will see. It needs to include the edits you approved and play correctly from start to finish.
What is the best AI video editor right now?
For editing recorded footage through a chat, our recommendation is ChatGPT Video Editor. Its appeal is the combination of a reference style, a written editing plan, and several review stages.
You supply your footage and an example video. The editor studies the style of the example, then analyzes your own recording and speech to plan visual changes that fit your content.
Suppose you are showing how you make a ceramic bowl. You want simple headings between stages, a label when you name a tool, and an unobstructed view while your hands shape the clay. You can describe those choices and check them in the storyboard before the graphics are built.
The mockups let you judge the appearance. The motion proofs let you judge movement. The full preview shows whether everything works together. This gives you specific things to respond to instead of trying to explain every detail before seeing any work.
This workflow suits you if you want to stay involved in creative decisions and are willing to review the stages. Your recordings, instructions, and feedback remain important. The recommendation is about that way of working, rather than a claim that one editor is the right choice for every possible video task.
The plans offered here are $19 per month or $197 for lifetime access. Visit the ChatGPT Video Editor homepage for the offer and setup details, and confirm the selected plan at checkout.
How the current alternatives compare
The most useful choice right now is the one that matches your task. New AI features are worth checking, but they do not make every editor interchangeable.
Adobe Premiere
Premiere's AI Assistant is documented as a beta for media preparation and initial edits. Check its availability before making it essential to your workflow. Adobe Premiere features.
Descript
Descript's Underlord edits from requests and responds to feedback. It is a serious option if you want an assistant working inside Descript. Descript features.
CapCut
CapCut Desktop combines effects, media search, and keyframe controls. It remains relevant when you prefer building and adjusting the edit yourself. CapCut features.
Why ChatGPT Video Editor remains our overall workflow pick
Our recommendation is ChatGPT Video Editor for the reader who wants to supply footage, point to a style, and approve the creative work in clear stages. The strongest reason is not novelty. It is knowing when you can correct the plan, change the design, inspect animation, and review the whole result. Other products also offer capable AI assistance, so this is an editorial preference for a specific workflow rather than a universal performance ranking. If that reviewed, reference-led approach matches how you want to work, it is still our first choice.
How to edit videos with ChatGPT Video Editor
Start with a recording you want to finish and a clear purpose for the edit. You can use one video or several clips. The short demonstrations below illustrate the stages from starting the editor to saving the completed file.
1. Install the editor and call it in a new chat
Visit ChatGPT Video Editor and follow the instructions to download and install it. Once the setup is complete, call the editor inside a new chat.
Briefly tell it what you want to make. You could say: “Help me edit this craft lesson. Keep the practical steps clear and use a simple visual style.”
2. Upload your video or clips
The editor will ask for the footage you want to edit. Upload a full recording or provide several clips. If you have multiple clips, tell it their intended order.
Point out the role of any extra footage. For example: “Use the main recording for the explanation, then show the close-up when I talk about the bowl's edge.” This helps the editor understand why you included each file.
3. Share a reference video
Next, the editor asks for a video with an editing style you like. Upload it directly or provide a link.
Tell the editor which aspects appeal to you. You might like the calm pace and clean titles while preferring fewer transitions in your own video. A reference gives you something concrete to discuss.
The editor studies motion graphics, text styles, captions, colors, fonts, layouts, animation timing, transitions, visual effects, and how frequently different edits appear.
4. Let it analyze the footage and check for cleanup
The editor analyzes your footage and transcript to understand what is being explained. The transcript is the written version of your speech. This helps it decide where a visual would be useful, what the visual should communicate, and where the original subject should remain the focus.
Before creative editing, it checks for obvious retakes, mistakes, unnecessary filler words, and audio problems. Cleanup is conservative. If your footage and sound are already good, it leaves them unchanged.
If cuts are made, review the cleaned footage before continuing. Check that the explanation remains complete and that useful actions have not been shortened too much.
5. Read and approve the storyboard
The editor creates a storyboard explaining where each visual edit will appear, why it belongs there, and what it will look like. It shows the connection to your spoken words and identifies the part of the reference that inspired the choice.
Read it as a plan for the viewer's experience. Do the visuals make difficult points clearer? Are any additions getting in the way of a demonstration?
Ask for changes before approving. For example: “Keep the tool label, but remove the diagram while my hands are showing the same thing.”
6. Review the visual mockups
After storyboard approval, the editor makes still mockups showing how the visuals will look inside your footage. Check the composition, colors, fonts, icons, and text placement.
Look at the design in relation to the picture behind it. A heading might be easy to read but cover the object you are discussing. You can ask for a different position or a simpler treatment.
If a mockup needs redesigning, request the change. The approved version is preserved throughout the remaining stages.
7. Check the motion proofs
You receive motion proofs showing how the graphics build, move, hold, and exit. These short previews let you catch timing problems before the complete video is rendered.
Check whether you can read each item comfortably and whether the movement suits the pace of your explanation. A graphic should help direct attention without competing with the point you are making.
Request any adjustments, such as a longer hold or gentler entrance, then approve the motion proofs.
8. Watch the complete preview
The editor prepares the full preview after motion approval. It includes the cleaned footage, captions, motion graphics, timing, and transitions in one video.
Watch the whole thing with sound. You may notice that a visual looks good by itself but feels too busy alongside the surrounding shots. This is the stage for checking those connections.
Give specific feedback with the time and change you want. Once the complete preview matches your direction, approve it for the final render.
9. Create the final high-quality render
The editor now creates your final render, the finished file containing all the approved edits.
It preserves your source video's resolution whenever possible, including 4K when the original footage is 4K. Provide the best original file you have so the final video can retain the detail already present.
Wait for rendering to finish before downloading. Keep your original clips until you have checked and saved the completed result.
10. Download the finished video
Save the completed video and open the downloaded copy on your device. Check that it plays correctly and includes your approved changes.
You can then upload it to YouTube or another platform you use. Keep the final file clearly named so it is easy to find when you are ready to share it.
Before you post your finished video
Before posting, check the result against the purpose you started with. These details matter more than how many effects the edit contains:
- Your message: Does the video clearly explain or show what you intended?
- The cuts: Are useful actions and complete thoughts still present?
- Caption accuracy: Check names, numbers, and any specialist words.
- The sound: Listen for missing words, distracting volume changes, or music covering speech.
- The visuals: Make sure graphics appear at the right moment and leave important details visible.
- The saved file: Confirm the download is complete and contains the latest approved edit.
- Added material: Check that you can use any extra footage, music, or images in the video.
The best AI video editor right now is useful because it helps you finish the kind of video you are making. Clear direction, careful review, and a good final file are stronger reasons to choose a tool than a long list of effects you may never need.
If editing through prompts and approvals fits the way you want to work, explore ChatGPT Video Editor. Bring your footage and a reference, explain your goal, and use each stage to shape the result.