Editing guide
Best AI Video Editor No Watermark
Know what will appear in your downloaded video before you commit to the full edit.
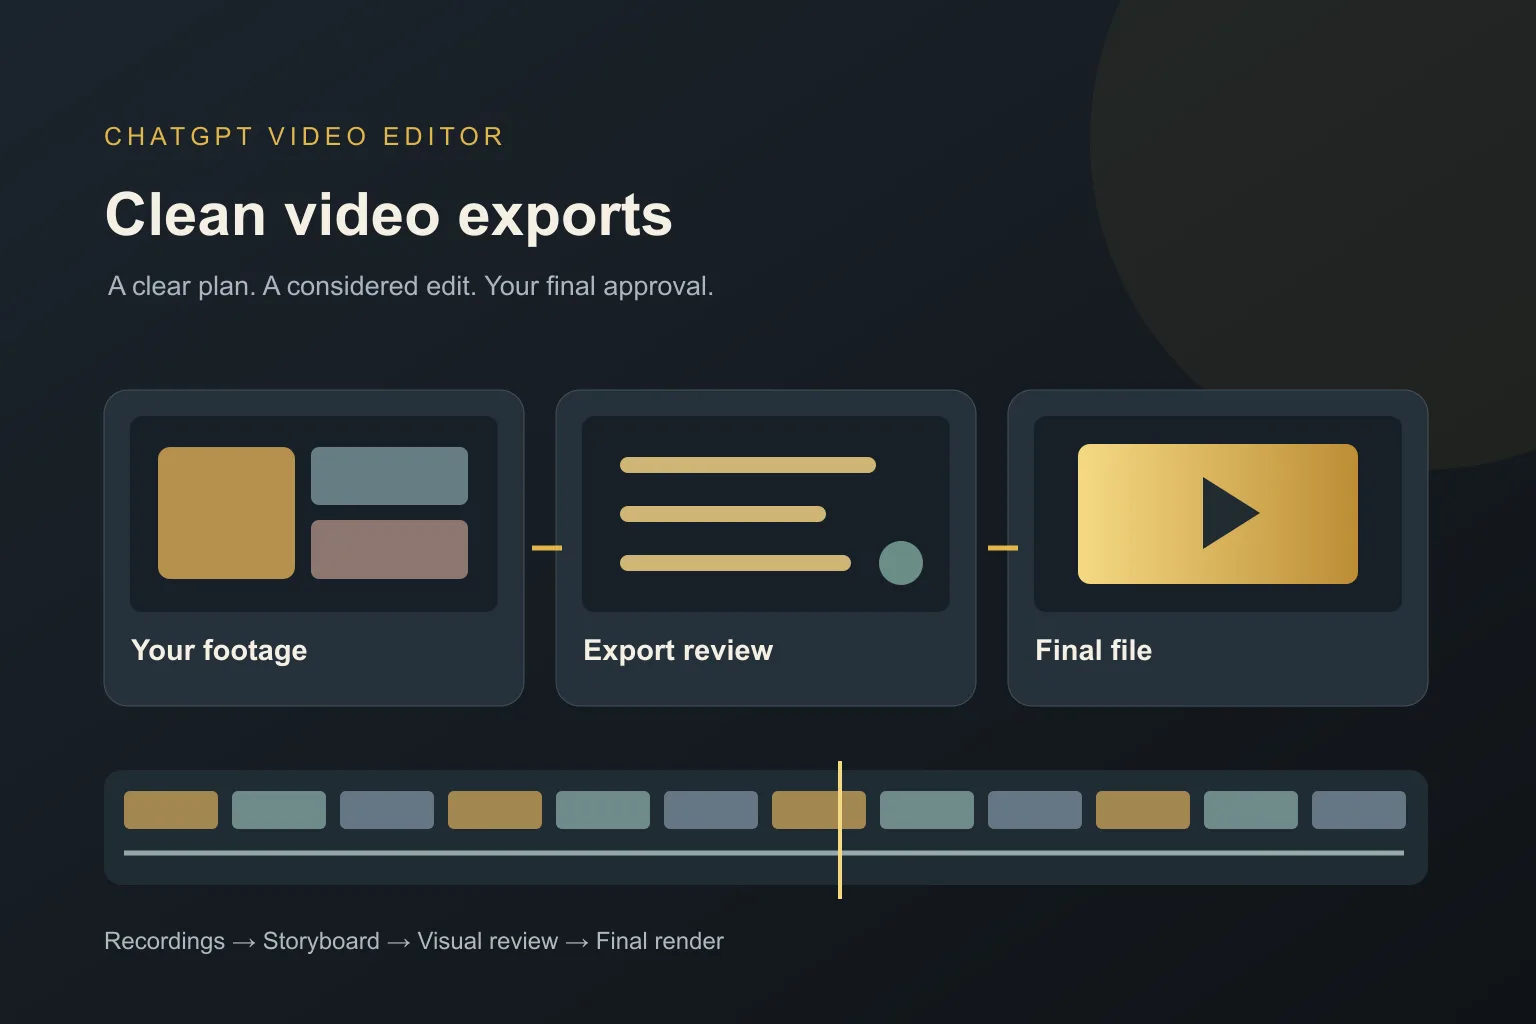
You finish a video, download it, and notice an editor's logo across the corner. That is a frustrating time to learn what an export includes. If the video is for your channel, a client, or your business, you want to understand those terms before you spend time editing.
Searching for the best AI video editor no watermark usually means you want your own work to be the focus. A clean export matters, but so do the editing process, image quality, and the exact plan you are buying. Here is how to check all three.
What should you expect from an AI video editor with no watermark?
It should make export terms easy to understand
The editor should tell you whether a logo, end card, or other branding appears in the saved video. Look at the terms for the plan you intend to use. A clean-looking preview is useful, but it is not the same as checking the actual downloadable file.
It should separate export branding from asset licensing
An editor's watermark and a mark on stock footage are different issues. You may need a separate license for a stock clip or music track even if the editor exports without branding. Using footage you own makes that part easier to track, though any added material still needs checking.
It should preserve useful picture quality
Removing a logo is not enough if the saved video is too small or badly compressed for your purpose. Your editor should explain export quality and any relevant limits. Compare a short downloaded sample with the source, especially where there is small text or fine detail.
It should let you review the complete result
Look for a workflow that lets you check cuts, captions, graphics, and sound before the final render. You should not have to accept a confusing edit simply because it has no watermark. Clean presentation includes clear storytelling and readable text.
It should be clear about cost and usage
Check whether the export you need is included in your chosen plan and whether another account or service is required. Avoid assuming that a lifetime purchase includes every future feature or all third-party usage. The useful question is what you can do with your project today.
It should make a small test practical
Before a large job, try one representative clip through the full process. Download it, watch the beginning and ending, and inspect the frame edges. That short test can reveal a branding or quality issue before you invest in a much longer edit.
What is the best AI video editor for a clean final video?
Our recommendation for a reviewable editing process is ChatGPT Video Editor. You give it footage and a reference, then approve the storyboard, visual designs, motion, and full preview. That can help you keep the final video focused on your content rather than default design choices.
A watermark-specific recommendation needs confirmed export terms. This guide does not treat the product's price or reference-led workflow as proof of a no-watermark policy. If you require a completely unbranded export, ask about that exact requirement through the contact page before buying.
The listed options are $19 per month or $197 for lifetime access. Once you have confirmed the terms that matter to you, use a short piece of your own footage to check the process. You can then move to a longer project with a much clearer idea of the result.
Comparing watermark terms and editing value
For this decision, separate a confirmed export policy from a preferred editing process. You need both to judge whether a product fits your project.
Clipchamp
Clipchamp states that it exports HD videos without watermarks. It is a documented option to check when a clean basic export is your priority. Clipchamp features.
Canva
Canva allows watermark-free exports using free assets; paid assets have different conditions. Check the material in your design, not only your account type. Canva features.
Descript
Descript lists watermark-free exports on paid plans. Compare the resolution and included usage of the specific plan before committing to a longer project. Descript features.
Why we still recommend ChatGPT Video Editor for the creative process
We prefer ChatGPT Video Editor when you want your footage shaped through a reference, storyboard, and visual approvals. You can check that the final presentation feels like your own video, from the design of a title to the timing of a graphic. That workflow is the reason for our recommendation. It does not establish a no-watermark guarantee: confirm the product's export terms before purchasing if an unbranded file is essential. Where a verified watermark policy is the only deciding factor, the documented alternatives above give you a clearer starting point.
How to edit and review a video with ChatGPT Video Editor
1. Install and start a new chat
After checking the product details and your export requirements, follow the installation instructions. Call the editor in a new chat. Explain where you will use the finished video and how you want it to look.
2. Upload your own footage
Provide one video or several clips, with the order for multiple clips. Start with a short sample if you are checking the workflow for the first time. Mention any existing marks that are already part of the source image.
3. Provide a reference video
Share a reference file or link. The editor studies motion graphics, text, captions, colors, fonts, layouts, animation timing, transitions, effects, and edit frequency. Describe the presentation you like without asking it to copy another creator's branding.
4. Review the initial cleanup
The editor analyzes footage and transcript, then checks obvious retakes, mistakes, filler, and audio problems. It works conservatively, keeps good material unchanged, and lets you review cleaned footage if it makes cuts.
5. Check the storyboard
Review where each edit will appear, why it is useful, its appearance, its connection to the spoken words, and its reference inspiration. Confirm that planned titles and graphics belong in your video before approving.
6. Approve the visual mockups
Inspect composition, colors, fonts, icons, and text placement. Check your name or logo if you have chosen to include one. Request redesigns before approval; approved designs are preserved in later stages.
7. Review the motion proofs
Watch graphics build, move, hold, and exit. This helps you notice timing and layout problems before the full video is rendered. Keep the viewer's attention on the message, not unnecessary animation.
8. Watch the full preview
Check the cleaned footage, captions, graphics, transitions, and sound together. Review the whole frame and the opening and closing sections. Request any creative corrections before approving the render.
9. Create the final render
After approval, the editor produces the high-quality output. It preserves the source resolution where possible, including 4K from 4K footage. Keep your confirmed export requirements in view when reviewing the result.
10. Download and inspect the file
Play the downloaded video, not only the preview. Check image quality, frame edges, opening, ending, and any added assets. Keep this sample as your reference before starting the next project.
Before you use the downloaded video
Use the saved file for your final checks. It is the version your audience or client will receive.
- The export matches the branding terms you confirmed.
- The file has the picture quality you need.
- Stock clips, music, and other added assets have suitable permissions.
- Your own captions and graphics are correct.
- The opening and ending contain only the intended content.
- You have kept the original footage and final copy.
Finding the best AI video editor no watermark starts with checking a real export and clear terms. For a guided edit with review points throughout, explore ChatGPT Video Editor and confirm your export requirements before starting.