Editing guide
Best AI Video Editor for Travel Videos
Turn a folder of trip clips into a video that feels like a journey.
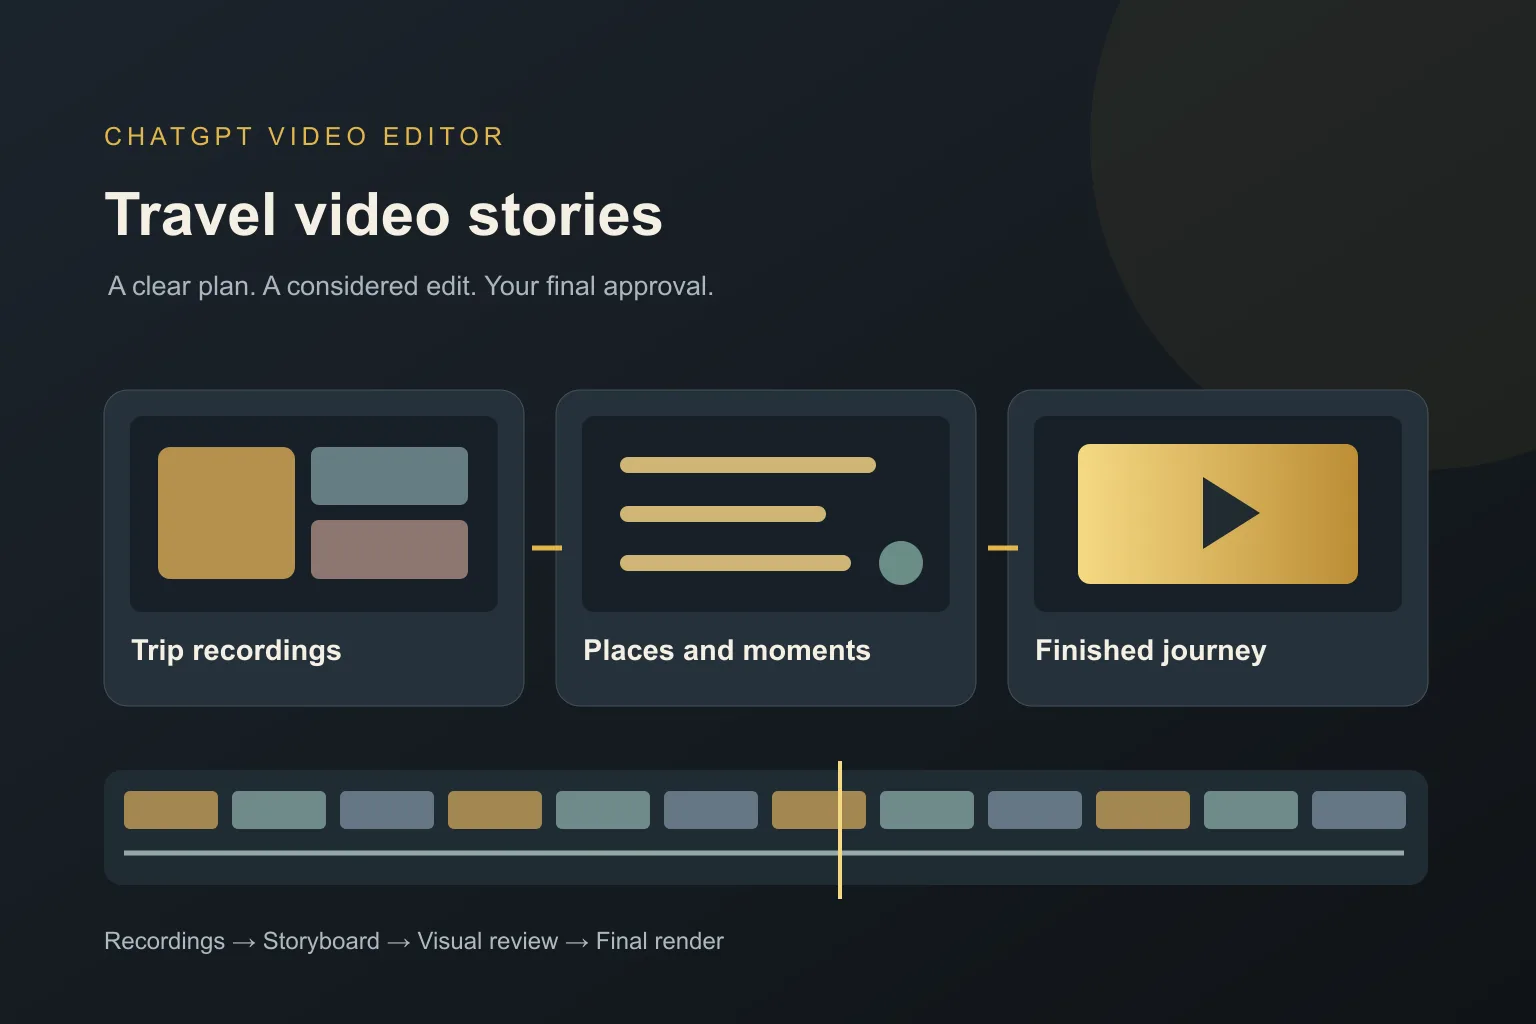
After a trip, your camera roll may contain beautiful views, quick food clips, conversations, and several nearly identical shots of the same street. You remember how those moments felt. Someone watching your video needs an edit that helps them experience the journey too.
The best AI video editor for travel videos should help you give those recordings an order and a purpose. You do not need a dramatic effect on every clip. You need a story people can follow, enough time to enjoy the place, and a way to review the choices.
What should you expect from an AI video editor for travel videos?
It should help the journey make sense
Your editor should work with a clear sequence, whether you follow the days of the trip or group clips by activity. A beach scene followed by a mountain hike may need a short place label or a natural transition. Tell the editor the order instead of expecting it to know where and when everything happened.
It should balance scenery with lived moments
Wide views show the destination, but small details can show what being there felt like. Your editor should make room for a train ride, a shared meal, or a short conversation when those moments matter. Avoid reducing the whole trip to a series of distant landscape shots.
It should give strong shots time to breathe
An AI editor should not rush past a view just to maintain constant movement. A slow reveal or quiet scene may be the point of the clip. Review the pacing and explain which shots deserve a longer hold. Use faster cutting where the activity actually calls for it.
It should keep place names and context accurate
Check names, locations, and any facts in your captions. The editor should give you a chance to correct text before the final render. Do not let a stylish title imply you visited a location that is not in the footage or add details you have not verified.
It should respect the original sound
Street sounds, water, conversation, or a short burst of laughter can carry part of the memory. Explain which audio moments you want preserved. Review the balance of speech and any added sound so the video still feels connected to the trip you recorded.
It should handle visual variety thoughtfully
Phone clips, action-camera footage, and other recordings can look different. Review how neighboring shots fit together and confirm any special correction needs. A shared title style can unify the video, but graphics alone will not solve every difference in the source footage.
What is the best AI video editor for travel videos?
Our pick for a trip video you want to direct and review is ChatGPT Video Editor. You bring the memories and the order; the workflow gives you a way to plan the visuals, inspect their design, and approve the final sequence. A reference helps explain whether you want a quiet diary or a livelier recap.
For example, your brief could say: 'Start with arriving at the station, move through the market and cooking lesson, and end with the evening view. Keep the short conversation at lunch. Use simple location titles and avoid covering the food close-ups.' Each instruction helps the edit preserve something specific about your trip.
Prepare your clips before starting and keep the original files. If you need specialist stabilization, color correction, or another technical treatment, confirm it separately. The listed options are $19 monthly or $197 lifetime access; see the homepage for the product details.
Comparing editors for turning a trip into a story
Travel footage often mixes scenery, conversation, and quick personal moments. Your editor should fit the way you want to connect them.
Filmora
Filmora's visual search can locate landscapes and objects. Consider it when sorting a trip's recordings is your main obstacle. Filmora features.
Final Cut Pro
Final Cut Pro offers visual search and a Magnetic Timeline. It can fit a travel story you want to assemble yourself. Final Cut Pro features.
CapCut
CapCut Desktop provides effects and color controls. It is an option for styling selected travel clips directly. CapCut features.
Why ChatGPT Video Editor is our travel-story recommendation
We choose ChatGPT Video Editor when you want to describe what made the trip memorable and review how the sequence expresses it. You can ask for arrival, exploration, and a closing view, while preserving a short conversation that matters to you. The storyboard helps you check the journey; mockups help you keep location text off the scenery. That makes it our preferred workflow for a personal, directed recap. If your main need is finding files or correcting difficult source footage, those separate tasks may favor another tool before the creative edit.
How to edit a travel video with ChatGPT Video Editor
1. Install and describe the trip video
Follow the installation instructions, then call the editor in a new chat. Say who will watch the video and whether you want a personal memory, a destination guide, or a short trip recap.
2. Upload the clips and their order
Provide a complete recording or several clips. Give the order for multiple files and identify must-keep moments. Add correct place names yourself so the editor has reliable context for any location text.
3. Share the style you want
Upload a reference video or provide a link. The editor studies graphics, text, captions, colors, fonts, layouts, animation timing, transitions, effects, and edit frequency. Explain which choices fit your trip and which feel too busy.
4. Review the footage analysis and cleanup
It analyzes the footage and transcript to understand the content. It checks retakes, mistakes, filler, and audio problems conservatively, leaving good material unchanged. Review any cuts so meaningful pauses, local sound, and personal moments are not lost.
5. Approve the storyboard
Read where each visual will appear, why it belongs, what it will look like, and how it connects to the content and reference. For spoken sections, check the link to the words. Confirm that the planned sequence tells your trip story.
6. Review the visual mockups
Check composition, colors, fonts, icons, and text positions. Make sure a place label does not cover the landmark it names. Ask for changes if needed; the approved design is preserved throughout the remaining stages.
7. Watch the motion proofs
Review how graphics build, move, hold, and exit. A calm scene may need a quieter entrance than a fast activity montage. Adjust motion and reading time before the full video is rendered.
8. Review the complete preview
Watch the footage, captions, graphics, timing, transitions, and sound together. Check the journey from beginning to end, including how one place leads to the next. Request any final changes before approving.
9. Create the high-quality render
The approved preview becomes the final render. The editor preserves source resolution whenever possible, including 4K where the original footage is 4K. Your starting recordings still determine the detail available.
10. Download your finished travel video
Save the file and watch it outside the preview. Check names, sound, and the final scene. Keep both the finished video and original recordings so the full memories remain available.
Before you share your travel video
Look for the small details that make the story both personal and easy to follow.
- The order of places and activities makes sense.
- Location names and any factual captions are correct.
- Your favorite personal moments are still included.
- Important scenery and faces are not hidden by text.
- The sound supports the scenes and keeps speech understandable.
- You are comfortable sharing the people and personal details visible in the footage.
The best AI video editor for travel videos helps you show more than where you went. It helps you shape the moments into a story. Explore ChatGPT Video Editor if you want to guide that story and review each stage before saving the final video.