Editing guide
Best AI Video Editor for Talking Head Videos
Make your on-camera explanation clear while keeping your voice and personality.
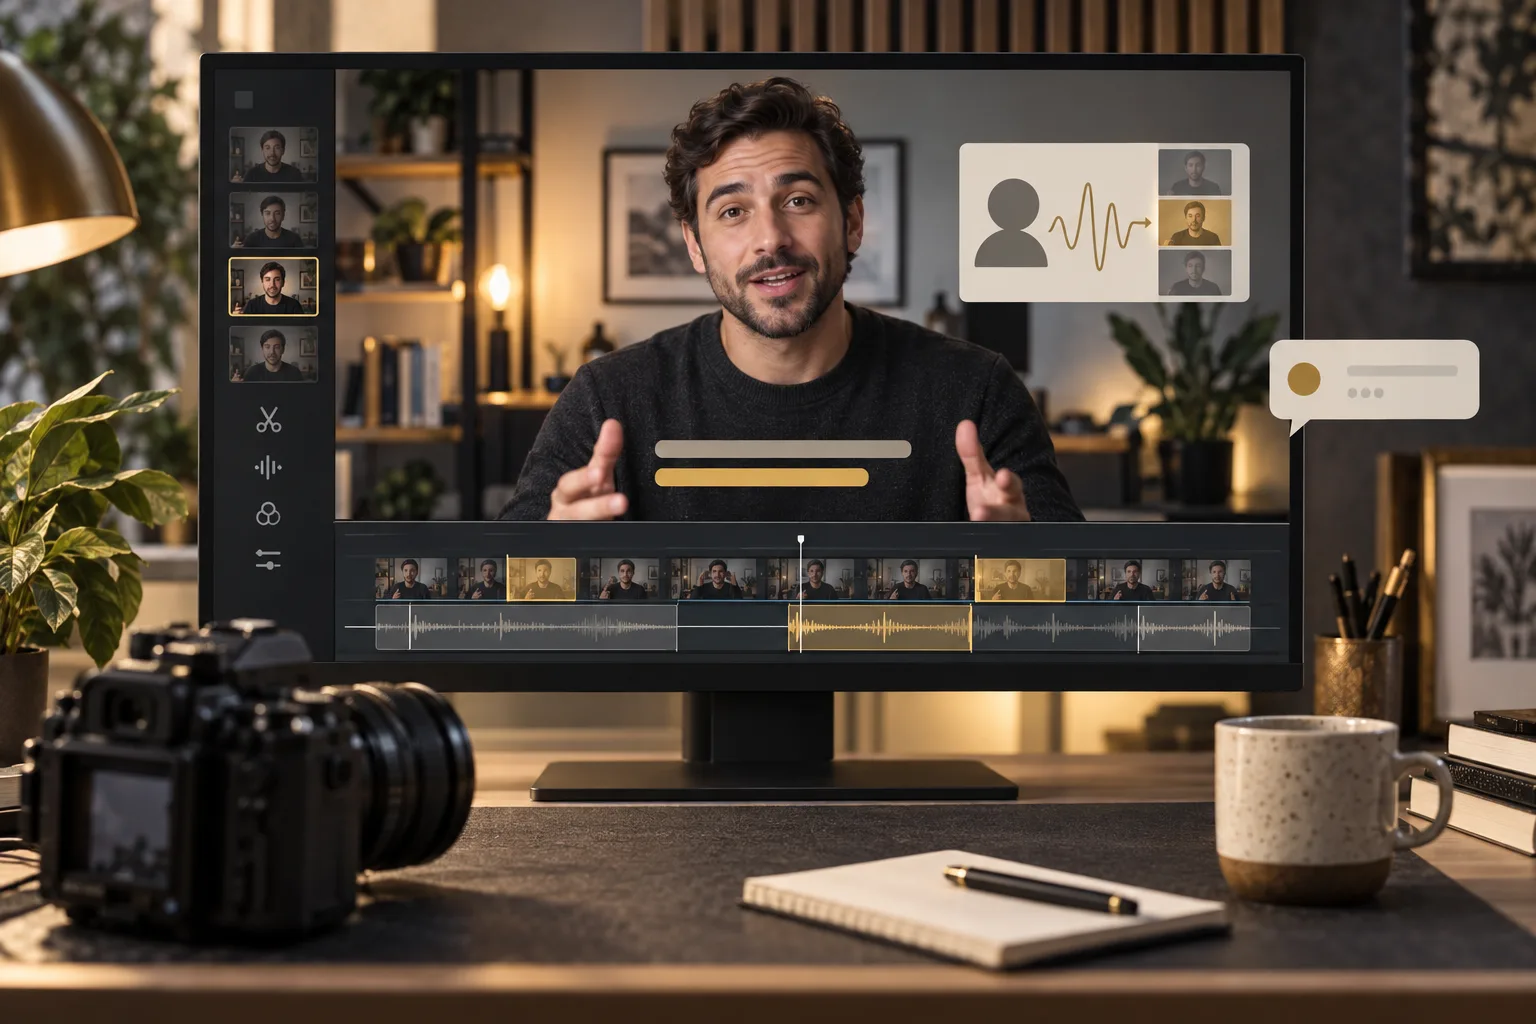
You do not need a complicated scene to make a useful video. Sometimes you just need to sit in front of a camera and explain something. The editing challenge comes later, when you have to choose which takes to keep and how to make your explanation easy to watch.
The best AI video editor for talking head videos should help your message come through while keeping you sounding like yourself. It should tidy up mistakes, support your words with clear visuals, and leave room for your expressions and natural pauses.
A talking head video is simply a video where you speak to the camera. It could be a lesson, an opinion, a business update, or an answer to a common question. Here is what your editor should help you do, followed by the steps for editing with ChatGPT Video Editor.
What should you expect from an AI video editor for talking head videos?
When your face and voice carry the video, small editing choices are easy to notice. A cut can make a sentence feel rushed. A caption can cover your expression. Choose an AI talking head video editor that helps with the following tasks and lets you check its decisions.
It should remove mistakes while keeping your speech natural
The editor should help you remove a false start, a repeated line, or a clear error without joining your words in an awkward way. You should still sound like you are having a normal conversation with the viewer.
For example, you might try an opening sentence twice before getting it right. The editor should help you keep the complete take you want. You also need a chance to listen to the cut so the first word is not clipped and the next sentence follows comfortably.
It should improve pacing without removing every pause
An AI editor should be able to shorten an unwanted wait while keeping pauses that give your words meaning. If you pause after asking a question, that moment may give your audience time to think.
You should be able to explain the pace you want. “Remove the long gaps where I check my notes, but keep the pauses after each main point” is a useful instruction. The goal is a clear conversation, not a stream of words with no breathing room.
It should add captions that match your words
The editor should turn your speech into readable captions and time them to what you are saying. This helps people follow the video when they cannot listen to the sound.
You should be able to correct the text, especially names, numbers, and words the editor may misunderstand. Check that each caption stays on screen long enough to read. A long sentence crammed into a small space is not much help to your viewer.
It should add supporting visuals at the right moment
The AI editor should use your explanation to decide when a label, diagram, or other graphic would make a point clearer. If you explain a three-step process, it could show the current step beside you as you speak.
The timing matters. A graphic about the next point can distract people from the sentence you are still finishing. Look for an editor that lets you check the plan and adjust when a visual appears.
It should keep your face visible
The editor should place text and graphics where they do not hide your eyes, mouth, or important gestures. Your expression is part of how you communicate, especially when you are sharing a personal experience.
It should also let you leave parts of the video free of extra visuals. You may want a simple label during an explanation and a clear screen during a more thoughtful moment. The editing should support that choice.
It should check sound problems without overworking your voice
An AI video editor should check for obvious audio problems and help address them where possible. If your voice is already clear, it should not change the sound just to apply an effect.
Listen to the result rather than relying on the picture alone. Your voice should remain easy to understand, and cuts should not remove the ends of words. If music is included, it should leave enough room for your speech.
It should let you review the edit and ask for changes
You should have a way to watch the work and say exactly what needs changing. Requests such as “Leave this reaction in” or “Move the caption below my hands” should help you guide the edit.
Before choosing an AI editor for videos where you speak to the camera, check how revisions work. Being able to review the visuals before the complete video is finished can make your feedback more specific and easier to act on.
What is the best AI video editor for talking head videos?
ChatGPT Video Editor is our recommendation for editing recorded talking head videos through prompts. You show it the style you like, provide your footage, and approve the work as it develops.
Its approach fits this type of video because it looks at both what you say and what appears on screen. The editor uses your transcript and footage to plan where a visual would help and where the attention should stay on you.
Suppose you are explaining three mistakes people make when starting a new hobby. You could ask for a short heading as you introduce each mistake, a simple example graphic where needed, and no extra text while you tell a personal story. The storyboard lets you check those choices before the visual editing moves forward.
You then review the mockups, watch the motion proofs, and see the full preview. If a design feels too busy or an animation interrupts your delivery, you have a chance to change it before approving the finished edit.
You still provide the direction and check the result. This makes it a useful option when you know how you want your video to feel but do not want to place every graphic and work through every cut yourself.
The plans are $19 per month or $197 for lifetime access. You can see the plans and installation details on the ChatGPT Video Editor homepage.
How four editors approach talking-head footage
Your spoken message should lead the edit. Compare how each option helps you shorten, clarify, or visually support that message.
Descript
Descript offers transcript editing and filler-word removal. It is relevant when tightening spoken material is the main part of your talking-head edit. Descript features.
CapCut
CapCut generates captions from speech and lets you customize them. It may suit a recording that mainly needs readable on-screen words. CapCut features.
Adobe Premiere
Premiere includes Enhance Speech and text-based editing. Consider it if you want those assists alongside direct control of the editing sequence. Adobe Premiere features.
Why we prefer ChatGPT Video Editor when words need visual support
For a speaker explaining an idea, ChatGPT Video Editor is our pick when you want to decide which parts benefit from graphics and which should stay on the speaker. The storyboard links proposed visuals to the words being said. That lets you reject a decorative interruption or approve a diagram that makes a difficult point clearer. Mockups and motion proofs then turn those choices into something you can inspect. We recommend it for that thoughtful visual support, rather than claiming it produces better speech cleanup than every alternative.
How to edit talking head videos with ChatGPT Video Editor
Have your original recording ready, along with an example of the editing style you want. Follow these steps from the first chat to the finished download. The short demos illustrate the stages; you can pause them to look more closely.
1. Install the editor and call it in a new chat
Visit ChatGPT Video Editor and follow the download and installation instructions. Once it is installed, open a new chat and call the editor.
Tell it what you are making. For example: “I recorded a video answering a customer question. I want a friendly edit with simple text.” The editor will ask you for your footage next.
2. Upload your talking head footage
You can upload one full recording or several clips. If you recorded the opening, main explanation, and ending separately, tell the editor which order to use.
Mention any take you prefer or moment you want to keep. You might say: “Use the second opening, then my answer, then the closing clip. Keep the short laugh after the example.” That gives the editor useful direction about your delivery.
3. Give the editor a reference video
The editor asks for a reference: a video whose editing style you like. Upload the video directly or provide its link.
Pick a reference with a feel that suits your message. If you are offering calm advice, you may want simple captions and slow movement. For a lively explanation, you may prefer more energetic graphics. Tell the editor which parts of the example you want it to follow.
It studies the motion graphics, text styles, captions, colors, fonts, layouts, animation timing, transitions, visual effects, and how often different edits appear.
4. Let it analyze your speech and check the recording
The editor reads your transcript and examines the footage to understand what you are explaining. A transcript is the written version of your speech. Together, the words and video help it decide where to add support and where to keep the focus on you.
Before creative editing, it checks for obvious retakes, mistakes, unnecessary filler words, and audio problems. This cleanup is conservative. If the recording and sound are already good, they stay unchanged.
If it makes cuts, you can review the cleaned version before continuing. Listen for a natural rhythm. Check that a small pause, smile, or reaction has not been removed when it helps your point land.
5. Read the storyboard and approve the plan
The editor prepares a storyboard explaining each planned visual edit. You can see where it will appear, why it belongs there, what it will look like, how it connects to your words, and which part of the reference inspired it.
Read the plan with your message in mind. If you are telling a story, do the graphics help the audience follow it? If you are giving advice, are the key points highlighted without filling the screen with text?
Ask for changes before approving. For example: “Show the three points after I introduce the topic, but keep the screen clear during my personal example.”
6. Review the visual mockups
Once the storyboard is approved, the editor creates still mockups of the visuals inside your video. These show the composition, colors, fonts, icons, and text placement before animation begins.
Check how the designs fit around your face and hands. If you lean forward or use large gestures, mention that when reviewing the placement. Also check whether the text is readable against your clothes and background.
You can request a redesigned mockup. When you approve a version, the editor preserves that design throughout the remaining stages.
7. Watch the motion proofs
Next, the editor shows you how the graphics build, move, hold, and exit. These short animation previews are called motion proofs.
Watch whether the movement competes with your delivery. A title should give your viewer time to read, and a graphic should not keep moving while you are making an important point.
You can ask for a quieter entrance, a longer hold, or a quicker exit. Approve the motion proofs once the timing feels right for the way you speak.
8. Watch the full preview
After you approve the motion proofs, the editor makes a full preview with the cleaned footage, captions, graphics, timing, and transitions. Now you can judge the complete edit as your viewer would see it.
Watch once for the message, then pay attention to anything that interrupted your focus. Does a caption arrive late? Does a cut make your expression jump awkwardly? Does a graphic cover a gesture that explains your point?
Give the editor the time of the problem and a clear request. “At 1:15, leave a little more space before the next sentence” is easier to act on than “The pacing feels wrong.” Approve the preview when you are satisfied.
9. Create the final high-quality video
Your approval lets the editor move to the final render. This combines the approved edits into the finished video file.
The editor preserves your original resolution whenever possible, including 4K if your source footage is 4K. Use the original recording when you can so it has the best picture available to work with.
Wait until the final render is complete. The preview helped you make decisions; the finished file is the version you will download and share.
10. Download your finished edit
Save the finished video to your device and play the downloaded copy. Check that the sound works and that the opening and closing are complete.
You can then upload it to YouTube or the platform you use for your audience. Keep a clearly named copy of the final version so it is easy to find when you need it.
Before you post your finished video
Your viewer should be able to focus on what you are saying. Before you post, check the finished video for these details:
- Natural speech: Do the cuts leave enough space between ideas, and are the beginnings and ends of words intact?
- Correct captions: Check names, figures, and words that could change the meaning of your advice.
- A clear face: Make sure text and graphics do not cover your expressions or useful gestures.
- Comfortable sound: Your voice should be easy to hear throughout the recording.
- Useful visuals: Each graphic should support the point you are making when it appears.
- The right file: Confirm that you downloaded the final version with all approved changes.
- Permission for added material: Check that you can use any music, images, or clips included in the edit.
The best AI video editor for talking head videos should help you deliver a clear message without editing away your personality. Good cuts, readable text, and well-timed visuals can support your explanation while keeping the attention on you.
If you want to direct that process with prompts, take a look at ChatGPT Video Editor. You can provide your recording, show the style you like, and review each stage before saving the finished video.