Editing guide
Best AI Video Editor for Streamers
Give a recorded stream moment enough context to work for someone who missed the live show.
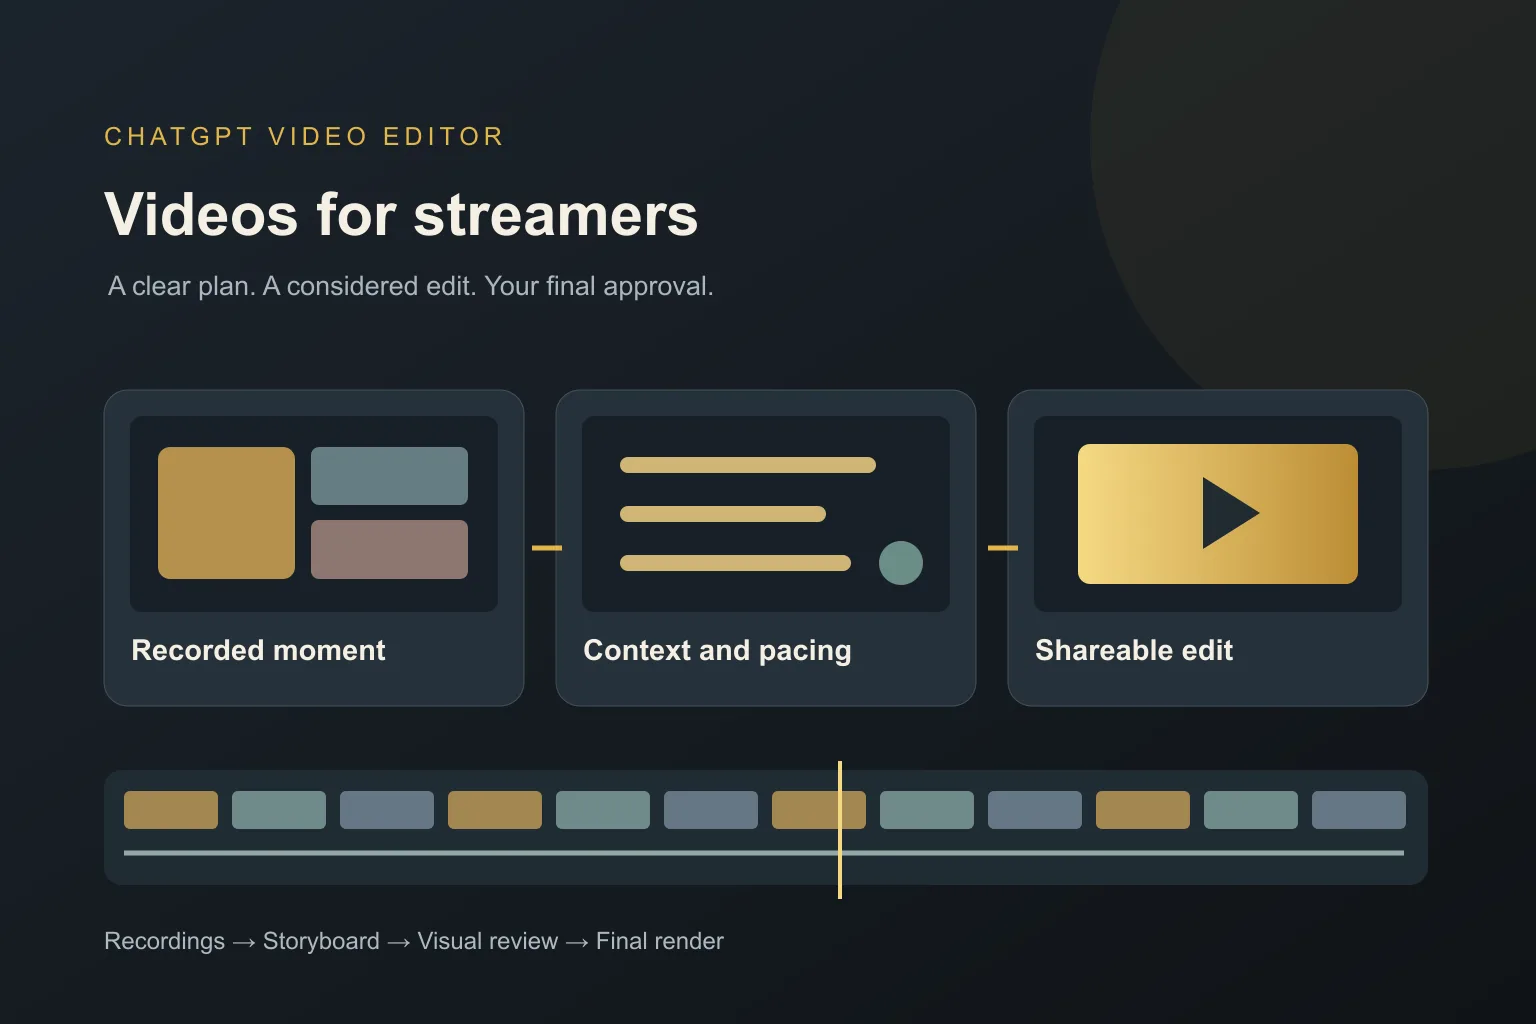
A moment that made your live chat laugh may confuse someone seeing it the next day. They missed the earlier joke, the challenge you were attempting, or the reason everyone reacted. A good stream edit gives that moment enough context to stand on its own.
The best AI video editor for streamers should help you turn recorded material into a video people can follow. That may be a short reaction, a useful answer from a live session, or a longer recap. The editing needs change with the kind of moment you want to share.
What should you expect from an AI video editor for streamers?
It should preserve the setup and payoff
An editor should help the viewer understand why a reaction matters. If you cut straight to a celebration, the moment may lose its meaning. Include the short setup that establishes the challenge, then keep the outcome and reaction close enough to feel connected.
It should distinguish quiet context from dead time
A pause before a reveal may build anticipation. A long wait while nothing changes may not. Your AI editor should let you review cuts instead of treating every quiet second as a mistake. Tell it which moments carry the tension or explanation.
It should keep the important screen area visible
A recorded stream may contain gameplay, a face camera, chat, alerts, and overlays. New captions should not cover the action or a useful expression. Check layouts using your actual recording, especially if you want a different viewing format from the original.
It should make speech easier to follow
Viewers may hear several people talking or unfamiliar names. Look for readable captions and a chance to correct wording. Review names, game terms, and inside jokes yourself. The goal is to help a new viewer follow the moment without filling the screen with explanation.
It should support a consistent channel style
A repeatable look can connect your short clips and longer recaps. Use a reference to explain titles, colors, and animation, then review the designs over your own footage. Consistency does not mean every moment needs the same loud effect.
It should give you control over what gets shared
Recorded streams can include details you do not want in a separate upload. Review visible chat, names, notifications, and the surrounding conversation. Your editor should let you check the complete result before it becomes the version you share outside the live audience.
What is the best AI video editor for streamers?
For selected stream footage, our recommendation is ChatGPT Video Editor. Its reference-led process is useful when you know the moment you want to edit and want to guide how it is presented. The storyboard and previews give you a chance to keep the context that makes the clip work.
For example, a viewer asks a practical question during a live drawing session. You could supply that section and say: 'Keep the question, shorten the repeated explanation, and add a brief label when I name each brush.' That gives the edit a clear job without turning the conversation into a wall of graphics.
If your need is automatic highlight discovery across entire streams, verify that capability separately. Do not assume it follows from the editing workflow described here. ChatGPT Video Editor lists $19 monthly or $197 lifetime access; the homepage explains the product.
Comparing tools for editing a recorded stream
A streamer may need help finding a moment, explaining it to new viewers, or designing the final clip. Those tasks lead to different choices.
OpusClip
OpusClip's ClipAnything searches for moments using prompts and audiovisual cues. Consider it when identifying excerpts is the first problem you need to solve. OpusClip features.
CapCut
CapCut adds editable speech captions. It is useful to compare when a selected stream exchange mainly needs clearer on-screen wording. CapCut features.
Filmora
Filmora includes Smart Scene Cut and AI search. These are options to investigate when navigating a large recording is taking most of your time. Filmora features.
Why ChatGPT Video Editor is our choice for the selected moment
Once you know which exchange or play you want to share, we favor ChatGPT Video Editor. You can explain the background, preserve the line that sets up the reaction, and inspect whether added text blocks the face camera or action. That gives you a way to turn a live moment into something a new viewer can understand. The staged review is the reason it remains our recommendation for the edit itself. It should not be confused with a promise to monitor a live stream or automatically find every highlight in a long archive.
How to edit recorded stream footage with ChatGPT Video Editor
1. Install and introduce the stream moment
Follow the installation steps and call the editor in a new chat. Explain what happened, why it matters, and whether the result is a short standalone clip or a longer recap.
2. Upload the recording you want to use
Provide one selected section or several clips with their order. Include enough footage before and after the moment to preserve context. Point out essential reactions, explanations, or details on the screen.
3. Share a style reference
Upload a reference video or give its link. The editor studies graphics, text, captions, colors, fonts, layouts, animation timing, transitions, effects, and edit frequency. Explain how energetic or restrained you want this particular edit to feel.
4. Review the footage cleanup
The editor analyzes the footage and transcript. It checks retakes, mistakes, filler, and audio issues conservatively, leaving good sections unchanged. Review any cleaned footage, especially pauses that help the joke, tension, or explanation land.
5. Approve the storyboard
Check each visual's placement, reason, appearance, spoken connection, and reference inspiration. Make sure the plan keeps the setup and payoff in order. Ask for changes if a label explains too much or distracts from the reaction.
6. Review mockups over the footage
Inspect composition, fonts, colors, icons, and text placement. Keep captions away from important game information or faces. Request redesigned mockups where needed; approved designs are preserved in the following stages.
7. Check the motion proofs
Watch graphics enter, build, hold, and exit. They should not cover the key action at its most important second. Review pacing so the added movement fits the mood of the original moment.
8. Watch the complete preview
Review the cleaned footage, captions, graphics, transitions, and sound as one video. Imagine you did not see the live stream. If the clip needs missing context, request a clear fix before approving.
9. Render the approved version
The editor creates the final high-quality render after approval. It preserves source resolution whenever possible, including 4K from 4K footage. The finished picture still depends on the recording quality you started with.
10. Download and check the saved clip
Play the downloaded file and inspect the opening, payoff, captions, and visible stream details. Keep the approved copy separate from the source recording, then upload it where you want to share it.
Before you share a clip from your stream
A replay clip reaches people who may know nothing about your channel. Give them a fair chance to understand it.
- The viewer can understand the setup without seeing the full stream.
- The important action and reaction remain visible.
- Captions correctly spell names and specialist terms.
- Cuts preserve the meaning of the conversation.
- Visible chat and notifications contain nothing you intended to keep private.
- The opening and ending feel complete rather than accidentally cut off.
The best AI video editor for streamers helps a live moment make sense after the live show ends. Try ChatGPT Video Editor with a selected recording and a clear brief for the story that clip should tell.