Editing guide
Best AI Video Editor for Social Media: What to Look For and How to Use One
Learn what to look for in an editor and how to turn your footage into a finished video, one step at a time.
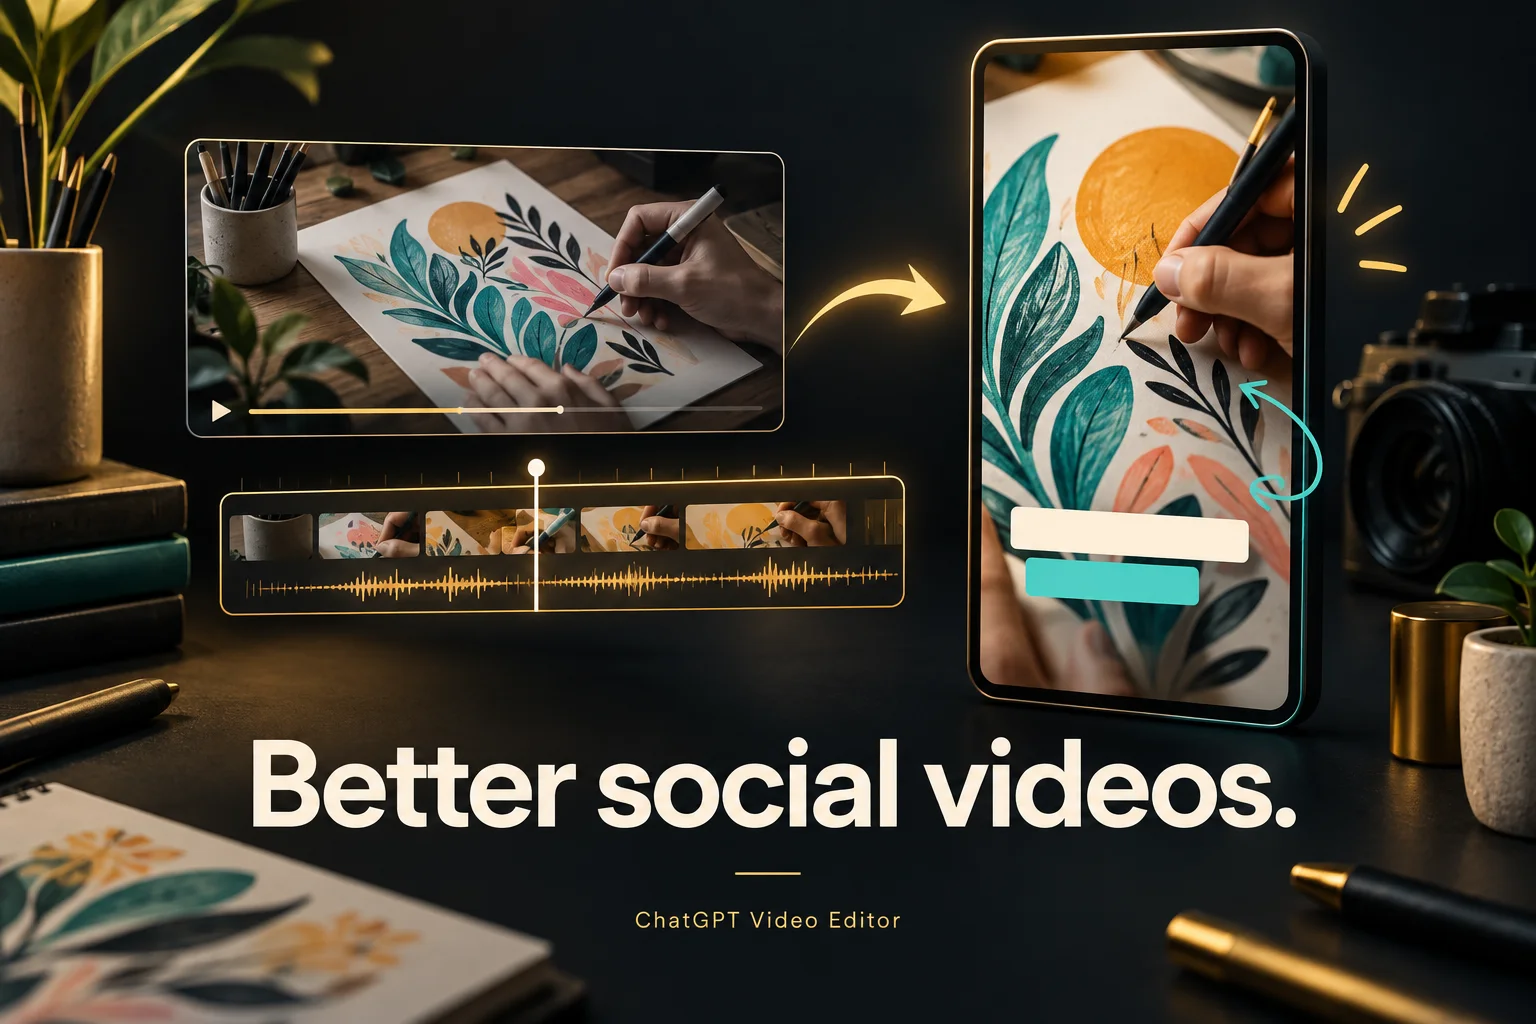
You have recorded your video. Now you need to cut out a mistake, add captions, and make it look good before you post it. You may know how you want it to look, but getting there can take longer than filming it.
The best AI video editor for social media should make that job easier. It should help you turn your footage into a video people can follow, without making you learn lots of editing tools first.
In this guide, you will learn what to look for in an editor, how to choose one for your videos, and how to go from your first upload to your final download.
What should you expect from an AI video editor for social media?
An AI video editor should help you do the editing work, from removing mistakes to adding readable captions. For social media, it should also help you make a video that looks clear on a phone and is easy to follow.
When you compare editors, look for these features and check how much control you have over the result.
The AI editor should make clean cuts
The editor should be able to spot repeated sentences, obvious mistakes, and long gaps, then help you remove them. This saves you from finding and cutting every unwanted moment yourself.
It should also keep the parts your viewer needs to understand your video. In a short tutorial, for example, it should not cut out a useful step just to make the video faster. Look for an editor that lets you review its cuts and ask for a moment to be kept.
It should add captions you can read on a phone
An AI video editor should be able to turn your speech into captions and match them to your words. This helps people follow your social media video when they watch without sound.
You should be able to correct a wrong word and change the text size or position. The editor should help you keep captions away from your face, the product you are showing, and the buttons that appear in the social app.
It should add visuals that match what you are saying
The editor should use your footage and spoken words to work out where a visual would help. If you mention a small detail on a product, for example, it could add an arrow at that moment so your viewer knows where to look.
Look for an AI editor that can add useful labels, graphics, and comparisons at the right time. It should also leave your footage clear when people need to watch what you are doing.
It should follow the style you want
You should be able to guide the AI editor toward a look that suits your social media videos. It should keep your fonts, colors, captions, and graphics consistent throughout the edit.
Some editors let you give them a reference video, which is an example of a style you like. If that matters to you, check whether the editor can study your example and follow your instructions, such as: “Use captions like these, but make the cuts slower.”
It should help you keep the sound clear
The AI editor should check for sound problems and help you fix them where possible. If you use background music, you should be able to ask it to lower the music so your voice is easy to hear.
It should avoid changing clear audio unnecessarily. Listen to the preview to check that your voice still sounds natural and that no words have been cut off.
It should give you the right video shape and quality
Check whether the editor can prepare your video for where you want to post it. You may need a tall video for Reels or TikTok, or a wide video for a longer YouTube upload. When it changes the shape, it should keep your face and other important details in view.
The editor should let you download a clear finished video. Before you choose a plan, check its export quality, any watermark, and whether a higher-quality download costs extra.
It should let you review the edit and ask for changes
You should be able to watch a preview and tell the AI editor what to change. Simple requests such as “Move the captions higher” or “Keep this label on screen longer” should help you get closer to the video you want.
Look for an editor that lets you approve the work before it creates the final file. This gives you a chance to catch a wrong caption, an awkward cut, or a graphic that covers something important.
What is the best AI video editor for social media?
If you have your own footage and want to explain your edits in a chat, our overall recommendation is ChatGPT Video Editor.
You start with your footage and a reference video. The editor studies the style of your reference, then looks at your footage and the words you say. This helps it plan where to add captions and graphics, where to make cuts, and where to leave your video alone.
Suppose you are explaining how two brushes give different results. You might want the two results shown next to each other while you speak. Later, you may want the screen to stay on your hands as you paint. You can explain those choices and review the plan before the editor moves forward.
You also get to check the designs, see how they move, and watch a full preview before the finished video is made. That gives you several chances to say, “Keep this,” “Change that,” or “This part needs more time.”
This makes it a useful choice if you want help with editing but still want a say in the result. Your footage, your instructions, and your feedback all matter.
You can choose $19 per month or $197 for lifetime access. You can find the plans and setup details on the ChatGPT Video Editor homepage. Follow the instructions that come with it.
How does ChatGPT Video Editor compare for social media?
A product demonstration, a short opinion, and a clip from an interview need different treatment. Here is how three alternatives fit those jobs.
CapCut
CapCut generates editable captions from speech. Consider it when your main task is making a spoken social clip easier to follow without sound. CapCut features.
OpusClip
OpusClip turns longer recordings into shorter clips. It is worth considering when you need several social posts from one source video. OpusClip features.
Canva
Canva provides video templates and layered editing. It may suit a social announcement whose layout matters more than a detailed footage-led story. Canva features.
Why ChatGPT Video Editor remains our pick for a guided social edit
With ChatGPT Video Editor, you can explain the point of the post and show an editing reference before approving the plan. For a product clip, that means checking whether a label supports the demonstration, whether captions cover your hands, and whether animation distracts from the result. We prefer that process when you want the whole post shaped around your footage. Choose a specialist clipping tool instead if finding many excerpts is your main job; our recommendation is about the reviewed creative edit, not a measured speed advantage.
How to edit a social media video with ChatGPT Video Editor
Here are the steps you follow, from starting the editor to saving your finished video. The short videos below show the steps with example screens. Your installed version may look a little different. You can pause each video whenever you need more time to look.
1. Install the editor and call it in a new chat
Visit ChatGPT Video Editor and follow the download and installation instructions. Once you have installed it, open a new chat in the app it supports and call the editor.
The example below shows you selecting the installed editor. Once it is active, it will ask you for the things it needs.
2. Upload the video you want to edit
The editor will ask you to upload your footage. You can give it one complete video or several clips.
If you upload several clips, tell it the order you want. For example: “Put my introduction first, then the painting steps, and show the finished artwork last.” You can also briefly explain what your video is about.
3. Give it a reference video
Next, the editor will ask for your reference video. This is a video with an editing style you like. You can upload the video or give it a supported link.
Choose a reference that fits the kind of video you want to make. If you want a calm lesson, a video with fast cuts and flashing text may not be the best example.
You can tell the editor exactly what you like: “Use captions like these, but keep the cuts slower.” You do not have to copy every part of the reference. You also still need permission to reuse someone else’s footage or music.
4. Let it study your videos and check for mistakes
The editor studies the reference to understand its style. It looks at the text, captions, colors, fonts, layouts, moving graphics, transitions, and other effects. It also checks how long the animations take and how often the edits appear.
Then it studies your footage and transcript. The transcript is the written version of what you say. This helps it understand your explanation and decide when a visual would help.
Before it starts the creative work, it checks for obvious retakes, mistakes, extra filler words, and sound problems. It should not cut things just for the sake of cutting. If your footage and sound are already good, it leaves them unchanged.
If it makes cuts, you can watch the cleaned video before you continue. Check that it has kept the pauses and actions your viewer needs to see.
5. Read and approve your storyboard
The editor now creates a storyboard. This is a plan for your edit.
It shows where each visual will appear, why it is there, and what it will look like. It also explains how it connects to your spoken words and which part of the reference inspired it.
Open the plan and read through it. If you want something changed, say so before approving. For example: “Do not add text during this part. I want people to focus on the brush moving across the paper.”
6. Check how the visuals will look
Once you approve the storyboard, the editor creates visual mockups. These are still pictures that show how your graphics and text will look inside the video.
Check the colors, fonts, icons, and text position. Make sure you can read the words and still see the important parts of your footage.
If you do not like a design, ask the editor to change it. Once you approve a version, the editor keeps that design as it moves through the next steps.
7. Watch how the graphics move
Next, you receive motion proofs. These are short previews that show how each graphic appears, moves, stays on screen, and leaves.
Watch whether you have enough time to read the text. Check that the movement feels right for your video. You might say: “Make this come in more slowly,” or “Keep this label on screen longer.”
Ask for changes if you need them, then approve the motion proofs.
8. Watch the full video preview
After you approve the motion proofs, the editor makes a full preview. You can now watch the whole edit, including the cleaned footage, captions, graphics, timing, and transitions.
Watch it from start to finish. A graphic might look good by itself but feel too busy when you see it with everything else. This is your chance to catch that.
If something needs fixing, tell the editor where it happens and what you want changed. When you are happy with the full preview, approve it.
9. Let the editor make the final high-quality video
Once you approve the full preview, the editor creates the final render. “Render” simply means turning all the approved edits into your finished video file.
It keeps your source video’s resolution whenever possible, including 4K if you started with 4K footage. Resolution is the size of the picture in pixels. Keeping it helps you avoid making the final picture smaller than it needs to be.
A high-quality export cannot bring back detail that was missing from a blurry recording. Give the editor the best original file you have.
10. Download your finished video
When the video is ready, download it and play it on your device. Make sure you saved the finished version, not an earlier preview.
You can then upload it to YouTube or your chosen social platform. Keep a copy of the file so you have it if you need it again.
Before you post your finished video
Before you press publish, give your video one last check:
- Can you follow the explanation? Make sure no useful part has been cut out.
- Are the captions right? Check spelling, names, and when the words appear.
- Can you see what matters? Keep text away from faces, hands, and anything you are showing.
- Is the pace comfortable? Give your viewer time to read and understand each point.
- Can you hear the voice clearly? Check that music and effects are not too loud.
- Did you save the right file? Use the final video with the changes you approved.
- Can you use everything in it? Check your permission to use music, footage, and other material.
The best AI video editor for social media should help you spend less time working out how to edit and more time making videos you are happy to share. Start with a clear idea, give useful feedback, and check the result.
If you like the idea of showing an editor the style you want and guiding it through a chat, take a look at ChatGPT Video Editor. You can see how it works and decide whether it fits the videos you want to make.