Editing guide
Best AI Video Editor for PC
Choose an editing process that fits your computer, your footage, and the way you like to work.
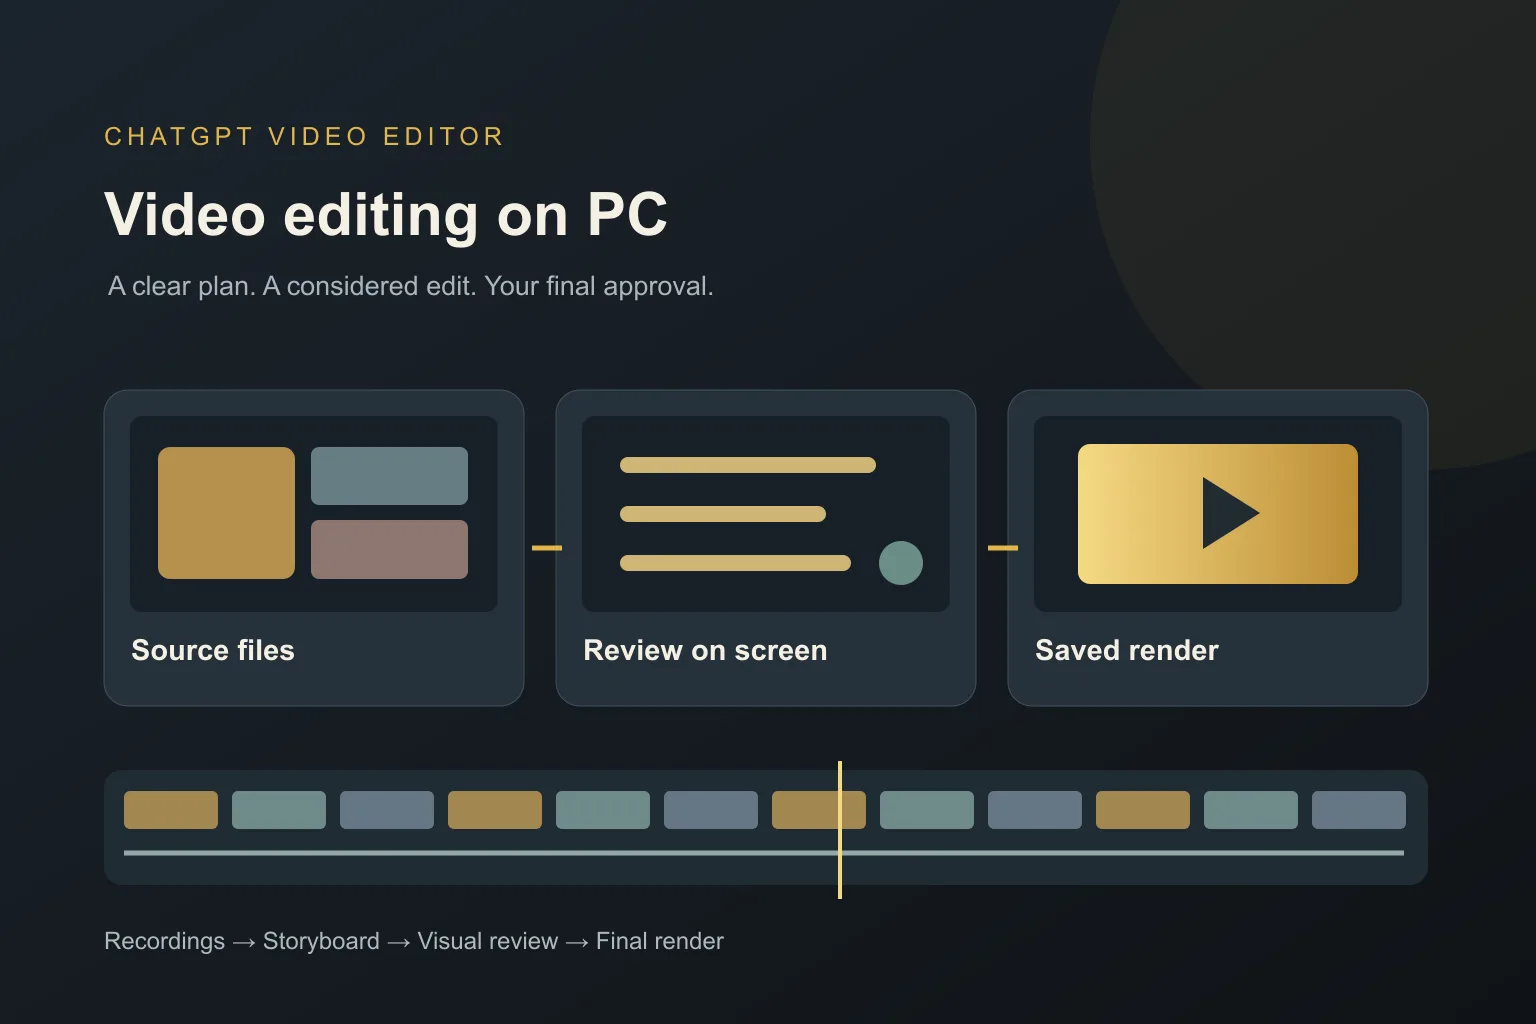
You have recordings on your PC and an idea of what the finished video should look like. What you may not have is time to learn every panel in a traditional editor. You want to explain a change, see the result, and keep moving.
The best AI video editor for PC should make that process easier without hiding the important decisions. Before choosing one, think about the files you use, the setup it needs, and how you will review and save your work.
What should you expect from an AI video editor for PC?
It should explain what your setup needs
A product being called an AI editor does not tell you whether it runs as a desktop program, uses another application, or relies on an online account. Look for clear installation instructions and requirements. Do not assume that every PC, operating system version, or hardware setup is supported.
It should work with representative source files
Your phone recording, screen capture, and camera clip may differ. Test the kind of footage you actually plan to edit rather than an unrelated tiny sample. Confirm any important format, file-size, or duration requirements before starting a large project.
It should make your instructions useful
An AI editor should give you a practical way to describe the change you want. 'Keep the diagram visible while I explain the second step' is more useful than 'make it professional.' You should be able to review whether your direction was followed without understanding technical editing terms.
It should let you inspect text on a full screen
A PC display is useful for checking spelling, small graphics, and where captions sit. The editor should offer previews that help you inspect those details. Still check the intended viewing size if the audience will watch on a phone; desktop readability alone is not enough.
It should keep review separate from final rendering
You should be able to fix a design before waiting for the whole finished video. Storyboards, mockups, and short motion reviews help you catch problems early. Clear approval stages also make it easier to know which choices are settled.
It should leave you with a usable saved file
The final result should be something you can download and keep. Check the output against your intended use, and organize your source files separately. A clear folder structure saves confusion when you return to the project or make a revised version later.
What is the best AI video editor for PC?
For a prompt-led workflow, our pick is ChatGPT Video Editor. Its main appeal is how you guide the edit: share the material, show a reference, and approve the result in understandable stages. That suits someone who wants creative control without starting with a crowded timeline.
It is not a claim that any PC will render every project quickly. The computer, source files, setup, and tools involved can affect what a project needs. Confirm compatibility and try a short representative recording before committing your whole video library.
A helpful first brief might be: 'This is a screen tutorial. Keep the cursor and menu labels visible, add short titles when a new task starts, and avoid decorative effects over the instructions.' The product lists $19 monthly and $197 lifetime access. See the homepage for current setup details.
Comparing editors for your PC workflow
Choose a tool around the work you want to do on your PC, then check whether your machine and source files meet its requirements.
Clipchamp
Clipchamp offers browser-based recording and editing tools. It may suit a screen demonstration that needs captions and basic audio cleanup. Clipchamp features.
CapCut
CapCut Desktop supports PC editing with effects and keyframes. Consider it if you want to make visual adjustments through desktop controls. CapCut features.
DaVinci Resolve Studio
DaVinci Resolve Studio offers Windows GPU support and advanced image processing. It is relevant for projects where detailed finishing is a priority. DaVinci Resolve Studio features.
Why ChatGPT Video Editor fits a PC user who wants to give direction
ChatGPT Video Editor is our recommendation if you would rather explain the edit and use your PC to review it. In a software demonstration, you can ask for a label when a task starts, keep menus visible, and approve a mockup before the complete sequence is rendered. The practical appeal is having a clear review path for those decisions. We are not ranking the tools by hardware speed or claiming every PC is compatible. Check the installation requirements first, then judge the workflow with a representative recording.
How to edit videos on your PC with ChatGPT Video Editor
1. Complete setup and call the editor
Follow the installation instructions for your setup, then call the editor in a new chat. Explain the type of video, who will watch it, and what you want the finished version to communicate.
2. Upload your recording or clips
Choose one complete video or multiple clips. Give an order if you use several files. Keep the originals in a clearly named folder and identify the recording that should be treated as the main source.
3. Share an editing reference
Upload a reference video or provide its link. The editor studies graphics, text, captions, colors, fonts, layouts, timing, transitions, effects, and editing frequency. Tell it which style choices you want to carry into your own video.
4. Review analysis and cleanup
It analyzes your footage and transcript to understand the content. It checks retakes, mistakes, filler words, and audio issues conservatively. Good material remains unchanged, and you can review a cleaned version if cuts are made.
5. Read the storyboard
Check each planned visual's position, purpose, appearance, connection to your words, and reference inspiration. On a tutorial, make sure labels explain the correct step. Request changes and approve the plan before design work proceeds.
6. Inspect the mockups
Review composition, colors, fonts, icons, and text placement on your screen. Look closely at small labels and anything near the edges. Request redesigns if needed; the approved version is preserved as the edit continues.
7. Check the motion proofs
Watch how the graphics build, move, hold, and exit. Make sure you have enough time to read them and that they do not block an important action. Correct timing before the full preview.
8. Review the complete video
Watch the cleaned footage, captions, graphics, transitions, and sound together. Check that the sequence makes sense without relying on your knowledge of the source. Explain any final changes, then approve the preview.
9. Render the approved edit
The editor creates the high-quality final video after approval. It preserves source resolution whenever possible, including 4K for 4K footage. Keep expectations tied to the quality of the recordings you supplied.
10. Download and organize the result
Save the finished video with a clear name and play it from your PC. Check picture and sound before sharing. Keep the final version separate from test exports so you upload the correct file.
Before you upload the video from your PC
A short file check can prevent a wrong-version upload or an overlooked caption error.
- The saved video is the approved final version.
- The whole file plays with picture and sound.
- Small text and captions are readable at the intended viewing size.
- The beginning and ending are complete.
- The export suits the place where you will upload it.
- The original recordings remain safely stored.
The best AI video editor for PC is one whose setup and review process fit your real work. If you prefer to explain your ideas and approve the creative stages, explore ChatGPT Video Editor and begin with a small project.