Editing guide
Best AI Video Editor for My Videos
Start with the recordings you already have and a clear idea of what you want to change.
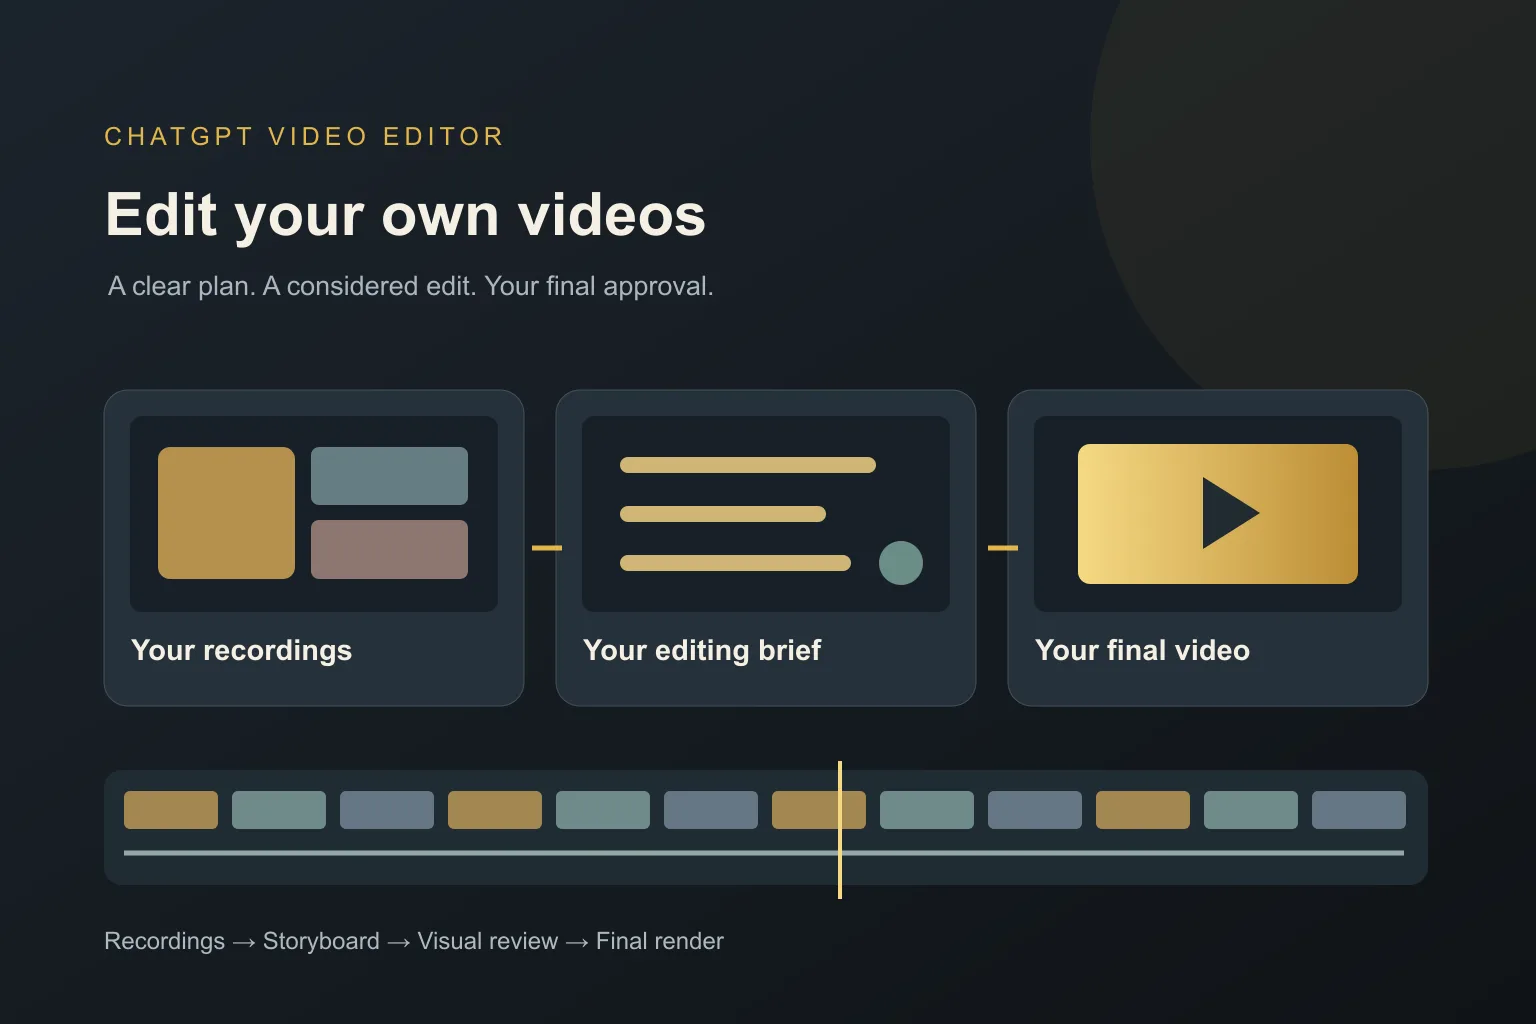
You may have a video on your phone or computer that is almost useful. The explanation is good, but the beginning drags. A few clips belong together, but they are still separate files. You know what feels wrong without knowing the editing term for it.
If you are asking, 'What is the best AI video editor for my videos?' start with the footage you already have. You want an editor that helps you explain the changes, shows you the result, and keeps you in control of what the final video says.
What should you expect from an AI editor for your own videos?
It should begin with what you recorded
An editor for existing footage should help you work with your actual clips. That is a different goal from generating an entirely new scene from a text prompt. Explain which recording matters most and what must remain in it, so the edit starts with your material and purpose.
It should accept an understandable brief
You should be able to describe a result without learning a long list of technical terms. Say, 'Keep the whole demonstration visible and add a short label when I name a tool.' A useful editor helps turn that kind of direction into a plan you can check.
It should keep your meaning intact
A shorter recording is not always clearer. Cutting a qualification, explanation, or reaction can change the point. Look for conservative cleanup and a chance to review any cuts. Tell the editor which words or moments are essential before it starts shaping the video.
It should show how added visuals help
A title, caption, or graphic should make something easier to understand. Your editor should explain where the addition belongs and what it communicates. If a section already works as plain footage, leaving it alone can be the better editing choice.
It should let you correct the design early
You should be able to review fonts, colors, and layout before waiting for the complete export. Early mockups make a vague problem easier to describe: the text is too close to your face, the color is hard to read, or the graphic shows the wrong idea.
It should deliver a result you can check and keep
The workflow should end with a downloadable video, not just an appealing preview. Watch the saved file and compare it with your original goal. Keep your source recordings so a future change does not depend on editing an already finished export.
What is the best AI video editor for my videos?
We recommend ChatGPT Video Editor for people who want to direct changes to their own footage in plain English. Its staged process makes it possible to review the plan, the look, the movement, and the full edit before approving the final render.
The right first step is a specific brief. Instead of 'make my video better,' try: 'This is a lesson for beginners. Remove only clear mistakes, keep the explanation in order, and use a visual when it helps someone understand the size difference.' That gives the editor a job you can later judge.
A reference video adds another useful piece of direction. Choose one because you like its editing style, then explain what fits your own material. The product lists $19 monthly or $197 lifetime access. Check the homepage for setup details and confirm any special source or export needs before starting.
Comparing options for the recordings you already own
Start with the change you want: a clearer explanation, a different visual treatment, or help assembling the footage. That makes the comparison more useful than a general ranking.
Descript
Descript's Underlord can edit existing video from instructions. It is a close alternative when you want to describe changes to an AI assistant. Descript features.
Adobe Premiere
Premiere's beta AI Assistant prepares media and assembles initial edits. Consider it if you want that assistance within an established Premiere project. Adobe Premiere features.
CapCut
CapCut includes script-to-video creation as well as editing tools. Separate those generation features from the changes your existing recordings actually need. CapCut features.
Why ChatGPT Video Editor remains our pick for your own footage
We recommend ChatGPT Video Editor when you want a clear path from 'this is what I recorded' to 'this is the edit I approved.' You can identify what must stay, show a style you like, and examine the plan before it becomes finished graphics and motion. For a useful but plain recording, that means you can improve presentation while checking that the original meaning survives. Its appeal is the full chain of creative approvals. Other assistants also accept instructions; our preference is for this particular combination of reference analysis and staged review.
How to edit your own videos with ChatGPT Video Editor
1. Install and call the editor
Follow the installation instructions, then call the editor in a new chat. Explain what your video is about, who it is for, and the main change you want. You do not need a complicated brief to begin.
2. Upload your video or several clips
You can provide one complete recording or multiple clips. If there are several, state their order. Identify anything that must stay and keep an original copy of every file before you begin editing.
3. Provide your reference video
Upload the reference directly or share its link. The editor studies motion graphics, text styles, captions, colors, fonts, layouts, animation timing, transitions, effects, and how often edits appear. Mention the choices you particularly like.
4. Review the analysis and cleanup
It analyzes your footage and transcript to understand the explanation and where visuals might help. It checks retakes, mistakes, unnecessary filler, and audio problems conservatively. Good footage stays unchanged, and you can review any cleaned version before continuing.
5. Read and approve the storyboard
The storyboard shows where each visual appears, why it belongs, what it looks like, how it connects to the words, and which reference moment inspired it. Read the whole plan and request any changes before approving.
6. Check the visual mockups
Inspect composition, colors, fonts, icons, and text placement in your video. If a mockup does not work, explain the change you want. The editor updates it and preserves the approved version through the remaining stages.
7. Review the motion proofs
Watch how the graphics build, move, hold, and exit. Check that you can read the text and that the movement supports the explanation. Ask for timing or animation changes before the entire video is rendered.
8. Approve the full video preview
Watch the complete edit with cleaned footage, captions, graphics, timing, and transitions. Compare it with the goal you gave at the start. Request any remaining changes, then approve when the result is right.
9. Create the high-quality final render
The editor renders the approved video at high quality. It preserves the source resolution whenever possible, including 4K when your original is 4K. Better export settings cannot replace detail that was never captured in the source.
10. Download and save the finished video
Play the downloaded file all the way through. Check the picture, sound, captions, opening, and ending. Keep the final copy alongside your originals, then upload or share it where you intended.
Before you share your edited video
Use your original goal as the final checklist. The edit should solve the problem that made you want to change the recording.
- The message is easy to understand without extra explanation.
- Important words and moments have kept their meaning.
- Added visuals help rather than cover the useful footage.
- Names, captions, and labels are correct.
- The saved file plays properly from start to finish.
- You have kept the original recordings and the approved final version.
The answer to 'What is the best AI video editor for my videos?' depends on how you want to work. If you want to explain the changes and approve the creative choices along the way, start with ChatGPT Video Editor and one recording you know well.