Editing guide
Best AI Video Editor for MacBook
Guide your edits on a MacBook, review each stage, and save the finished video.
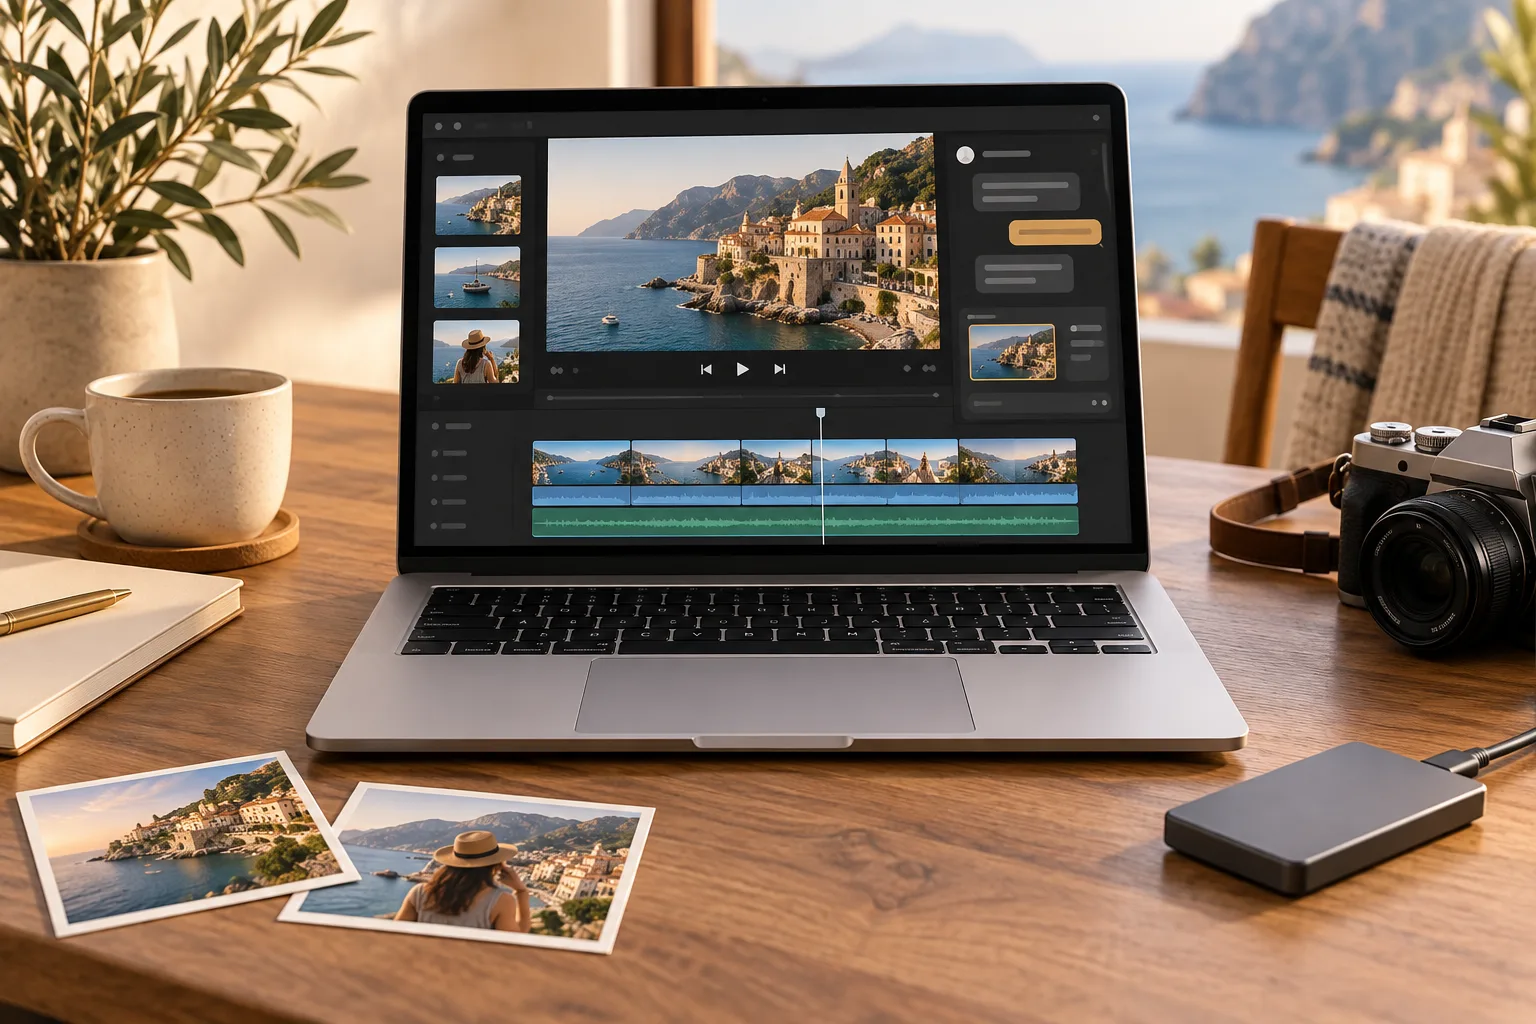
You bring your recordings onto your MacBook, open the folder, and realize that filming was only the first part of the job. You still need to choose the clips, remove mistakes, and turn the sequence into something people can comfortably watch.
The best AI video editor for MacBook should make that work easier without making your choices for you. You should be able to explain your goal, inspect the proposed edits, and save a finished video that uses your footage well.
Before you choose, check how the editor runs on your MacBook and how much of the editing it actually helps with. Here is what to look for, followed by a practical guide to working with ChatGPT Video Editor.
What should you expect from an AI video editor for MacBook?
A useful editor needs to fit both your computer and the videos you want to make. A short travel recap and a detailed lesson can need very different edits. Look for clear answers to these practical questions.
It should explain its macOS and installation requirements
The editor should tell you how to install or access it on your MacBook. Check the supported macOS version, any hardware requirements, and any other app or account needed to use it.
Do not assume every tool described as an AI editor for Mac works the same way. Some run in a browser; others use an installed app or connect to another application. Choose a setup you understand, and check your specific MacBook model if compatibility is unclear.
It should accept the recordings you want to use
The AI editor should explain its supported file types and limits. You may have recordings from your phone, a camera, or a screen-recording session. Make sure you can supply the files you actually plan to edit.
For multiple clips, you need a way to describe the order. A travel video might begin with your arrival, move through the places you visited, and end with your thoughts on the trip. The editor should let you explain that sequence instead of relying only on file names.
It should let you describe changes in everyday language
An AI video editor should help turn a clear request into an edit. You could ask for a shorter opening, a title when the location changes, or a close-up while you explain a detail.
This is useful when you know the result you want but do not know which editing control creates it. “Keep the street sounds during this walk” tells the editor something meaningful without requiring a technical term.
It should connect cuts, captions, and graphics to your content
The editor should study the footage and speech before deciding what belongs in the video. Cuts should remove unwanted material, captions should follow your words, and graphics should help explain what is happening.
If you name a place while showing its entrance, a short location label may help. If you stop speaking to let people enjoy the view, the editor should be able to leave that part visually simple. You need room to guide both choices.
It should make previews and revisions easy to review
You should be able to inspect the proposed work on your MacBook and ask for changes before the final video is made. Look for previews that let you judge text size, placement, and timing clearly.
A laptop screen can make it tempting to approve a design quickly. Take a closer look at small labels and busy sections. An editor with clear review stages helps you fix a crowded layout before it appears throughout the finished video.
It should explain internet needs and file limits
The editor should make it clear which parts need an internet connection and what happens when you supply your footage. This matters if you edit while travelling or work with large recordings.
Installation on a MacBook does not by itself mean a tool works offline. Check the actual requirements, along with any limits on recording length or file size. Also leave space for your original clips, previews, and final download.
It should let you save a high-quality result
The editor should offer an export that fits the quality of your source video. Check the available resolution, file format, and any plan restrictions before committing to a large project.
You should be able to download the finished file and play it outside the editor. This lets you confirm the video you will share, rather than relying only on the appearance of an in-app preview.
What is the best AI video editor for MacBook?
ChatGPT Video Editor is our pick for a workflow where you give editing instructions in a chat and review the result as it develops. The editor's setup includes macOS installation and activation steps; follow the supplied instructions for the supported app and account requirements.
You start with your own recordings and a reference video. The editor studies the reference style, analyzes your footage and speech, and builds a plan for the visual edits.
Suppose you have returned from a short trip with clips of a harbour, a market, and a walking tour. You could ask for the places to appear in that order, simple location titles, and uninterrupted original sound during the market scene. The storyboard lets you see how those choices fit into the whole video.
You then inspect still mockups, watch the motion proofs, and review the complete preview. If a title hides a landmark or a transition feels too busy, you can request a change before approving the final file.
This approach is useful when you want editing help without giving up your say in the result. You still choose the footage, provide direction, and watch the previews. The editor handles the planned editing work around those decisions.
Access costs $19 per month or $197 for lifetime access. See the ChatGPT Video Editor homepage for the plans and setup information. Check any required separate account or service as part of preparing your MacBook.
Comparing editing approaches on a MacBook
Your MacBook is where you work, but the more useful comparison is how you want to make decisions: on a timeline, through text, or through staged reviews.
Final Cut Pro
Final Cut Pro offers a Magnetic Timeline, automatic captions, and visual search. It is a natural shortlist option for hands-on editing on a Mac. Final Cut Pro features.
DaVinci Resolve Studio
DaVinci Resolve Studio supports Apple silicon GPU acceleration and advanced finishing. Consider it when technical control is a major part of your project. DaVinci Resolve Studio features.
Descript
Descript works on Mac and offers transcript-based editing. It can fit a spoken video whose structure you prefer to adjust as text. Descript features.
Why our guided-workflow pick is ChatGPT Video Editor
We favor ChatGPT Video Editor when you want to use your MacBook to review the creative work rather than assemble every effect yourself. You can show a reference, read the proposed sequence, and inspect graphic designs before they are animated. A tutorial creator, for instance, can focus on whether each visual teaches the right point. That is the practical reason for our recommendation, not a claim about battery life or faster rendering on Apple hardware. Confirm the setup requirements for your MacBook and the files you plan to use.
How to edit videos on a MacBook with ChatGPT Video Editor
Put your recordings somewhere easy to find and decide which ones belong in the project. You can follow the stages below with a full recording or a collection of clips. The demonstrations illustrate the workflow rather than every detail of the MacBook interface.
1. Set up the editor and call it in a new chat
Open ChatGPT Video Editor and follow the download and installation instructions for macOS. Complete the setup in the supported app before starting your edit.
Then call the installed editor inside a new chat. Give it a short description of your project, such as: “I want a relaxed travel video from these recordings, with simple place names and clear narration.”
2. Upload the footage from your MacBook
The editor asks you to upload the video you want to edit. Choose one full recording or provide several clips. Use the best original files you have, rather than smaller copies if the originals are available.
For multiple clips, explain the order and anything that must stay. For example: “Start with the harbour, then the market, and finish with the walking tour. Keep the full explanation in the final clip.”
3. Give the editor a reference video
Next, provide a video with an editing style you like. You can upload the reference directly or share its link.
Choose an example that fits your goal. You may like gentle transitions and small headings but want to keep more of your original sound. Explain those preferences so the editor knows which parts of the reference to follow.
It studies motion graphics, text styles, captions, colors, fonts, layouts, animation timing, transitions, visual effects, and how frequently different edits appear.
4. Let it analyze your footage and review any cleanup
The editor analyzes your video and transcript, which is the written version of your speech. This helps it understand your explanation, decide where visuals are useful, and identify parts that should remain focused on the original scene.
Before the creative edit begins, it checks for obvious retakes, mistakes, unnecessary filler words, and audio problems. The cleanup is conservative. If your footage and sound are already good, it leaves them unchanged.
If cuts are made, you can review the cleaned footage before continuing. Check that it has kept the context of your explanation and any original sounds you asked to preserve.
5. Read and approve the storyboard
The editor produces a storyboard showing where each visual edit will appear, why it is there, and how it will look. It also explains the connection to your words and which part of the reference inspired the choice.
Read the complete plan on your MacBook. Check whether the titles introduce the right places and whether graphics support the story without covering the scenery you wanted to show.
Ask for changes before approving. You might say: “Use the place name when we arrive, then remove it before the wide view of the harbour.”
6. Inspect the visual mockups
After storyboard approval, the editor creates visual mockups. These still images show the graphics within your footage, including their composition, colors, fonts, icons, and text placement.
Check whether titles are easy to read against changing backgrounds. A pale sky and a shaded street may need different treatment to keep the same text clear. Also check names and other details you supplied.
If a design needs work, ask for a new version. Once you approve a mockup, the editor preserves it throughout the remaining stages.
7. Review the motion proofs
Motion proofs let you see how the approved graphics build, move, hold, and exit. These short previews help you judge the animation before the full video is rendered.
Watch whether the movement matches the feel you asked for. A quiet scene may need a simple title entrance, while a more lively section can handle quicker movement. Make sure you have enough time to read each label.
Explain any changes you want, then approve the motion proofs when the timing feels right.
8. Watch the full preview on your MacBook
The editor prepares a complete preview after you approve the motion proofs. You can now watch the cleaned footage, captions, motion graphics, timing, and transitions together.
Play it from start to finish with sound. Look for cuts that skip a useful moment, text that appears too late, or visuals that distract from your narration.
Give specific feedback with the time of the issue. For example: “At 2:05, leave the market sounds playing until the next scene begins.” Approve the full preview once the complete edit matches your direction.
9. Create the final high-quality render
The editor creates the final render after you approve the preview. This combines the approved edits into the finished video file.
It preserves the source video's resolution whenever possible, including 4K when the original footage is 4K. Starting with a sharp original gives the final edit more detail to retain.
Wait for the render to finish and keep enough room for the download. Leave your original recordings in place until you have checked and backed up the completed video.
10. Download and play the finished video
Save the finished file to your MacBook and open it in your usual video player. Confirm that the download includes the complete ending and the changes you approved.
You can then upload it to YouTube or share it through your chosen platform. Give the file a clear name so you can tell the final version apart from the preview, and keep a backup somewhere separate.
Before you post your finished video
Your last check should be of the saved file, not just the preview inside the editor. Review these details before you upload it:
- The full sequence: Are your clips in the intended order, with the important explanations intact?
- Captions and titles: Check place names, spelling, and any other details you included.
- Sound: Make sure your voice and the original sounds you wanted to keep are clear.
- Picture quality: Check that the final export retains the detail available in your recordings.
- Playback: Open the downloaded file and confirm that it plays through to the proper ending.
- The right version: Keep the approved final file clearly named and separate from drafts.
- A backup: Save another copy of the finished video and retain your original footage.
The best AI video editor for MacBook should fit your setup and help you finish the video you have in mind. Clear instructions, useful previews, and a reliable final download all matter when you are choosing your editing workflow.
If you want to work through your edit with prompts and approvals, explore ChatGPT Video Editor. Follow the macOS setup instructions, prepare your files, and use each review to guide the final result.