Editing guide
Best AI Video Editor for Instagram Reels
Make each Reel easy to understand on a phone, with a clear point and purposeful edits.
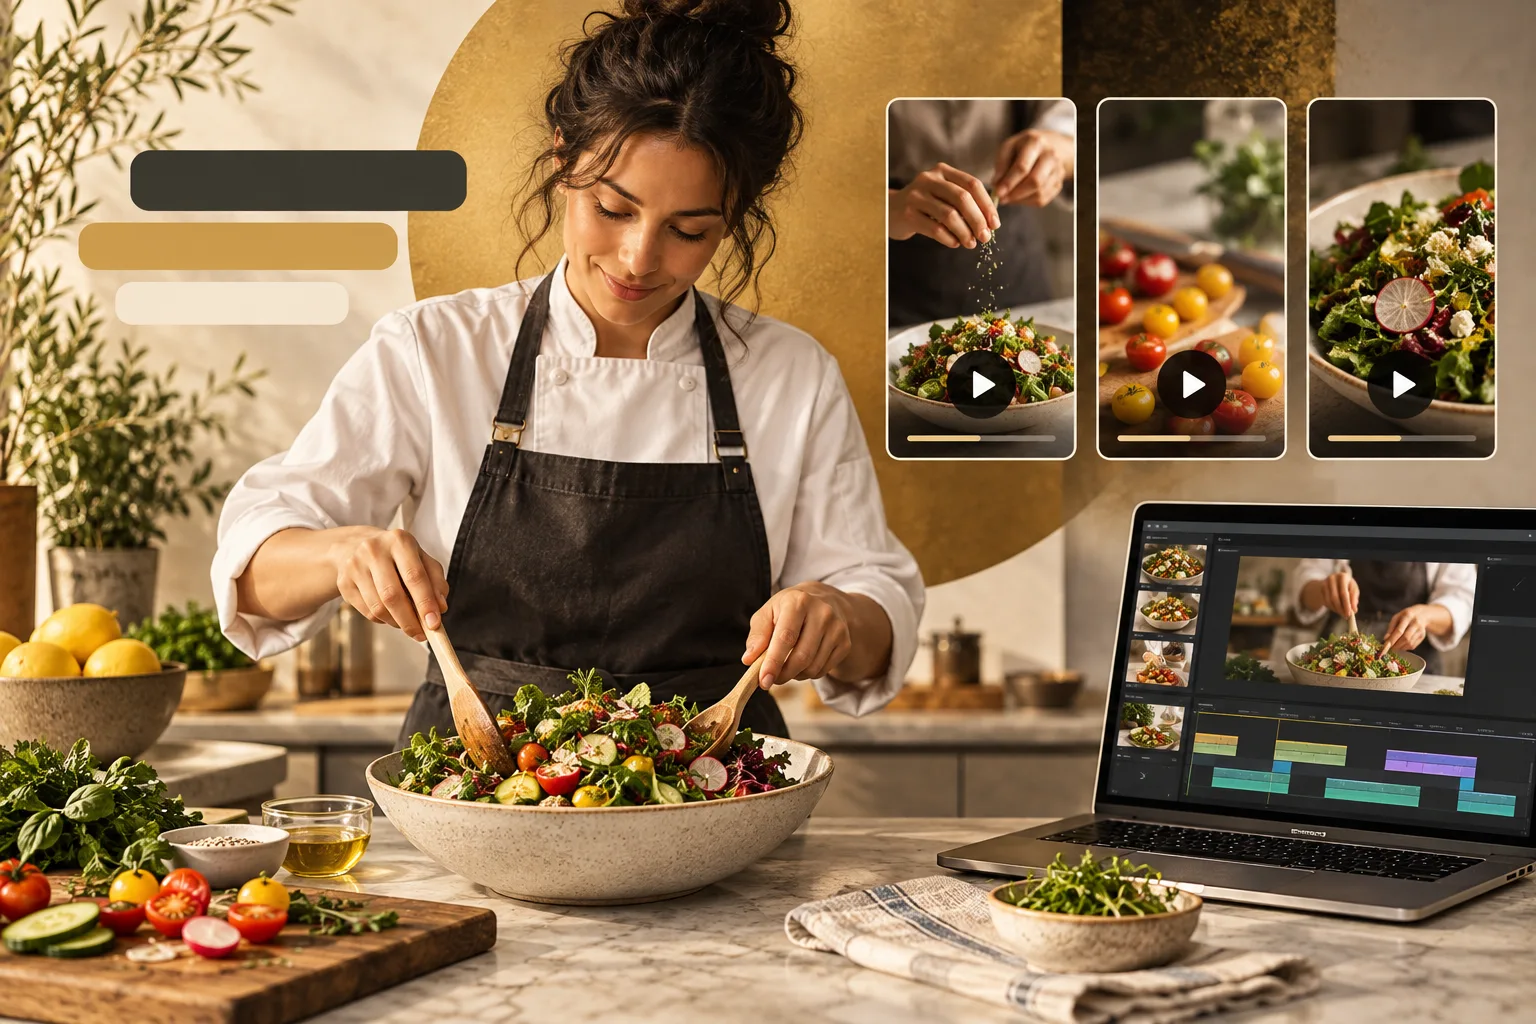
A Reel gives you a small screen and a short space in which to make a point. If the opening takes too long or the captions hide the action, your idea becomes harder to follow even when the footage is good.
The best AI video editor for Instagram Reels should help you make a clear, focused edit from your recordings. Think about what someone needs to see immediately, what they need to understand next, and what the ending should leave them with.
What should you expect from an AI video editor for Instagram Reels?
It should make the first shot understandable
The editor should help you open with footage that introduces the actual topic. For a recipe, showing the finished dish can give the preparation shots a purpose. Tell the editor your intended opening instead of asking for a vague attention-grabbing effect.
It should keep the picture useful on a phone
Look for a workflow that lets you review the intended vertical composition. Important hands, faces, or products should remain in view. If your recording is wide, confirm how the tool handles the requested shape before assuming a crop will work.
It should place captions away from the action
The editor should help position readable text and allow corrections. Leave space for the interface around the video and check the upload preview. Exact placement can vary, so review your actual Reel instead of relying on a fixed margin for every screen.
It should help you keep one main point
Short videos become confusing when they try to explain everything. The editor should follow instructions about which idea to keep and which material to leave for another post. A single recipe tip can work better than an entire lesson forced into rapid cuts.
It should avoid effects that make the explanation harder
A transition should not hide the ingredient being added. An animated word should not compete with a close-up. Ask the editor for changes when motion draws attention away from the useful part of the frame.
It should provide a file you can inspect
Check caption timing and sound in the downloaded version, then look at it in the posting preview. The finished export should match the edit you approved. Confirm format and plan limits before starting a larger batch of recordings.
What is the best AI video editor for Instagram Reels?
We recommend ChatGPT Video Editor when you want control through simple instructions rather than placing every visual yourself. You give it footage and a reference, then review its proposed treatment.
For a cooking Reel, you might ask for the finished plate first, three preparation shots, and one readable ingredient label. The storyboard helps you check whether that sequence communicates the idea without needing extra explanation.
The product offers $19 monthly access or a $197 lifetime option. Review setup and access terms on the homepage. A good editing process can improve clarity, but it does not promise reach or engagement.
Which editor fits the Reel you want to make?
A Reel can be a complete little story or an excerpt from something longer. Compare the tools against the material you actually have.
CapCut
CapCut's automatic captions are editable. It is a practical candidate when spoken words need clear on-screen text in your Reel. CapCut features.
OpusClip
OpusClip creates short videos from longer ones. Consider that route when your Reel starts as a selected moment from an interview or presentation. OpusClip features.
Canva
Canva offers Reels templates and animated design elements. It can fit an announcement where you already know the text and layout you want. Canva features.
Why we favor ChatGPT Video Editor for footage-led Reels
Our pick is ChatGPT Video Editor when you want the design to follow the action in your recording. Imagine a short craft demonstration: the opening should show the task, the label should avoid your hands, and the result needs a moment on screen. You can check those choices in the storyboard and mockups, then judge their timing in motion proofs. That is the advantage behind our recommendation. A template may already solve a simple announcement, but a carefully reviewed sequence is a better match when the footage itself carries the message.
How to edit Instagram Reels with ChatGPT Video Editor
1. Install and start the editor
Use the homepage installation instructions, then call the installed editor in a new chat. Describe the single idea you want your Reel to communicate.
2. Supply your clips
Upload one recording or several. Explain the order and the shot you want first. Mention the intended vertical presentation and any subject that must remain visible.
3. Show a style reference
Upload an example or provide a link. It studies text, captions, graphics, colors, fonts, layouts, effects, transitions, animation timing, and edit frequency. Say whether you want a calmer version of the reference.
4. Check the cleaned footage
The editor analyzes the footage and transcript, then checks retakes, mistakes, filler, and audio conservatively. Good material remains untouched. Review any cuts before continuing so an essential preparation step is not lost.
5. Approve the storyboard
Read where each visual goes, what it shows, why it helps, how it matches speech, and its reference inspiration. Remove anything that introduces a second topic the Reel does not have time to explain.
6. Review still mockups
Check colors, composition, fonts, icons, and placement. Imagine the designs on a phone. Ask for changes to small text or covered hands; approved mockups are preserved afterward.
7. Watch motion proofs
Review how the graphics enter, move, hold, and leave. A short clip still needs enough reading time. Approve after the animation feels comfortable at normal playback speed.
8. Watch the complete preview
Check footage, captions, graphics, timing, and transitions together. Can you understand the Reel without replaying the opening? Request a specific change before approving.
9. Render the final file
The approved edit becomes a high-quality render, preserving source resolution where possible, including 4K from 4K footage. Keep your originals while the file is produced.
10. Download and check the upload preview
Save and play the finished video. Then inspect it in the Instagram posting flow before sharing, checking whether text or interface elements obscure anything important.
Before you post your finished Reel
Review the small-screen experience, not only how the video looks on your editing monitor.
- The opening makes the subject clear.
- Captions are accurate and comfortably readable.
- Your hands, face, or product remain visible.
- Cuts preserve the information needed for the point.
- Speech is clear and you have permission for added music.
- The downloaded file includes the complete ending.
The best AI video editor for Instagram Reels should help you make a focused video that works on a phone. Explore ChatGPT Video Editor to guide the choices and review the result before posting.