Editing guide
Best AI Video Editor for Home Videos
Bring your family recordings together while keeping the moments and voices that matter.
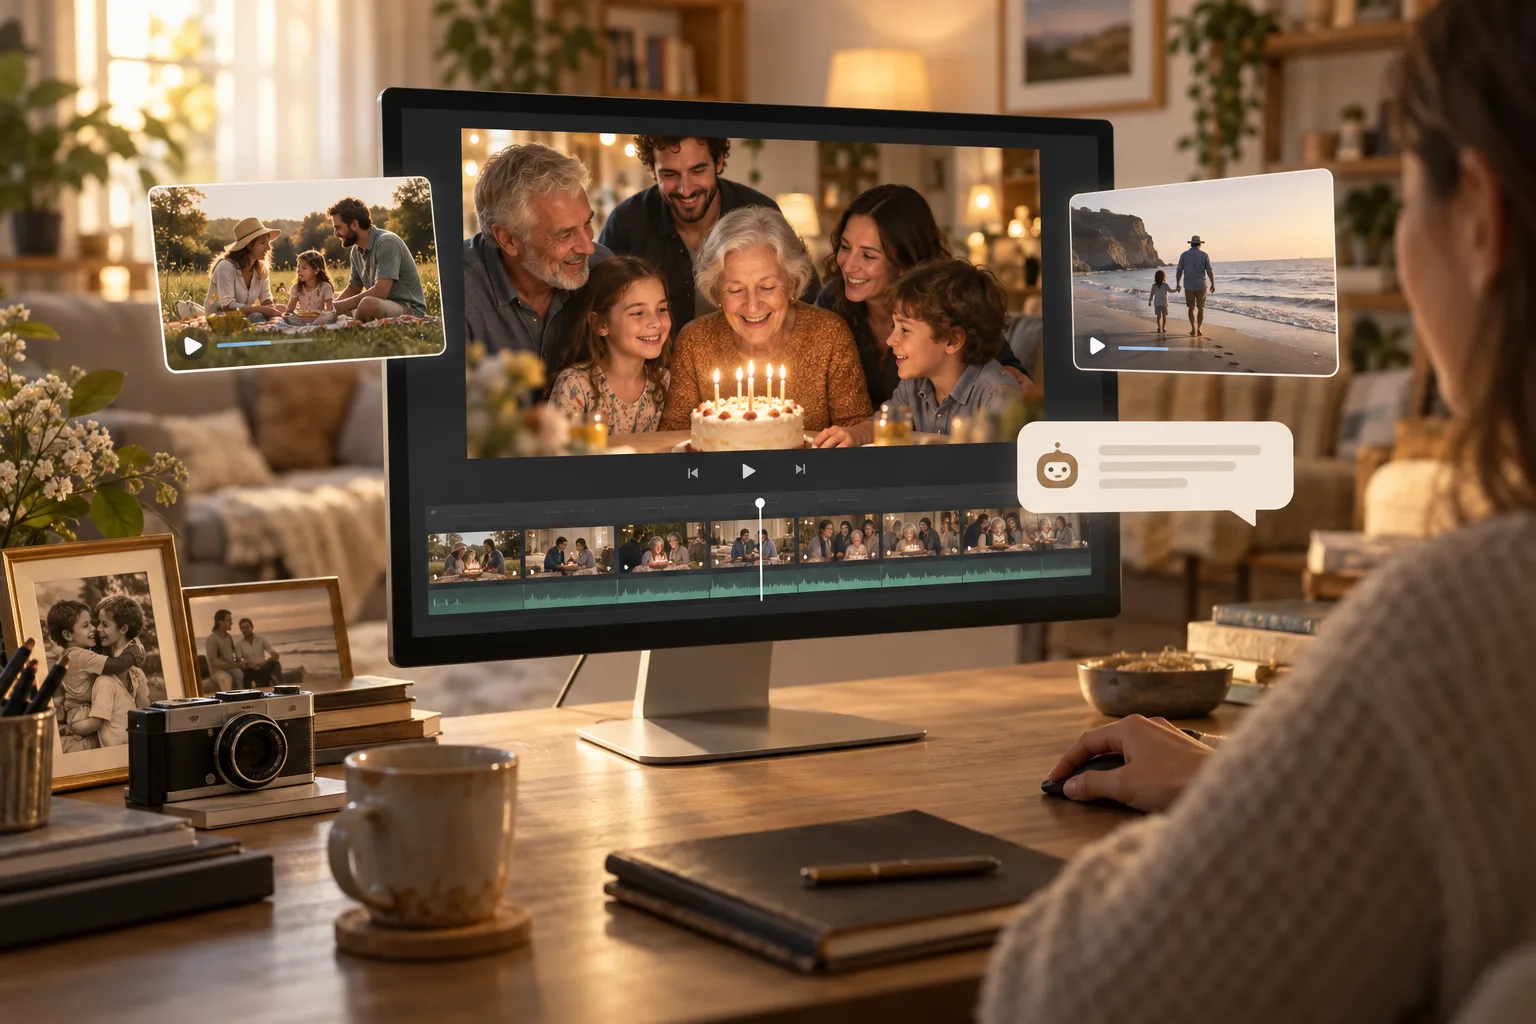
Your phone may hold a birthday, a weekend away, and dozens of small moments you do not want to forget. Yet when you want to watch them with your family, they are spread across separate recordings, with long waits and accidental shots mixed in.
The best AI video editor for home videos should help you bring those memories together without losing what makes them personal. It should make the video easier to watch while keeping the voices, reactions, and little details you care about.
You do not need to turn a family recording into a busy production. You may only want a clear sequence, a few simple titles, and a finished file you can save. Here is what to expect from an AI editor and how to guide a home video edit with ChatGPT Video Editor.
What should you expect from an AI video editor for home videos?
A home video has a different purpose from an advertisement or a fast social clip. You may care more about keeping a complete memory than making every second exciting. Look for an editor that lets you explain those priorities.
It should arrange your clips in the order you want
The AI editor should let you provide several recordings and describe how they fit together. You might want to follow the order of a day, group clips from the same place, or begin with a favorite moment.
For a family birthday, you could ask for the arrivals first, followed by the meal, the cake, and the goodbyes. If different people filmed parts of the event, explain the sequence rather than expecting the file names to tell the whole story.
It should trim unwanted footage without losing meaningful moments
The editor should help you remove an accidental recording of the floor or a long wait while someone positions the camera. It should also let you protect moments that matter to you, even when they are not perfectly filmed.
A shaky clip of a grandparent telling a story may be more valuable than a steady shot of the room. Tell the editor to keep it. You should have a chance to review any cleanup before accepting the cuts.
It should preserve natural voices, laughter, and reactions
An AI editor for family videos should help you keep the sound that belongs to the memory. A laugh after a joke, a familiar greeting, or the singing around a cake may be the part you most want to hear again.
You should be able to ask for those sounds to stay. If music is added, it should not cover the conversation you want to preserve. Listen to the edited result to check that words and reactions remain complete.
It should add simple titles and captions where they help
The editor should let you add useful details, such as the name of a place or the occasion. Captions can also help with a spoken message that viewers may want to read.
You need to supply and check personal details yourself. The editor cannot reliably know the correct family nickname or the date of an old holiday just by looking at the footage. A short, accurate title is more useful than extra text that distracts from the people.
It should follow a style that suits your memories
The AI editor should follow your preferred look rather than filling the video with effects. A quiet family visit might suit gentle transitions and small titles. A lively celebration might suit more movement.
If you use a reference video, explain what you like about it. You could say: “Use the soft titles, but keep our original sound and avoid the quick cuts.” You can borrow a style while keeping your own video personal.
It should let you review changes before finishing
You should be able to watch the edit and ask for a moment to be restored, a title to be corrected, or a clip to stay longer. This matters when the importance of a scene is something only you and your family understand.
An approval process gives you a chance to catch those details. For example, you might want the camera to stay on someone's reaction after a gift is opened instead of cutting away as soon as the wrapping comes off.
It should give you a good-quality file to keep
The editor should explain the quality of the final video and how you can save it. Check the available export options and any limits before choosing a plan.
Use the best original recordings you have. Old footage may still look old, and a smaller file may have already lost detail. The aim is to preserve what you recorded as well as possible, then keep a copy of the finished edit alongside the originals.
What is the best AI video editor for home videos?
Our pick is ChatGPT Video Editor if you want to direct your home video edit with simple instructions. Its review stages give you several opportunities to keep the work focused on the memories you want to save.
You upload your footage, explain the order of multiple clips, and provide a reference video for the editing style. The editor analyzes the content and creates a storyboard before building the visual changes.
Imagine you are making a video of a family holiday. You could ask for a small location title when the setting changes, the original sound during a beach walk, and no graphics over a conversation at dinner. The storyboard lets you see where those choices will appear.
You can then approve the still designs, check how they move, and watch the full preview. If an effect feels too busy or a meaningful moment has been shortened, you can explain what you want changed.
Your direction matters. An editor can help organize and present the recordings, but you know why a glance, a phrase, or a few quiet seconds are worth keeping. Point those moments out early and check them again in the preview.
ChatGPT Video Editor costs $19 per month or $197 for lifetime access. You can find the plans and setup instructions on the homepage.
Comparing editors for personal and family recordings
A home video does not need to look like an advertisement. The right editing choice helps you preserve the moments you care about.
Clipchamp
Clipchamp has recording tools, captions, and audio cleanup. It is an option for a simple family message or narrated memory video. Clipchamp features.
Filmora
Filmora offers AI scene selection and denoise tools. Consider it when you want help sorting recorded moments or addressing visible image noise. Filmora features.
Final Cut Pro
Final Cut Pro lets you rearrange clips using its Magnetic Timeline. It may suit you if you enjoy building the family sequence yourself. Final Cut Pro features.
Why ChatGPT Video Editor is our pick for a personal story
We recommend ChatGPT Video Editor when you know which moments matter and want to explain that before editing begins. A laugh, a child's answer, or the pause before a surprise may be worth keeping even if it makes the video longer. You can review cleanup and then approve a gentle design that leaves faces and voices at the center. That personal control is the reason for our choice. A simple editor may be enough for joining two clips, but this guided process fits a memory you want to shape with care.
How to edit home videos with ChatGPT Video Editor
Gather the recordings you want to include and decide which moments are most important. It helps to keep a separate copy of the originals before you begin. The demonstrations below show the editing stages; use your own family footage and preferences as you follow along.
1. Install the editor and call it in a new chat
Visit ChatGPT Video Editor and follow the download and installation instructions. After installation, open a new chat and call the editor.
Describe what you are making in a sentence or two. For example: “I want a family birthday video with simple titles. Keep the speeches and the original sound around the cake.”
2. Upload your home video clips
The editor asks for the video you want to edit. You can upload one full recording or several clips. If there are multiple clips, tell it the order you want.
Explain anything that may not be obvious from the files: “The garden clip happened before lunch. Put it before the dining-room recording, and keep the whole toast.” If two clips show the same event, mention which version you prefer.
3. Share a reference video
Next, the editor asks for an example with an editing style you like. You can upload that reference or provide a link.
Choose a look that fits the occasion. A warm, unhurried holiday video can be a useful reference for a family trip. Tell the editor which parts to follow and whether you want fewer visual changes than the example uses.
It studies motion graphics, text styles, captions, colors, fonts, layouts, animation timing, transitions, visual effects, and how frequently different edits appear.
4. Let the editor study the footage and review any cleanup
The editor analyzes your footage and any spoken transcript to understand the content. It uses that information to decide what visuals might help and which moments should stay focused on the people or activity in the recording.
Before creative editing begins, it checks for obvious retakes, mistakes, unnecessary filler words, and audio problems. Cleanup is conservative. If the footage and sound are already good, they remain unchanged.
If it makes cuts, you can review the cleaned footage before continuing. With home videos, watch for the small moments around the main event. You may want to keep the laughter before a speech or the reaction after a surprise, even if neither is needed to explain what happened.
5. Review and approve the storyboard
The editor creates a storyboard showing where each visual edit will go, why it belongs there, and what it will look like. It also explains its connection to spoken words where relevant and the part of the reference that inspired it.
Read the plan and check that the visual treatment suits the memory. You might want one opening title and a few place names, with the rest of the video left simple.
Ask for changes before approval. For example: “Remove the graphic during the toast. I want everyone to focus on the person speaking.” Approve the plan when it reflects the video you want to keep.
6. Check the visual mockups
After you approve the storyboard, the editor creates still mockups of the visual changes. You can inspect the composition, colors, fonts, icons, and text placement inside your footage.
Check every name and date you have included. Make sure titles do not cover anyone's face, especially in a group shot where people may be near the edges of the picture.
If a design does not feel right, ask for a revised mockup. The editor preserves the version you approve throughout the remaining stages.
7. Watch the motion proofs
The editor then provides motion proofs: short previews showing how graphics build, move, stay on screen, and leave.
Think about whether the movement fits the footage. A gently appearing title may be enough for a quiet scene. If an animation pulls your attention away from someone's expression, you can ask for it to be simpler.
Check that any text stays visible long enough for your family to read comfortably. Approve the motion proofs once you are happy with the movement and timing.
8. Watch the full home video preview
After the motion proofs are approved, the editor makes a complete preview. This brings together the cleaned footage, captions, motion graphics, timing, and transitions.
Watch the video all the way through with the sound on. Check that the events are in the right order and that the important conversations and reactions are still there.
Be specific if you want a change: “After the candles are blown out, keep the next few seconds of everyone laughing.” When the complete video feels right to you, approve the preview.
9. Create the final high-quality render
The editor creates the final render after your preview approval. This is the finished video file containing all the edits you agreed on.
It preserves the source video's resolution whenever possible, including 4K when the original footage is 4K. If your clips come from different cameras or years, the original recordings may still have different levels of detail.
Wait for the final render to finish and keep your original files. The finished edit is a convenient way to watch the memories together, while the originals preserve the recordings you started with.
10. Download and save your finished video
Download the completed file and play it on your device. Check that the sound works, the ending is included, and the final changes appear correctly.
You can share it directly with family or upload it to YouTube using a visibility setting that suits your audience. Save another copy somewhere separate so one lost device does not mean losing your only finished version.
Before you share your finished home video
A final review helps you make sure the video is both enjoyable to watch and right for the people receiving it. Check these details before sharing:
- The memories you wanted: Are the important conversations, reactions, and small moments still included?
- Names and dates: Check the spelling and details in every title or caption.
- Natural sound: Can you hear the voices and laughter you meant to preserve?
- Faces and activity: Make sure added text does not hide anyone or cover the main action.
- The saved file: Play the downloaded version and check that it reaches the proper ending.
- Who will see it: Consider the comfort of the people shown before posting publicly, and check for personal details you do not want to share.
- Your backup: Keep a separate copy of the final video as well as the original recordings.
The best AI video editor for home videos should help you create something you will want to watch again. The most important choices are often simple: which moments to keep, when to leave the sound alone, and how to bring the clips together clearly.
If you want help making those edits through prompts, explore ChatGPT Video Editor. Share your footage, explain what matters to you, and use the review stages to keep the finished video personal.