Editing guide
Best AI Video Editor for Drone Footage
Give aerial shots a clear sequence while keeping the landscape as the focus.
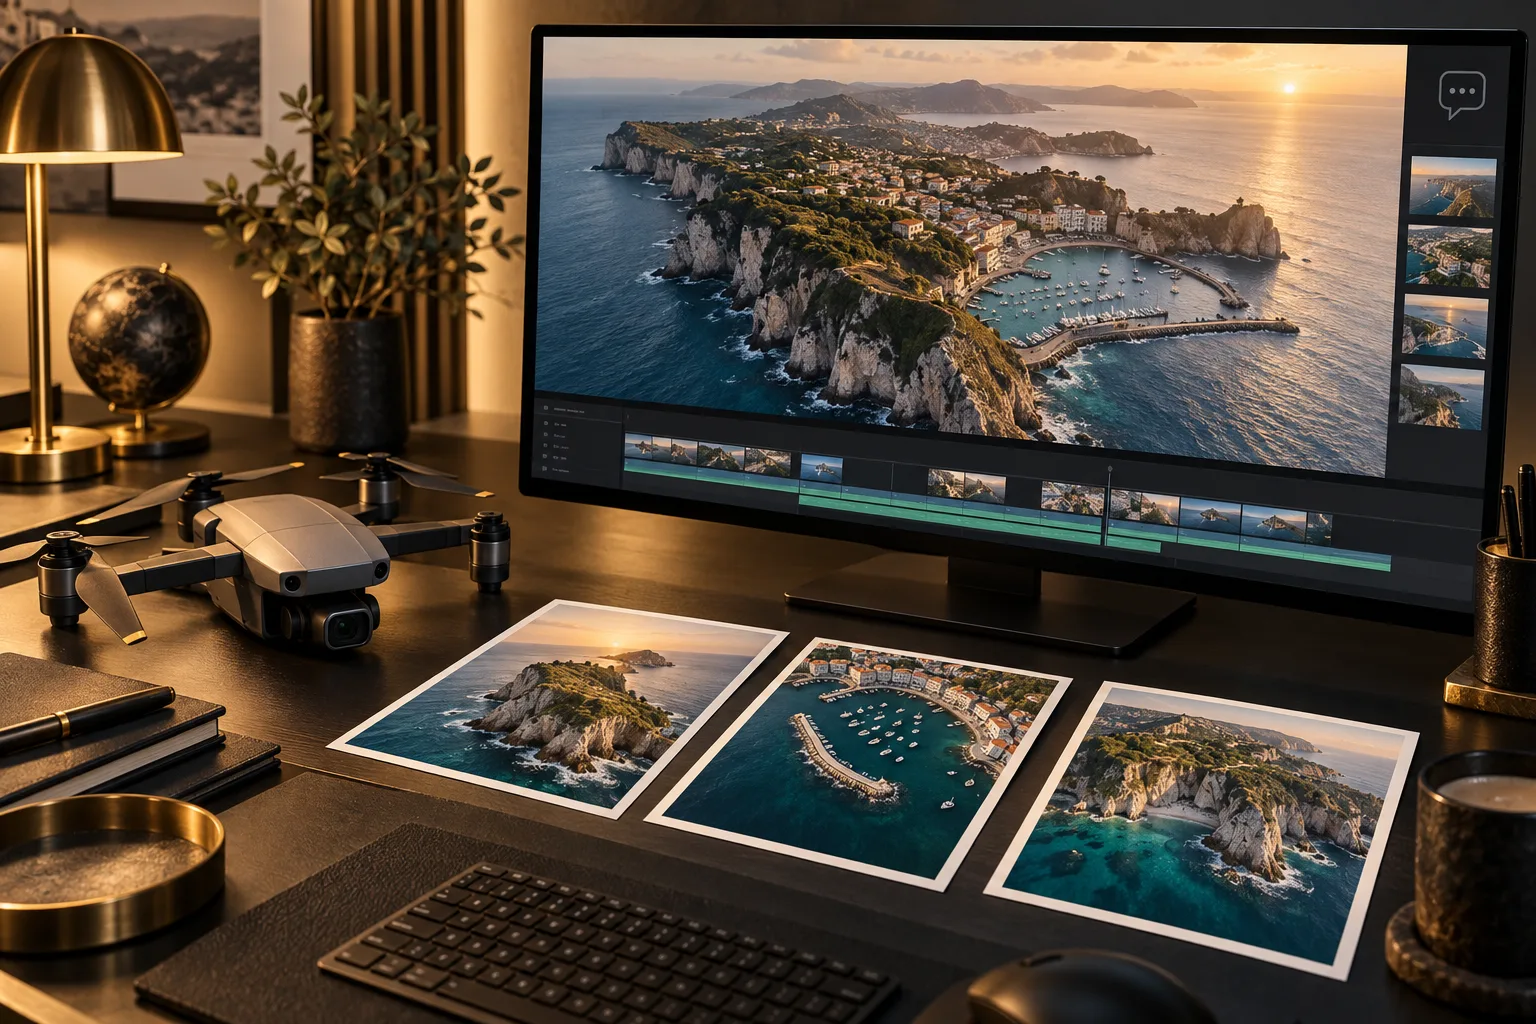
Aerial footage can look impressive in individual shots and still feel repetitive as a full video. Several long passes over the same place may not give the viewer anything new to follow.
The best AI video editor for drone footage should help you give those recordings a purpose. You need a sequence that introduces the location, shows useful details, and leaves time to enjoy the view.
What should you expect from an AI video editor for drone footage?
It should build a sequence from the aerial clips
The editor should follow your intended route or story. A wide view can introduce the location, a closer pass can show its features, and a final shot can bring the sequence to a comfortable close. Explain which clips serve each role.
It should remove repetition without rushing the view
An editor should help you avoid showing nearly identical passes several times. But an attractive reveal may need a longer hold. Ask it to judge the edit against your purpose rather than shorten every shot equally.
It should keep titles away from important scenery
Labels can identify a place or feature, but they should not cover the reason you filmed the shot. The editor should let you inspect placement as the camera moves. A clear area at the beginning may contain the subject later.
It should preserve a sense of direction
Sudden changes in angle can make a simple route feel confusing. Tell the editor how the shots relate and review the transition between them. Keep enough context for viewers to recognize where they are looking.
It should state specialist processing support clearly
If your footage needs stabilization, lens correction, log conversion, or precise color matching, verify those features separately. A tool that arranges clips and creates graphics is not automatically a specialist finishing system. Check an appropriate sample before relying on it for a large project.
It should preserve useful source detail
Aerial shots often contain fine textures and small distant subjects. Use original recordings and check export quality. Review the saved file for visible detail rather than judging only a smaller preview.
What is the best AI video editor for drone footage?
We recommend ChatGPT Video Editor for creators who want a planned edit of their aerial recordings, with control over graphics and pacing. You supply a reference style and the clips you want to use.
For a coastal sequence, you might ask for the wide approach first, the headland pass second, and the harbour reveal last. A simple location title may be all the added design you need. The storyboard makes these decisions visible before production.
Access is $19 monthly or $197 lifetime. Check the homepage for setup and plan details. Discuss any specialist correction requirements before purchase; this workflow description does not establish support for every drone recording mode.
Comparing editors for aerial footage
Drone recordings can need both a story and technical picture work. Decide which problem you are solving before choosing an editor.
DaVinci Resolve
DaVinci Resolve has dedicated color-balancing and grading controls. Consider it when matching aerial shots is more important than adding explanatory graphics. DaVinci Resolve features.
Adobe Premiere
Premiere includes descriptive footage search and Auto Color. Those features are relevant when you are sorting aerial recordings and preparing a rough sequence. Adobe Premiere features.
Filmora
Filmora advertises AI denoise and visual search. It is worth checking when your immediate concern is finding shots or treating noisy footage. Filmora features.
Why ChatGPT Video Editor suits a story built from drone clips
We favor ChatGPT Video Editor when you have suitable recordings and need to shape the viewer's journey through them. You could begin with a wide view, move toward the subject, and finish on a detail that explains the location. Reviewing the storyboard helps you decide which shots deserve time and where a place label belongs. Its strength for this job is planning and approving the sequence around a reference. If the source needs specialist grading, stabilization, or repair, confirm that work separately rather than assuming the creative workflow covers it.
How to edit drone footage with ChatGPT Video Editor
1. Install and call the editor
Follow the homepage setup instructions and start a new chat with the installed editor. Describe the location and whether the video is a scenic sequence, a tour, or an explanation.
2. Upload your aerial clips
Give it one video or several clips with their order. Identify the strongest reveal and any section to keep longer. Explain the relationship between locations if the sequence crosses different areas.
3. Provide a reference video
Upload a style example or share a link. It studies graphics, text, captions, colors, fonts, layouts, timing, transitions, effects, and edit frequency. Ask for restrained treatment when the scenery should dominate.
4. Review analysis and cleanup
The editor studies footage and any transcript, then checks obvious retakes, mistakes, filler, and audio conservatively. Good material is left alone. Review any cuts so useful camera movement is not shortened unnecessarily.
5. Approve the storyboard
Read the placement, purpose, look, speech connection where relevant, and reference inspiration of each visual. Check that titles and transitions preserve the sense of place before approving.
6. Inspect mockups
Review composition, colors, fonts, icons, and text positioning against the landscape. Request a simpler label if it covers the view. Approved mockups remain the design basis later.
7. Check motion proofs
Watch how graphics build, move, hold, and exit. Their motion should not compete with the camera's movement. Approve after the title timing gives viewers space to see the location.
8. Watch the full preview
Review footage, captions where used, graphics, transitions, and timing together. Check for repeated views and abrupt direction changes. Request corrections before final approval.
9. Render the approved sequence
The editor creates the high-quality final file, retaining source resolution whenever possible, including 4K from 4K footage. Keep the original files for any later finishing work.
10. Download and inspect
Play the saved video and examine the landscape detail and final shot. Share it on YouTube or your chosen destination after confirming any rights and permissions relevant to your recordings.
Before you post your aerial video
Watch the final file for both the story of the location and the quality of the picture.
- The sequence introduces the place clearly.
- Similar passes do not repeat without purpose.
- Titles remain clear of the main scenery.
- Changes of direction do not confuse the view.
- Original detail is retained as well as the source allows.
- The finished file plays fully and the added audio is usable.
The best AI video editor for drone footage should help you turn impressive views into a coherent video. Explore ChatGPT Video Editor for guided planning and review of your aerial edit.