Editing guide
Best AI Video Editor for Desktop
Work with your recordings, review the details, and save a finished video on your computer.
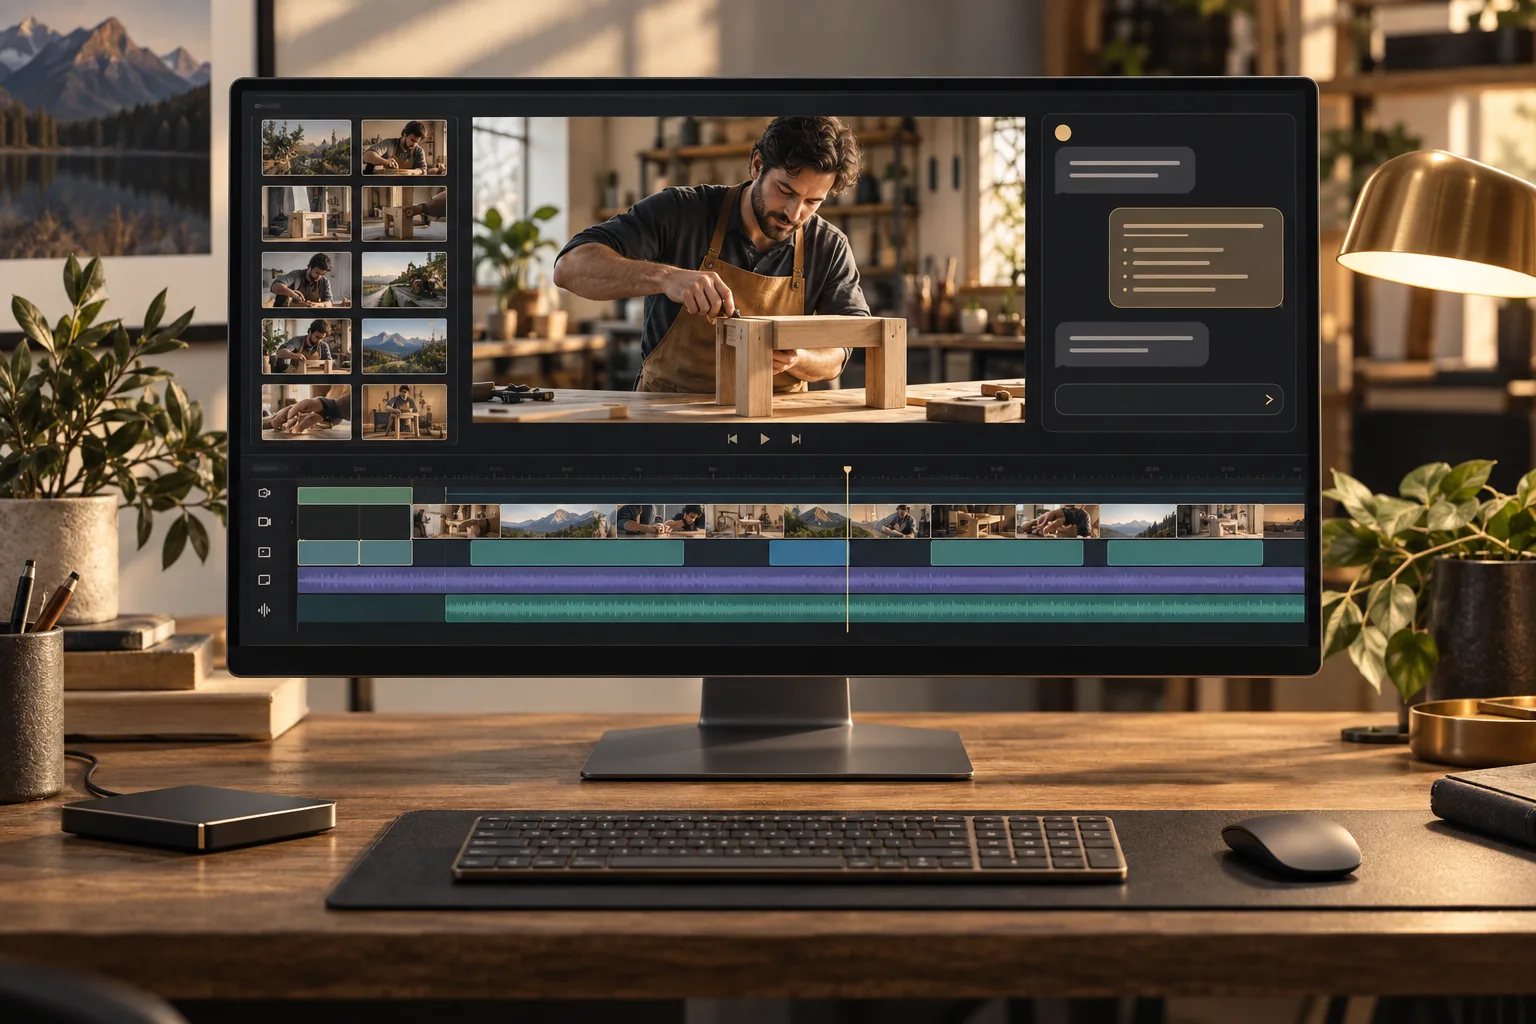
You have your recordings on your computer, a screen big enough to see the details, and an idea of the video you want to make. What you may not have is the time to learn every editing control or build each visual by hand.
The best AI video editor for desktop should help you turn those files into a finished video with clear instructions and a useful review process. You should be able to work with your own footage, explain changes, and save a good-quality result to your computer.
Choosing an editor also means checking how it fits your setup. Installation, supported files, and the way you review the work all matter. Below, you will learn what to look for and how to edit on your computer with ChatGPT Video Editor.
What should you expect from an AI video editor for desktop?
A desktop editing workflow should make it comfortable to work through your footage and inspect the result. When you compare tools, pay attention to both the editing help and the practical details of getting your video in and out.
It should work with your computer and supported setup
The editor should explain how you access it and what you need to install. Check whether it supports your operating system, which is the software your computer runs, such as Windows or macOS. Also check any required app, account, or subscription.
Using a tool on a desktop does not always mean it is a separate desktop program. You may work in an installed app, a browser, or an editor connected to another app. Choose a setup you are comfortable using and follow the instructions for that setup.
It should accept your footage and multiple clips
An AI desktop video editor should make it clear how you provide the files you want to edit. Check supported video formats, file sizes, and recording lengths before you start a large project.
If you record in several parts, the editor should let you explain how the clips belong together. For example, you might have a wide shot of a project, close-ups of the steps, and a final result. You need a way to give those clips an order and explain their purpose.
It should let you describe edits in simple words
The AI editor should help you turn clear requests into editing choices. You might ask it to keep a demonstration uninterrupted, add a label when you name a tool, or shorten a repeated explanation.
You should not have to know the name of every effect to explain your goal. A request such as “Put the two results next to each other while I compare them” tells the editor what you want the viewer to understand.
It should make cuts, captions, and graphics useful
The editor should look at your footage and speech before deciding what to remove or add. It should help clean up obvious mistakes, make captions readable, and put graphics where they support your point.
Suppose you are showing how you built a small shelf. The editor could label a measurement when you mention it, but leave the picture clear while you show how the pieces fit. You should be able to review those choices before the video is finished.
It should give you clear previews and control over changes
The editor should show you enough detail to judge the work on your screen. You need to see whether a title is sharp, whether text covers something important, and whether the cuts feel right when played together.
Look for a way to request specific changes. “Move the label away from the edge” or “Keep this shot until the action is complete” is useful feedback. The review process should help you catch these issues before the final export.
It should let you save a high-quality finished file
An AI video editor for your computer should explain the quality and format of the finished download. Check whether your plan includes the export you need and whether any watermark or other limit applies.
You should be able to save the final file somewhere you can find it and play it outside the editor. This lets you check the actual video you will upload or share, rather than judging only an in-app preview.
It should make internet needs and file handling clear
The editor should tell you which parts of the workflow need an internet connection and how you provide access to your recordings. An installed tool may still use online services, so installation alone does not mean it works offline.
Check these details before choosing a tool if you often edit with a weak connection or work with private footage. You should understand where your files go and what storage space you need for the original recordings and finished exports.
What is the best AI video editor for desktop?
For editing through a chat on your computer, our pick is ChatGPT Video Editor. It gives you a way to guide an edit with your footage, an example of the style you like, and feedback at each review stage.
You begin by installing the editor using the supplied instructions. You then call it in a new chat and provide your files when asked. This article follows that installed-editor workflow; check the current setup instructions for the app and account you need.
The editing process starts with your content. The editor studies what is happening in the footage and what you say, then plans visual changes based on that information and your reference video.
For example, you might be making a desk-setup tour with several clips saved on your computer. You could ask for your introduction first, close-ups as you explain each item, and a simple title when you move to the next part. The storyboard shows you how those ideas will fit together.
You can use your larger screen to read the plan, inspect the mockups, and watch the preview closely. If a label is too small or a visual misses your point, you can explain the change before approving the next stage.
ChatGPT Video Editor offers $19 per month or $197 for lifetime access. Visit the homepage for plan and installation details. Check any separate account requirements as part of setting up your computer.
How the desktop editing options differ
A larger screen is useful for reviewing detail, but your preferred way of making changes still matters more than the screen size.
CapCut
CapCut Desktop provides media search, effects, and keyframe animation. It may suit you if you want visible controls for constructing the edit. CapCut features.
Adobe Premiere
Premiere's beta AI Assistant can organize media and assemble initial edits from prompts. Check supported tasks if you prefer working inside Premiere. Adobe Premiere features.
DaVinci Resolve Studio
DaVinci Resolve Studio includes AI noise reduction and advanced finishing tools. It is relevant when technical image treatment is central to your work. DaVinci Resolve Studio features.
Why ChatGPT Video Editor is our choice for directing from your desktop
We recommend ChatGPT Video Editor if you want to use your screen mainly to inspect decisions and give feedback. You can read the storyboard, compare graphic layouts, and watch motion proofs without making every creative adjustment yourself. That is especially helpful when you can describe the desired result clearly but would rather not build it control by control. The alternatives may be better for particular finishing tasks. Our preference concerns the guided workflow, and you should still check installation and hardware requirements for your computer before choosing.
How to edit videos on desktop with ChatGPT Video Editor
Keep your original footage in a clearly named folder before you begin. It helps to know which clips you want to use and which order makes sense. The demonstrations below show the stages you will work through.
1. Install the editor and call it in a new chat
Open the ChatGPT Video Editor homepage on your computer and follow the download and installation instructions. Use the supported setup described in those instructions.
After installation, start a new chat and call the editor. Briefly describe the video you want to make, such as: “Help me turn these workshop recordings into a clear step-by-step video.”
2. Provide the footage you want to edit
The editor will ask you to upload your video. You can give it a single complete recording or several clips. Choose the original files when possible so you start with the best picture and sound available.
For multiple clips, describe the sequence. For example: “Use the finished project as the opening, then show the materials, then the build.” Clear file names make it easier to explain which recording you mean.
3. Add a reference video
Next, the editor asks for a video with an editing style you like. Upload that example or provide its link. The reference helps you show the look you want without describing every detail from scratch.
You can point out specific choices: “Use the clean labels and steady pace, but keep my background visible.” Pick a reference that fits the kind of footage you have.
The editor examines motion graphics, text styles, captions, colors, fonts, layouts, animation timing, transitions, visual effects, and the frequency of different edits.
4. Let the editor analyze the footage and check for problems
The editor analyzes your recording and transcript, the written version of your speech. This helps it understand what is being explained, what each visual needs to communicate, and which moments should stay focused on the original subject.
It also checks for obvious retakes, mistakes, unnecessary filler words, and audio problems before creative editing starts. The cleanup is conservative: if your footage and sound are good, it leaves them unchanged.
When it makes cuts, you can watch the cleaned footage before moving ahead. Check that the sequence still makes sense and that no useful action or part of an explanation has disappeared.
5. Read and approve the editing plan
The editor creates a storyboard showing where each visual edit will appear and why it is needed. It describes the look, the connection to your spoken words, and the part of the reference that inspired the choice.
Open the full storyboard on your screen and read it in order. For a practical demonstration, check whether labels appear alongside the right actions and whether the plan leaves enough space to see the work.
You can ask for changes before approving. Try a request such as: “Keep the dimensions on screen during the measuring shot, then remove them before I start assembling the pieces.”
6. Inspect the visual mockups
After you approve the storyboard, the editor prepares visual mockups. These still images show how the text and graphics will look within your video.
Check the composition, colors, fonts, icons, and text position. Look closely at small details on your desktop screen, but also consider where people will watch the finished video. A label that looks readable on a large monitor may need to be bigger for a phone.
Ask for a redesign if you need one. The editor keeps the approved version of each mockup throughout the remaining stages.
7. Review how the graphics move
The next stage is motion proofs, which are short previews of the animations. They show how graphics appear, move, stay on screen, and leave.
Play them and check whether you have enough time to read and understand the information. If a measurement or instruction disappears too soon, ask for a longer hold. If movement distracts from a detailed action, ask for a simpler animation.
Approve the motion proofs once the timing and movement fit your footage.
8. Watch the complete edited preview
The editor then prepares a full preview with the cleaned footage, captions, motion graphics, timing, and transitions together. Watch it from beginning to end on your computer.
Check the sound as well as the picture. A visual may look good by itself but feel out of place beside the next shot. A cut may remove an unwanted wait but leave too little time to understand the action.
If something needs changing, give the time and a clear instruction. For example: “At 2:10, hold the close-up until I finish explaining the joint.” Approve the preview when the complete edit works for you.
9. Create the final high-quality render
After you approve the preview, the editor creates the final render. This turns the approved edits into the finished video file you can save.
It preserves the source video's resolution whenever possible, including 4K when the original footage is 4K. Resolution describes the size of the picture in pixels. Keeping the source resolution helps preserve the detail already in your recording.
Allow the final file to finish before downloading it. Keep the original clips while you check the finished version, so you still have your source footage if you need it later.
10. Download the video to your computer
Save the finished file to a folder you can find easily. Use a name that makes it clear this is the final version, especially if you have also saved previews.
Open the downloaded video in your usual video player. Once you have checked it, you can upload it to YouTube or share it through your chosen platform. Keep a backup if the project is one you may need again.
Before you post your finished video
Before you upload, give the downloaded file a final check. Your computer makes it easy to inspect the details, but it is also useful to consider the smaller screens your audience may use.
- The complete edit: Make sure all intended clips are present and arranged in the right order.
- Captions and labels: Check spelling, numbers, and whether the text is readable at a smaller viewing size.
- Sound: Listen for unclear words, sudden volume changes, or music that makes speech difficult to hear.
- Picture quality: Check that the final video looks clear and that important details remain visible.
- The actual download: Play the saved file, including its ending, rather than relying only on the editor's preview.
- File organization: Keep the approved final version separate from drafts so you upload the right one.
- Added material: Confirm that you have permission to use any extra music, images, or footage.
The best AI video editor for desktop should fit the way you work on your computer and help you turn clear instructions into a video you are happy to share. Installation, review tools, and the final download matter just as much as the list of effects.
To try a workflow built around prompts and approvals, visit ChatGPT Video Editor. Check the setup, prepare your recordings, and use each review stage to guide the finished result.