Editing guide
Best AI Video Editor for Content Creators
Find editing help that fits your content, then take your recording from upload to final download.
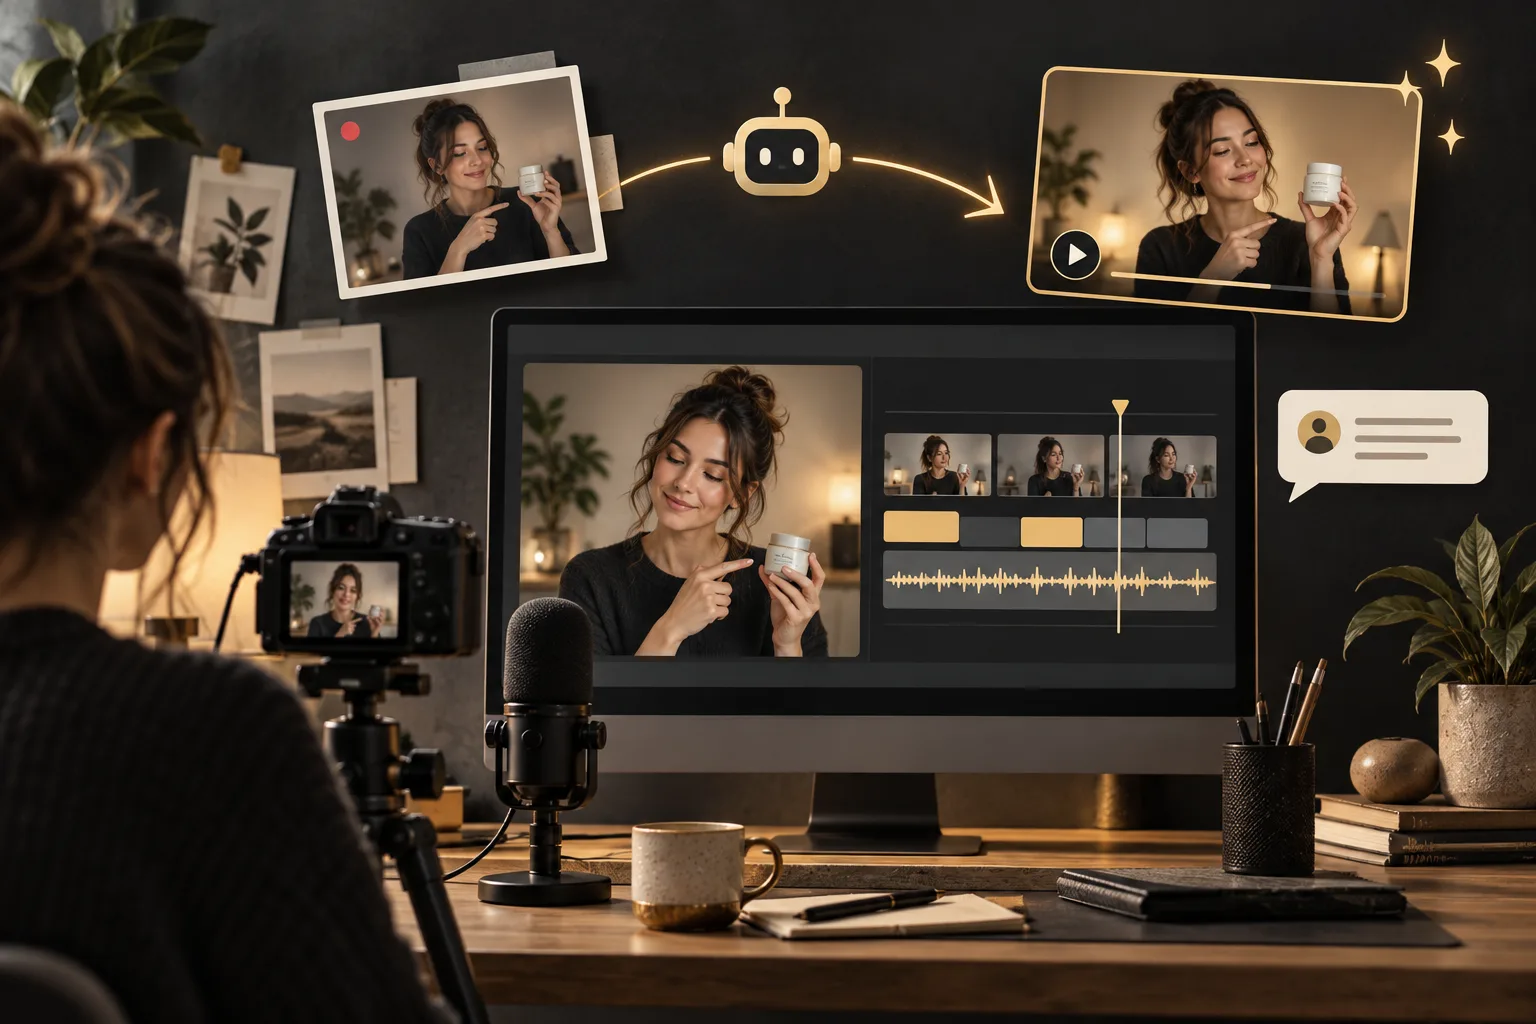
You finish recording a useful video, but it is still sitting in a folder a few days later. You need to choose the right takes, tidy up the sound, and decide what to show while you speak. When you handle everything yourself, editing can become the job that holds up your next upload.
The best AI video editor for content creators should help you move past that stage. You should be able to give it your recordings, explain what you want, and get help turning those recordings into a video you are ready to share.
But speed is only part of the decision. You also need an editor that keeps your explanation clear and gives you a say in the result. Here is what to look for and how you can use ChatGPT Video Editor to work through an edit.
What should you expect from an AI video editor for content creators?
As a creator, you may record lessons, reviews, interviews, or updates for your audience. Your editor should help you finish those videos while keeping the ideas and details that make them useful. These are the abilities to check when choosing an AI video editing tool for content creators.
It should understand what your video is about
The AI editor should look at your footage and the words you say before deciding how to edit it. This helps it make choices that fit your message instead of adding the same effects to every clip.
Say you are reviewing a microphone. When you play a sound sample, the editor should keep that sample easy to hear. When you explain a button, it could highlight the button on screen. Both choices should come from what you are showing your viewer.
It should remove mistakes while keeping your meaning
An AI editor should help you find obvious retakes, repeated lines, and unwanted gaps. If you start a sentence three times, it should help you keep the useful take without making you search through the entire recording yourself.
It should also let you check what was removed. A pause before an answer may matter in an interview. A few seconds spent showing a setting may matter in a lesson. You need a way to keep those moments, even if they make the video a little longer.
It should create captions and visuals that support your content
The editor should be able to add captions that follow your speech and graphics that make your points clearer. If your review covers three features, a short label for each feature can help your viewer follow the discussion.
You should be able to correct caption errors and ask for changes to the visuals. Product names, numbers, and specialist words need a careful check. The editor also needs to give people enough time to read a label before it disappears.
It should follow the look you want
The AI editor should follow your choices for text, colors, and animation rather than making every part look different. That helps a longer video feel like one complete piece of content.
If you prefer to show a style instead of describe it, look for an editor that accepts a reference video. You can point out the parts you like, such as simple titles or gentle transitions, and explain which parts do not suit your content.
It should make changes easy to explain
You should be able to tell the editor what needs fixing in words you already use. For example: “Show the close-up while I explain the switch,” or “Remove this graphic because it covers the screen I am demonstrating.”
A useful review process should show you the work before everything is finished. You can then correct a wrong design choice early and give clearer feedback as the video takes shape.
It should produce a clear final video
The editor should help you keep speech easy to hear and the picture clear. It should check for sound problems without changing good audio for no reason. You should also know the quality of the file you can download before you choose a paid plan.
When comparing the best AI video editing software for creators, check any limits on exports, video length, and watermarks. Think about the recordings you actually make. A tool that suits a short update may not suit a detailed lesson with several clips.
What is the best AI video editor for content creators?
ChatGPT Video Editor is our recommendation if you want help editing your recorded content and prefer to guide the work in a chat. Its main appeal is the way you can show the style you want and review the edit in stages.
You give the editor your footage and an example video. It studies the example's editing style, then checks your own footage and speech to plan an edit that fits your content. You do not need to start by placing every title or graphic yourself.
For a camera review, you might want a short title when you introduce each feature, a clear view of the camera controls, and no extra graphics during sample footage. You can explain those needs and check how the editor plans to handle them before it starts building the visuals.
The review stages are useful when you have a clear idea but find it hard to describe everything at once. You can read the storyboard, check still designs, watch the animations, and then see the complete video. Each stage gives you something specific to respond to.
You still need to provide useful footage, choose a reference, and review the work. The benefit is that you can focus your feedback on the result you want instead of working out every editing step yourself.
ChatGPT Video Editor costs $19 per month or $197 for lifetime access. Visit the homepage for the plans and installation details.
How four editors serve different creator workflows
The best choice depends on whether your main work is tightening speech, producing clips, arranging a timeline, or directing a complete visual treatment.
Descript
Descript's Underlord accepts editing instructions and feedback. It is a credible alternative if you want an AI assistant within Descript's editing environment. Descript features.
OpusClip
OpusClip focuses on turning long recordings into short posts. That can fit creators whose main priority is repurposing existing episodes. OpusClip features.
DaVinci Resolve
DaVinci Resolve provides detailed timeline editing and subtitle controls. Consider it if you want to handle the sequence and finishing decisions directly. DaVinci Resolve features.
Why ChatGPT Video Editor suits a creator with a clear vision
We recommend ChatGPT Video Editor when you want to explain a style and sign off on its execution in stages. You might approve the visual plan for a tutorial, refine one recurring title design, and then check how it moves before seeing the whole edit. That gives your feedback a clear place in the process. Prompt-based editing exists elsewhere too; our preference rests on the reference-led approval workflow, not a claim that competitors cannot take instructions. It is a strong fit when the identity of your channel matters as much as getting a shorter file.
How to edit videos as a content creator with ChatGPT Video Editor
You can work through the process below with a single recording or a set of clips. The short demonstrations show the main stages. Pause them whenever you want a closer look.
1. Install the editor and call it in a new chat
Start on the ChatGPT Video Editor homepage and follow the download and installation instructions. After you have installed it, open a new chat and call the editor.
You can start with a simple request, such as: “Help me edit my product review.” The editor will then ask you to upload the video you want to work on.
2. Upload your recording or clips
Upload one complete video, or give the editor several clips. If you have several, explain the order so it knows how the pieces should fit together.
For example: “Begin with my introduction, add the close-up demonstration next, and finish with my verdict.” Mention any clip that must stay in the video, such as a test result your conclusion depends on.
3. Share a video with the editing style you like
The editor will ask for a reference video. You can upload it directly or provide a link. This gives the editor a clear example of how you want the editing to look and feel.
Pick an example that suits your content. A calm review may need a different pace from a lively behind-the-scenes video. Tell the editor which details you like: “Follow the simple headings and smooth transitions, but do not use the flashing text.”
The editor studies motion graphics, text styles, captions, colors, fonts, layouts, animation timing, transitions, visual effects, and how often different edits appear.
4. Let the editor study your footage and check for mistakes
Next, the editor analyzes your footage and transcript, which is the written version of your speech. It uses them to understand your points, decide where visuals would help, and identify moments that should stay focused on you or what you are showing.
Before the creative editing starts, it checks for obvious retakes, mistakes, unnecessary filler words, and audio problems. This cleanup is careful. If the recording and sound are already good, it leaves them alone.
If it makes cuts, you can review the cleaned footage before moving on. Listen for complete sentences and watch for missing actions. In a setup tutorial, for example, you should still be able to follow every step needed to get the same result.
5. Review the storyboard
The editor creates a storyboard, which is your editing plan. It explains where each visual edit will go, what it will show, and why it belongs at that point in your video.
You can also see how the planned visual connects to your words and which part of the reference inspired it. This makes it easier to judge whether the plan supports your content.
Read the full plan before approving it. You might ask: “Keep the comparison graphic, but show it after both examples so viewers can see the results first.” Ask for any changes now, then approve the storyboard when it fits your message.
6. Check the visual mockups
After you approve the plan, the editor makes visual mockups. These are still images showing how the graphics and other visual changes will look over your footage.
Check the colors, fonts, icons, text position, and overall layout. Can you read a feature label easily? Does a title cover the product? Does the design suit the tone of your video?
If something feels wrong, ask for a redesign. Once you approve the mockups, the editor preserves those approved designs during the remaining stages.
7. Watch and approve the motion proofs
You will then receive motion proofs: short previews of how the graphics move. They show how each graphic builds, stays on screen, and leaves.
Pay attention to timing as well as appearance. A price comparison needs enough time to read. A small label should not keep moving while you are trying to point out a detail.
You can say: “Keep the figures still for longer,” or “Make this title appear more gently.” Review the changes and approve the motion proofs before the editor continues.
8. Review the complete video
The editor now prepares a full preview with the footage, captions, motion graphics, timing, and transitions together. This is where you can judge whether all the pieces work as one video.
Watch from the opening to the ending. Check that each point follows clearly from the last and that the visuals appear when you need them. Listen for any edit that makes a sentence sound unfinished.
Give specific feedback if you want a change. Mention the moment and the problem, such as: “At the second comparison, the label disappears before I finish explaining it.” Approve the full preview when you are happy with the complete edit.
9. Create the final high-quality render
After your approval, the editor creates the final render. That means it combines the approved footage, sound, text, and animation into your finished video file.
It preserves the original video's resolution whenever possible, including 4K when your original footage is 4K. Give it the original recording when you can, rather than a smaller copy downloaded from a messaging app.
Wait for the final file to finish before downloading. The earlier preview is there to help you review the edit; the final render is the version you want to share.
10. Download your finished video
Download the completed file and play it on your device. Check the beginning and ending, and make sure the sound plays correctly.
You can then upload your video to YouTube or the platform where you share your content. Save the final file with a clear name so you can easily find the approved version later.
Before you post your finished video
Even with an AI editor helping you, the final review is your chance to make sure the video says what you intended. Give these parts a quick check before uploading:
- Your message: Does the edit keep the details that support your advice, review, or explanation?
- Names and numbers: Are captions, product names, prices, and measurements correct?
- What viewers can see: Do graphics leave the important demonstration or screen details visible?
- Your sound: Can you hear every sentence comfortably without sudden changes in volume?
- Your pacing: Is there enough time to understand an example before the next point starts?
- Your final file: Does it include the latest approved changes and play properly after downloading?
- Material you added: Do you have permission to use any footage, images, or music that is not yours?
The best AI video editor for content creators should make it easier to finish the videos you want to make while keeping you involved in the choices that matter. Start with good footage, explain your goal, and use the reviews to shape the result.
If you want to guide your edits through a chat and see the work as it develops, explore ChatGPT Video Editor and use the steps above for your next recording.