Editing guide
Best AI Video Editor for Color Grading
Separate the look of your footage from the design of its captions and graphics.
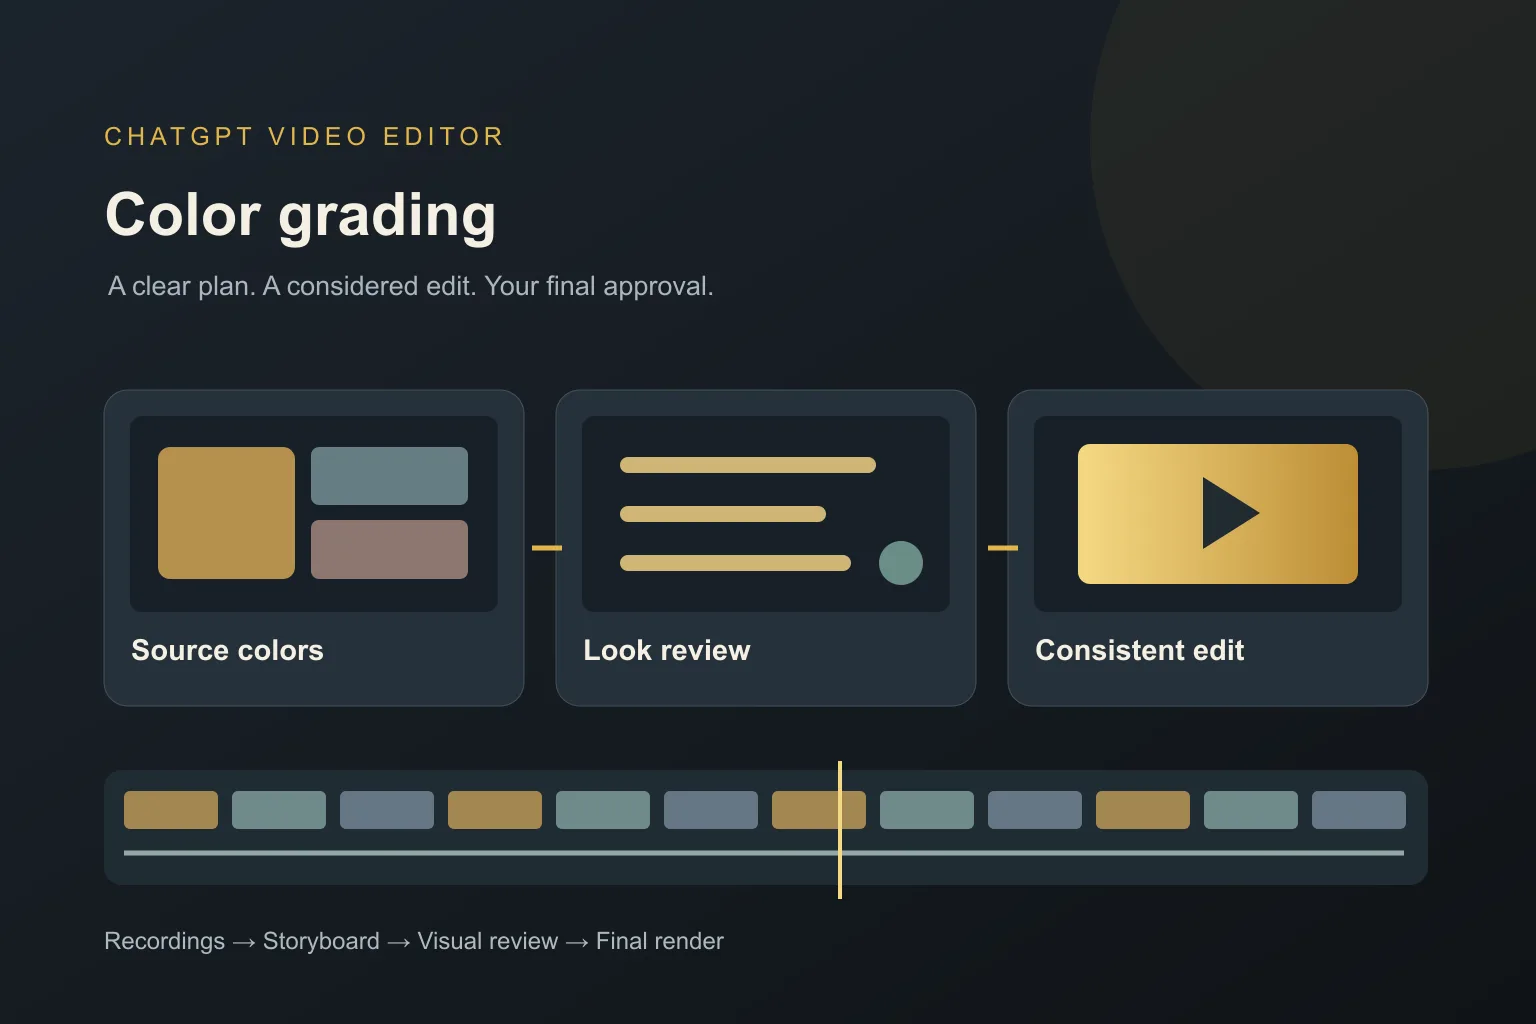
You may want two recordings to look like they belong together, or you may want the whole video to feel warmer, calmer, or more dramatic. Those goals involve the footage itself, not only the color of a title placed over it.
Choosing the best AI video editor for color grading starts with that distinction. You need to know whether a tool can actually adjust the image in the ways your footage requires, and whether you can inspect the result.
What should you expect from an AI video editor for color grading?
It should distinguish correction from the creative look
Color correction brings shots toward a balanced starting point; a creative grade shapes their overall appearance. Blackmagic Design describes balancing brightness and unwanted color casts before creating a look in its color workflow guide. Ask what the editor actually adjusts, rather than judging a before-and-after thumbnail alone.
It should help you compare neighboring shots
A warm shot followed by a cool one can feel inconsistent when both show the same room. Look for a way to review shots together and judge the transition. A treatment that looks attractive on one image may not suit the next.
It should keep people and products believable
Skin, clothing, and product colors may matter to your message. You should be able to reject a look that changes them too far. Describe the result you want using a representative reference and review real frames from your own footage.
It should explain format and color support
Special camera profiles and HDR workflows can need specific handling. Verify compatibility with your actual source and intended delivery. A tool accepting a file does not by itself prove that its color is interpreted or exported as intended.
It should provide the controls your project requires
If you need targeted adjustments, masks, scopes, or precise matching, confirm those tools directly. For example, DaVinci Resolve documents curves, balancing, and shot matching in its official color documentation. Those capabilities should not be assumed for every AI editor.
It should let you inspect the final output
Review the exported video as well as the editing preview. Use a consistent viewing setup when judging changes. If an important color decision remains uncertain, resolve it before approving the complete file.
What is the best AI video editor for color grading?
If your main task is specialist footage grading, choose on verified grading tools. The workflow described for ChatGPT Video Editor supports reference analysis, editing plans, visual designs, and approvals; it does not provide enough evidence to call it a replacement for a dedicated grading application.
It is our recommendation for guiding the wider edit around a consistent visual direction. You can choose a reference, approve graphic colors, and inspect the whole sequence. If your footage needs specialist correction first, confirm that requirement and prepare suitable source files before the edit.
For example, a product lesson may need accurate product color in the footage plus restrained titles that complement it. Treat those as separate checks. Access to ChatGPT Video Editor is $19 monthly or $197 lifetime; review the homepage for setup and scope.
Comparing actual color tools with a guided editing workflow
For this keyword, the distinction matters: changing footage color is different from choosing a matching palette for titles and graphics.
DaVinci Resolve
DaVinci Resolve provides dedicated grading controls, including curves and shot matching. It is a stronger documented choice when precise footage grading is the priority. DaVinci Resolve features.
Adobe Premiere
Premiere's Auto Color adjusts exposure, contrast, and white balance. Consider it for corrections you want to refine within the editing project. Adobe Premiere features.
Final Cut Pro
Final Cut Pro includes machine-learning-based light and color enhancement. It is another documented option for changing the appearance of the footage itself. Final Cut Pro features.
Where ChatGPT Video Editor is still our preferred option
We choose ChatGPT Video Editor for planning a coherent overall edit around a reference: the layout, graphic colors, text, and movement can all be reviewed before rendering. For example, you can approve restrained titles that complement already-corrected product footage. That is a useful advantage when visual direction is your main need. It would not be accurate to call it the best specialist grading tool on the evidence available. If grading is the job, use verified color capabilities; if guiding the complete visual treatment is the job, its approval process is why we recommend it.
How to plan a consistent video look with ChatGPT Video Editor
1. Install and define the look
Follow the setup instructions and call the editor in a new chat. Describe the intended visual tone and identify any footage-color work that needs confirmation before proceeding.
2. Upload suitable source footage
Provide a recording or several clips with their order. If specialist grading was completed elsewhere, supply the prepared files and explain that their color should be preserved.
3. Share the reference
Upload a style example or link. It studies graphics, text, captions, colors, fonts, layouts, timing, effects, transitions, and edit frequency. Be explicit about the difference between desired graphic colors and footage treatment.
4. Review analysis and cleanup
It analyzes footage and transcript, checks obvious retakes, mistakes, filler, and audio conservatively, and leaves good material alone. Review any cleaned footage before the creative stages.
5. Approve the storyboard
Read the visual placement, purpose, appearance, spoken connection, and reference inspiration. Check that the plan respects the approved footage and does not promise an unconfirmed technical treatment.
6. Review the mockups
Inspect colors, fonts, icons, composition, and text position. Make sure graphic colors remain readable over different shots. Request redesigns as needed; approved designs are preserved later.
7. Check motion proofs
Watch each graphic build, move, hold, and exit. Review how the design looks as it changes over the footage. Approve after timing and readability are comfortable.
8. Watch the complete preview
Review the edited footage, captions, graphics, transitions, and sound together. Note inconsistent-looking sections and decide whether they need an editing change or separate specialist color work before approval.
9. Render the final video
The approved edit is rendered at high quality with source resolution preserved where possible, including 4K from 4K footage. Confirm any required delivery-color settings separately.
10. Download and review
Play the finished file in your intended viewing setup. Compare important colors and neighboring shots before publishing, and keep the original and prepared source files.
Before you post the finished video
Review picture color and graphic styling as two related but separate parts of the result.
- Neighboring shots look consistent for the scene.
- Important product and skin colors remain believable.
- Graphic colors are readable over the footage.
- Special source and delivery requirements were confirmed.
- The saved output matches the approved appearance.
- Original files remain available for later finishing.
The best AI video editor for color grading depends on the adjustments you actually need. Explore ChatGPT Video Editor for the planned editing workflow, and verify specialist grading support before making it responsible for that part of the project.